Milk moon cake
By VicentaLakin

Mid-Autumn, let's have a milky yellow moon cake. The last half-month has been a long time. This recipe is the most satisfying recipe I've ever had. It tastes good, and the production process is not complicated (if it is not perfunctory) and attention is paid to reading the production process and the small hint at the end of the recipe, which should not be a big problem if it is to be made successfully. Try it. Before mid-fall, we had plenty of time to experiment with all kinds of mooncakes。
Recipe Recommendations
- low-gluten flour 120 grams
- powdered sugar 30 grams
- eggs 24 grams
- milk powder 30 grams
- light cream 24 grams
- butter 48 grams
- salted duck egg yellow one
- fine sugar 35 grams
- Coconut milk powder 3 grams
- corn starch 55 grams
- egg yolk one
- sweet fragrance
- baking
- several hours
- ordinary
Steps for Milk moon cake

1
First make yellow milk. A small amount of high-level white wine is sprayed with salted egg yolk, followed by two methods: eight to ten minutes of roasting in a preheated oven of 180°C, and about 100 seconds of heating with high fire in a microwave oven (resize of microwave power). Until the salty yolk is ripe. They can also buy ripe duck eggs, strip off the protein and pick up the yolk。
2
When salted yolk cools, it rubs it on the web and makes it via the sifting net a fine fine slurry of salty yolk (which can also be broken in fine pieces with a crutches or other tools, but which is sifted with the most evenly fine and tasted)。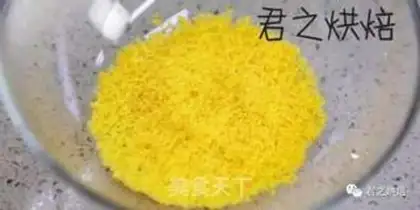
3
It's getting salty yogurt。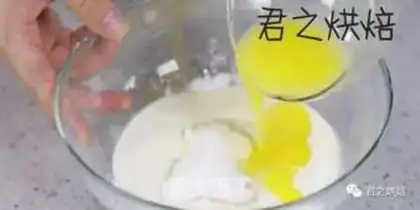
4
Take another big bowl. The bowl is filled with sugar, light cream (premature to warm), milk powder, coconut powder, corn starch, yolk and liquid butter (the powder is just sugar powder for adults, not baby milk). Coconut powder can increase the taste if not replaced with the equivalent milk powder。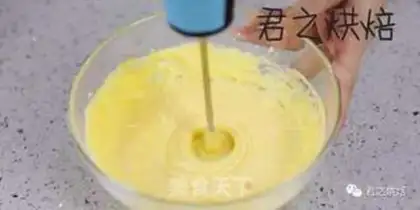
5
If you have an egg-beater, you mix it with an egg-beater bar and make it a fine mixture. If not, mix it with a razor a few times。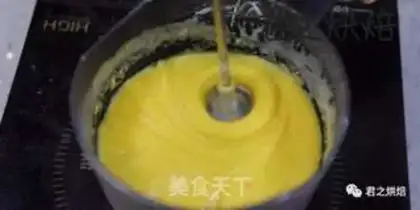
6
The mixture is poured into the milk pot, which is hotter by fire and is continuously strung at high speed with a flat rod. Until the mixture is boiled and cooked. When cooked, the quality changes significantly and becomes more dense。
7
The boiler is removed from the stove and continues to be strewn for a moment with a flat stick to make the mixture more evenly fine. If there is no homogenous bar, silastic razors are used, which are also mixed during heating until boiled and then continue to mix quickly after the fire (the effect of mixing with silastic razors is less than the effect of the bar, so that after cooking the mixture may see a large amount of oil seepage, but it does not matter that it will continue to mix hard until the grease is fully absorbed)。
8
Cool the mixture, and the milk is ready. The cooled mixture becomes very sticky and can be placed in a freezer and, at low temperatures, it becomes harder。
9
Split the milk pap into 20 g/piece, round. It's then put in a freezer, which makes it hard (and then thicker, and easier to wrap)。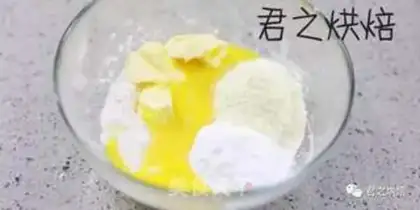
10
And then you make a monthly pie. You add flour, sugar powder, milk powder, light cream, whole egg fluid, soft butter, etc. to the bowl。
11
Then, with a razor, it's constantly rolled, and when it's fully evenly mixed, the soft face is the moon cake。
12
Scratch the pasta into 22 grams, and then croak it and crush it.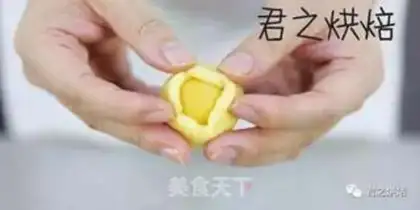
13
Then put the yellow pap in the middle of the pie skin, wrap it up, and slowly push and tighten it so that the yellow pap is wrapped in the pie skin. Pack all the yellows。
14
Use a 50-gram-size mooncake mold to crush the model. Put the noodles in the mooncake mold。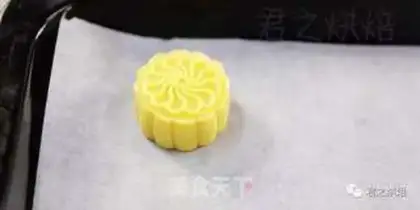
15
Simulation. Finally, before baking, all made moon cakes need to be put in the freezer room (-18°C) for more than two hours. Until it's frozen and baked。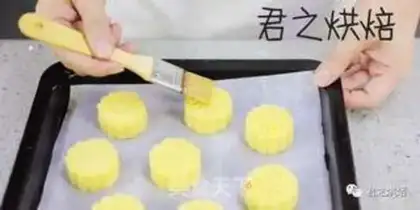
16
The oven is preheated to 220°C, with an egg yolk on the face of the frozen moon cake (the top colour, with a view to the raw egg yolk, not salty egg yolk). Put it in the middle of the oven and bake it for 7-8 minutes, so that the surface is coloured. The monthly cake seal after cooling is kept for one day before eating。
17
That's how the milk moon cake is made. It would be more complicated to make yellow-breededs, which would require the production of additional heartbrushes. Please do so as follows: The salted yolk will be fertilized (which can be done in conjunction with step 1) as it is made of milked yellow。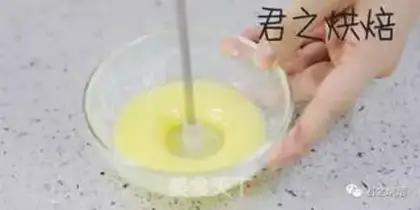
18
Thermally liquid butter, sugar powder, milk powder is mixed in a bowl and is fully mixed with the gypsies ' homogeneity rods (or, if not, with a common electro-pumper)。
19
Then add salted egg yogurt. Combination. What comes at this time is a flow of heart. Put it in the freezer until condensed。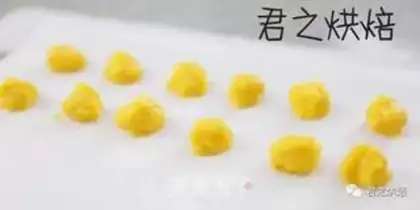
20
The condensed heart digs out around 3 grams of small balls. Put it on oilpaper. It then continues to freeze (-18°C) into the refrigerator to hard. Making this formula will be left over。
21
And finally, when it's covered, it's covered in yellow. Then we can proceed according to the step of the yellow moon cake (the total weight of the pie is the same, i.e. the amount of the yellow pie will be reduced to 17 g/heavy, and the total amount of the heart will remain at 20 g/heavy combined). You need to freeze before you bake。
22
It's not until we heat up。Milk moon cake Make Tips
The whole production process would have been easier if it had not been made with a heart-to-heart. It's soft, so I'll freeze it and wrap it up. It'll work better. In fact, the mooncakes are ripe, and only the mooncake skins need to be cooked. So the mooncake is baked using 220°C heat, and the mooncake skin is baked and colored for as short a time as possible. This would avoid the collapse of mooncakes, deformation and sinking of the material. It is also necessary to freeze cold enough before the moon cakes are baked in order to ensure that the shapes of the moon cakes remain the same (especially heart cakes, unfrozen to bake, internal palettes will soon fall into flow form and skins will be easily deformed). If a crèche is made, the temperature of the baking is much more demanding, ensuring that the lunar skin is cooked, but not overbooked. So high-temperature roast is critical. Try to finish the baking in eight minutes. If it's too baked, it won't show up. It is recommended that you make ordinary yellow moon cakes, which are more sure about the whole process, before you make crèche. 4. The heart is warm in the room, but softer than the yellow. More than 40°C shows a feeling of venom. If you want to feel like it, you can heat up the mooncake in the microwave for about 10 seconds before eating it. 5. Use the most common milk powder in supermarkets. To choose whole milk powder, not baby powder