Apple pie
By VicentaLakin

An apple pie that won't disappoint you. This delicious apple pie is very comfortable at a time when the autumn is cooling and Beijing is clearly getting colder these days. Warm apple pie, won't let you down. The pie doesn't need a pie, it just needs to cut the skin and grow the square, and then a warm cup of tea or coffee
Recipe Recommendations
- low-gluten flour 150 grams
- butter 75 grams
- salt 1 gram
- cold milk 30 grams
- Apple 400 grams
- fine sugar 80 grams
- lemon juice 5 grams
- corn starch 15 grams
- water 30 grams
- whole egg liquid appropriate amount
- sweet fragrance
- baking
- an hour
- simple
Steps for Apple pie
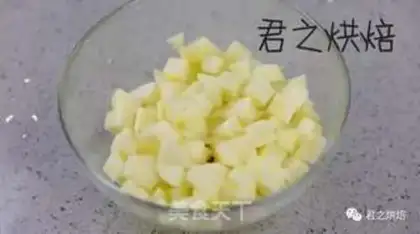
1
First we cut the apples off to the core, then we cut them into Ding。
2
Pour appledeen, sugar, lemonade, salt into the pan, heat it up, and turn it on。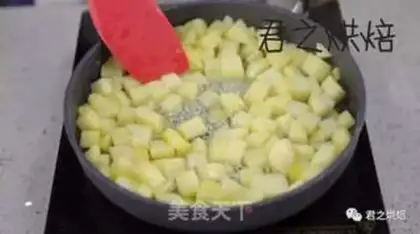
3
With heating, sugar will melt and apples will begin to seep out of the juice. At this point, the fire was turned into a small fire, with a light fall of cider, until the water was dried up, for about 15 minutes。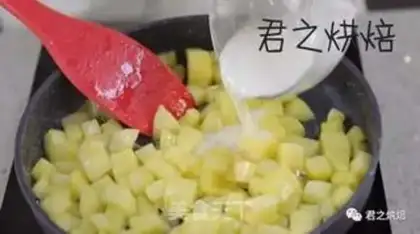
4
Fifteen minutes later, the moisture is almost dry (if there is more water for the fire). Corn starch and water are evenly mixed into starch water. Put the starch water in the pot and continue to fry。
5
When starch water is hot, apples become very thick and thick. It's time to turn off the fire. Fired apples cooled and used。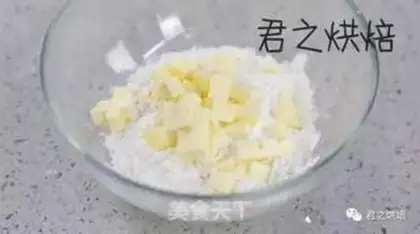
6
Then we make pies. Butter cut into little ding, mixed with low-banded flour。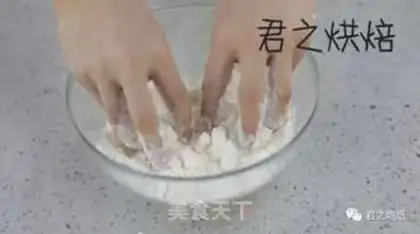
7
Flour is squeezed with hands, which fully mixs flour with butter。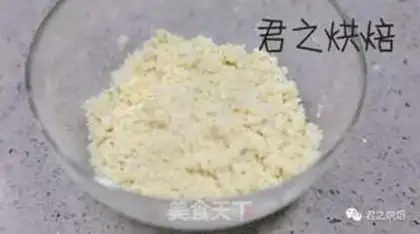
8
When mixed, the flour will show the state of coarse corn flour。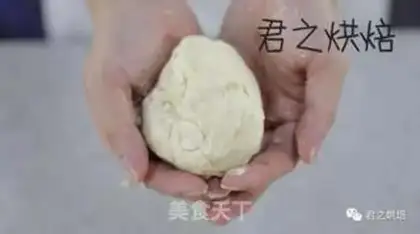
9
Add ice milk (just out of the fridge, no milk can be replaced with ice water). Roughly rubbed into a noodle。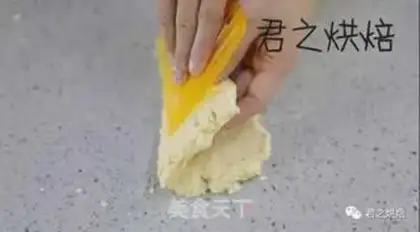
10
Put the face on the table or on the board, flatten, fold, continue to flatten. Repeatedly, until the noodle becomes smooth (the noodle becomes smooth enough to stop, do not overdo the noodle)。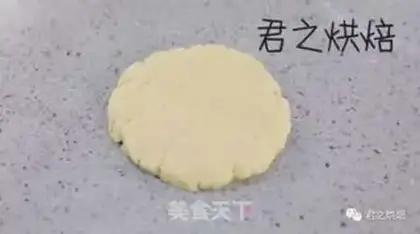
11
Scratched her face with a shampoo. If room temperature is high, it needs to be placed in a freezer。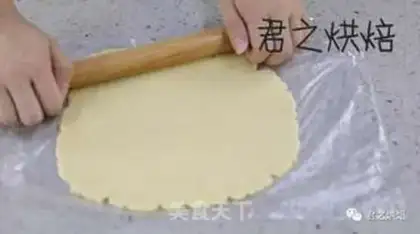
12
(b) A silent noodle, with a sheet of oil paper or a shampoo on the bottom (for ease of pick-up of pasta). Turning the noodles into big thin squares。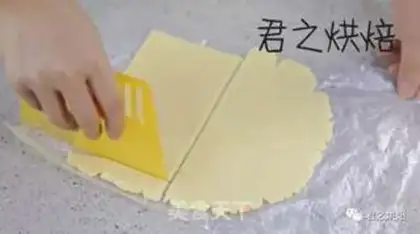
13
cut out a square of about 11 cm * 18 cm。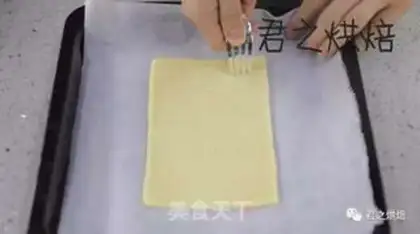
14
The sliced face was placed on the grill with the oilpaper and evened with small holes。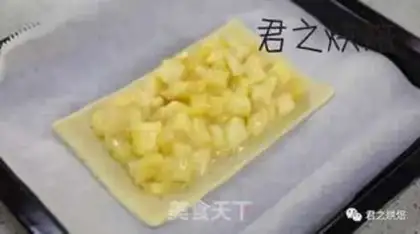
15
put the apple on. the edge is around 1 cm. the apples need to be properly laid up so that they will look full。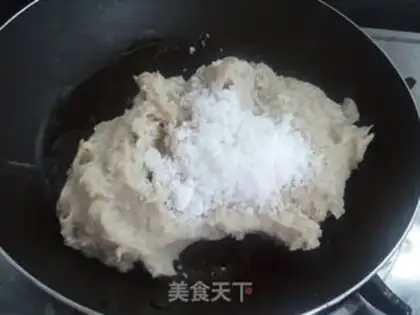
16
A thin whole egg fluid is coated on the edge as a glue (or with milk)。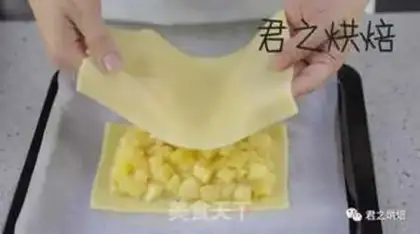
17
The rest of the skin sheet is made into a larger one, covering enough squares of the entire faction. Put it on the pie。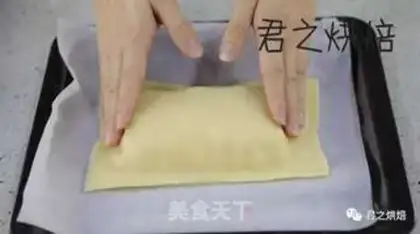
18
The new covers are balanced in their skins。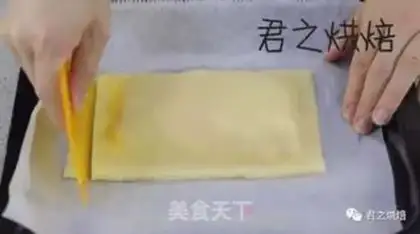
19
Cut the excess pie。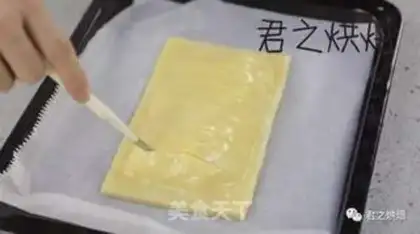
20
Finally, a full egg fluid is painted on the skin skin. Then you cut the stripes on the skin with sharp blades. The blades need to be cut. In 20 minutes, we'll be able to heat the oven. The oven is preheated to 210°C, the oven is placed in the middle of the oven and baked for about 25 minutes (adjusted for the actual condition of the oven) until it appears to have a beautiful yellow on its surface。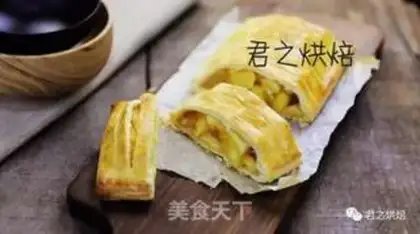
21
The finished product。Apple pie Make Tips
One, with lemonade in the apple pie, can keep the colour of the apples deep and can increase the taste. It is possible to use fresh lemon juice or bottled concentrate lemon juice. Nothing can be left, but apples can easily turn brown. The surface brush is full of egg fluid. You can also replace it with milk. The difference is that the whole egg fluid gives the baked pie a golden light, and the milk is the effect of the light. Three, the leather noodles need to be thin enough to get up and down. 4. The stripes of the skin surface are drawn by blades, not only for decoration but also to allow the heat in the pie to be distributed during the baking. That's why the blades have to cut through the skin and cut to the pie. A sharp blade is used to draw out a pretty blade, and I use bread to cut a knife, or an old razor, if not. No sugar in the pie, so it's not sweet. It's even less tedious when it comes to sweet pies. 6 If you want to be more traditional, you can add a little cinnamon in the pie。