Gradual Color Float Cake
By VicentaLakin
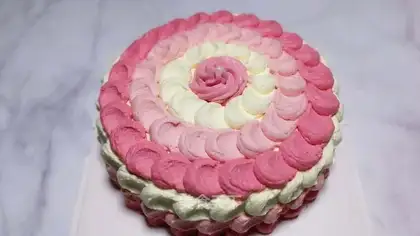
Freshmen can easily handle flowers, pink girls' hearts. The use of light cream is for reference purposes only。
Recipe Recommendations
- Hurricane cake one
- light cream 约800g
- pigment appropriate amount
- fruit appropriate amount
- sweet fragrance
- other
- half an hour
- simple
Steps for Gradual Color Float Cake
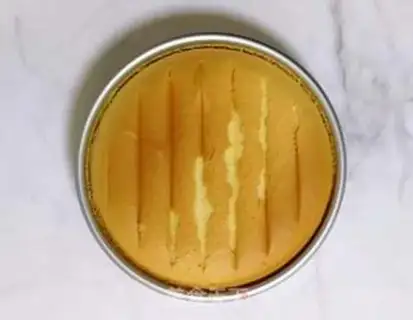
1
I'd rather bake a twilight cake with my bare hands, because it's a little less cake。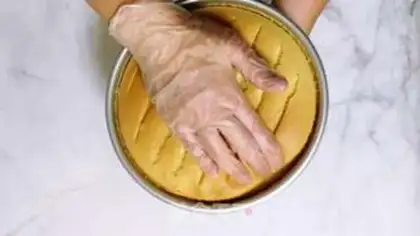
2
The method of disemboweling with bare hands is described below, where the cake is separated from the mold by pressing a circle along the edge of the mould。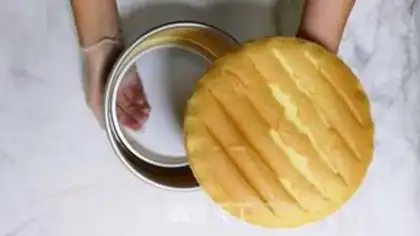
3
Push it from the bottom to the bottom and the cake comes out。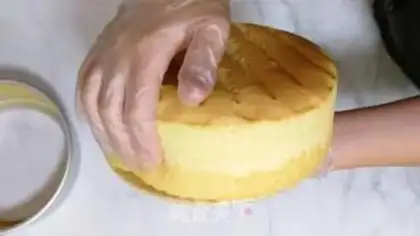
4
Press a circle along the edges of the cake to separate the cake from the bottom。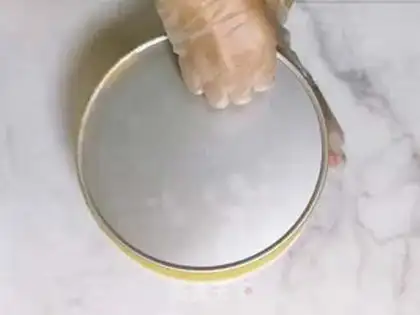
5
It's done with Deto。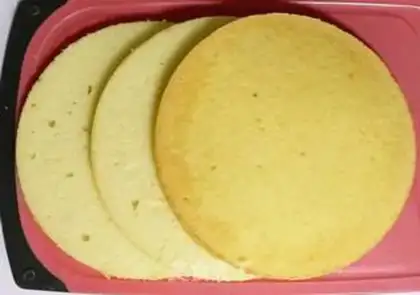
6
Split the cake into three pieces。
7
First light cream for pasta, seven points, with a tattoo but a slight flow. Don't fight too hard, or it won't be easy。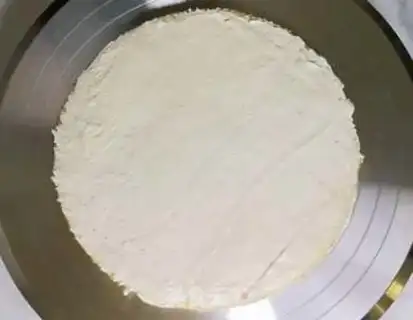
8
A piece of cake with a light cream。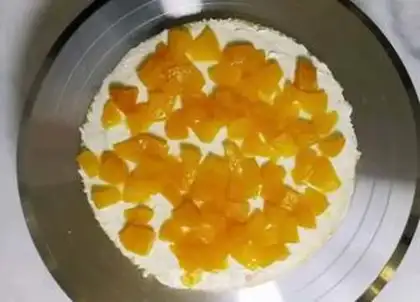
9
Put on a nice piece of fruit. I put canned walnuts。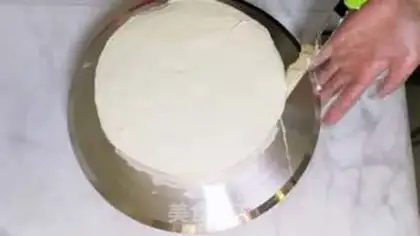
10
Continue with the second piece of cake with a cream + fruit. And then it's covered。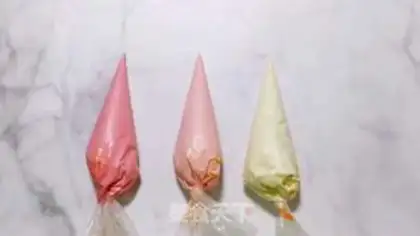
11
The light cream for the flowers is used to set the colours at the beginning of the season, or the colours at the same time. Don't let it go and change the color. It's easy to mix too much and lead to oil separation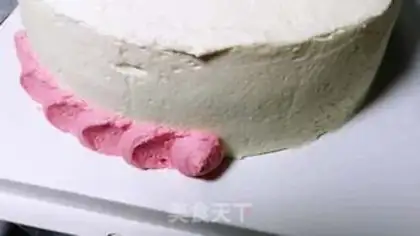
12
And finally started to flair and squeeze a ball on the cake。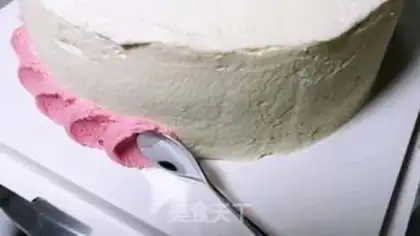
13
Take a spoon back and wipe it back. It's good. Repeat this process。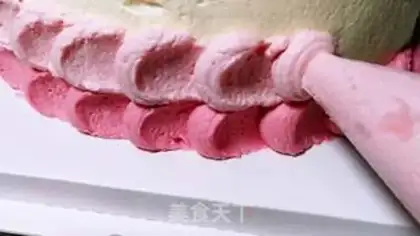
14
The second layer can change the color. Keep pressing the ball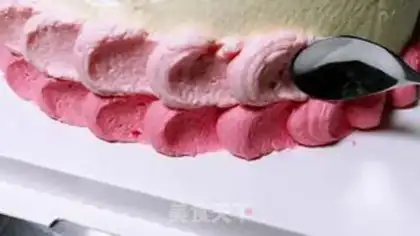
15
Spoons。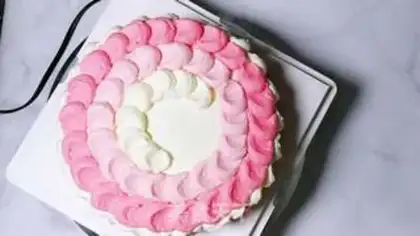
16
And the top of the cake used the same way to make flowers。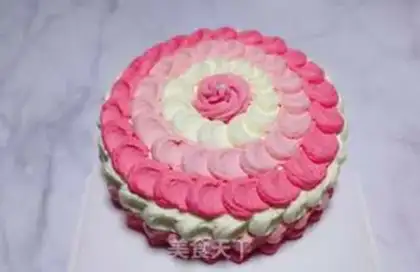
17
Finally, a rose was squeezed at the centre, and a little sugar bead was put on it。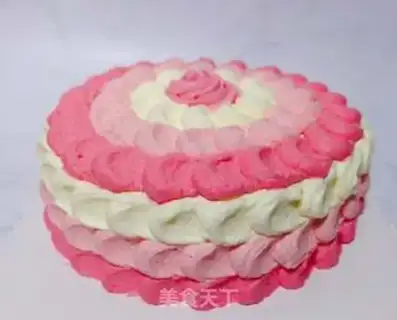
18
The finished product。