The embroidery bun
By VicentaLakin
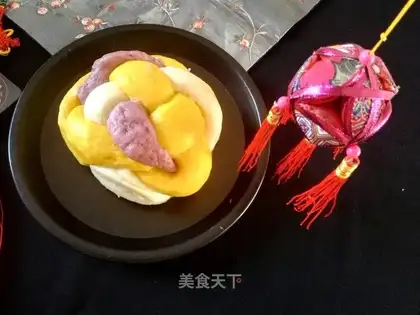
Recipe Recommendations
- ordinary flour appropriate amount
- purple potato appropriate amount
- pumpkin appropriate amount
- milk a bag
- qingshui appropriate amount
- yeast powder appropriate amount
Steps for The embroidery bun
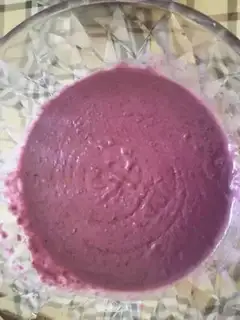
1
The steamed potato is muddled and the proper amount of milk added to the potato is better。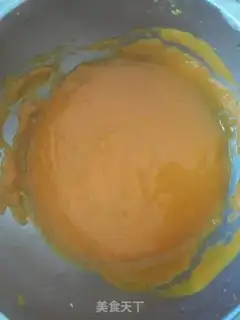
2
Pumpkin mud。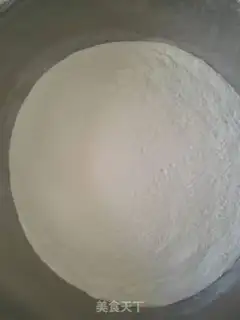
3
Flour (soft pasta, lasagna, pumpkin) and the yeast are also hydrated。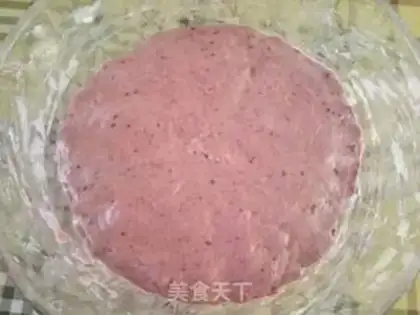
4
Flour is added to the mashed mashed potatoes, yeast water, and it's made of lasagna。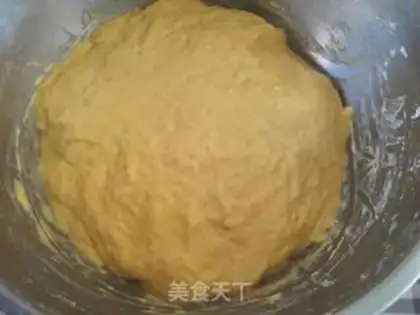
5
Pumpkin noodles。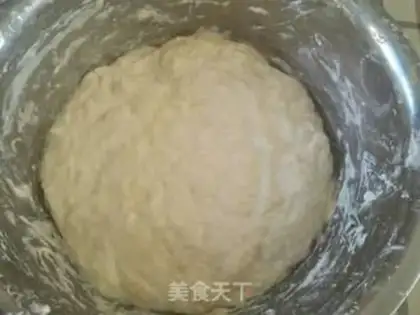
6
Original noodles。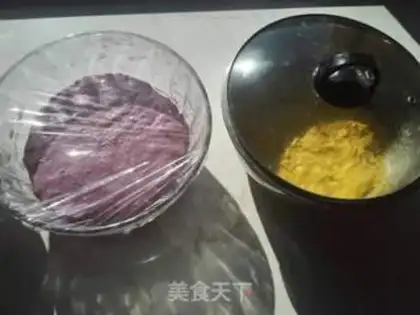
7
fermenting in warmth。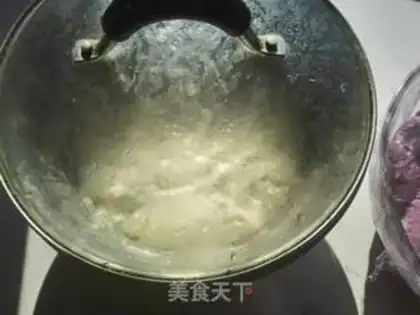
8
原味面团fermenting in warmth。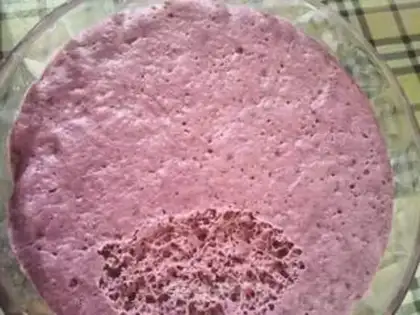
9
It's twice the size of a beehive。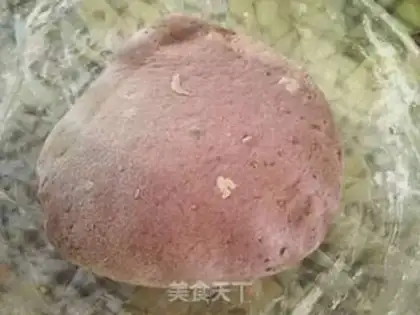
10
Add a small amount of flour and smooth it down。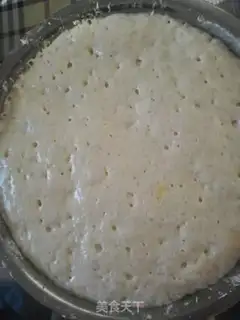
11
The pasta is fermented twice as big, and it's fertilized。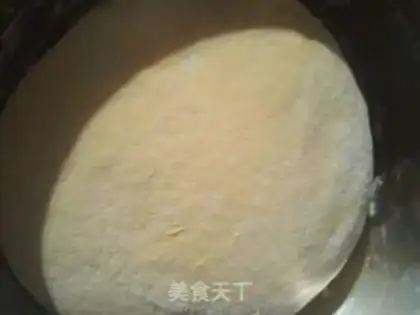
12
Pumpkin noodles are also ventilated and awakened。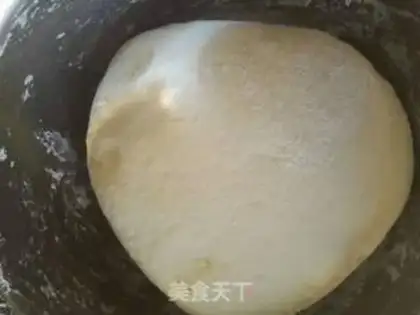
13
Very smooth。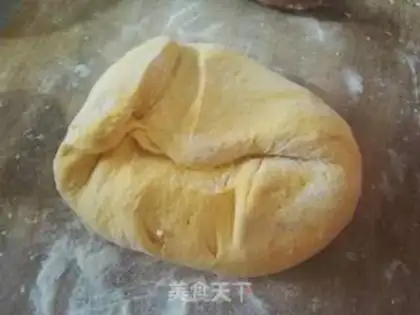
14
Seeing the interior isn't rough enough to operate。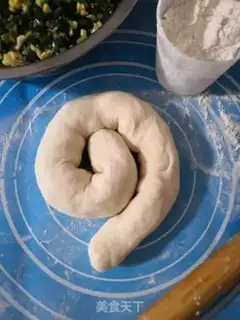
15
Glossy moist noodles。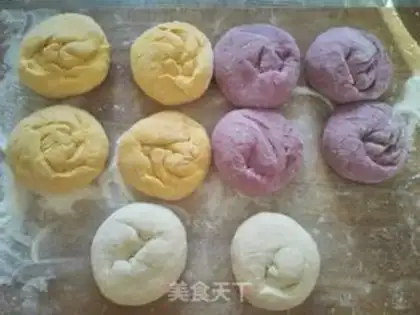
16
The three pasta have been pulled into an even agent。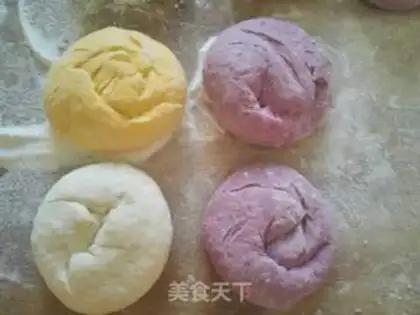
17
Take like four colors to flatten。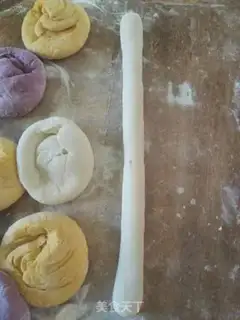
18
Scratch the strips。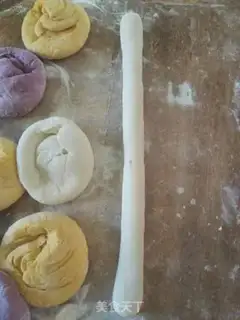
19
Scratch the strips。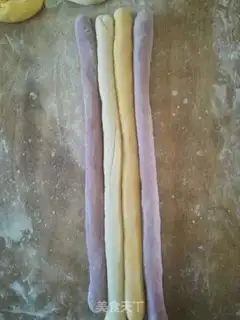
20
Four in turn。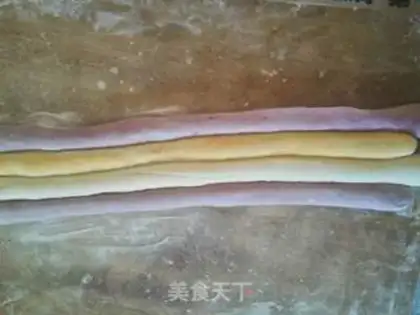
21
Smooth。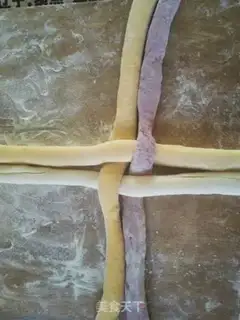
22
As shown in the figure, the line is left one, two, one, two, one, two, one left, two left, two left, two right, two right, and then one counterclockwise。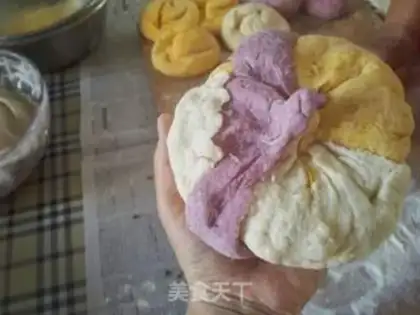
23
Turn around carefully, try to close as much as possible at the centre and then fill it in the middle, so it is not easy to evaporate。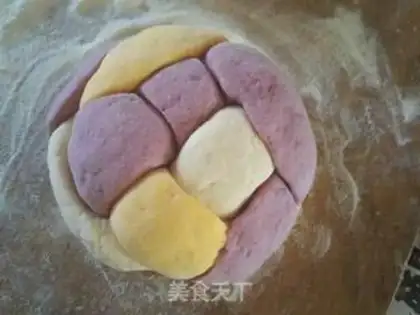
24
Nice and tight。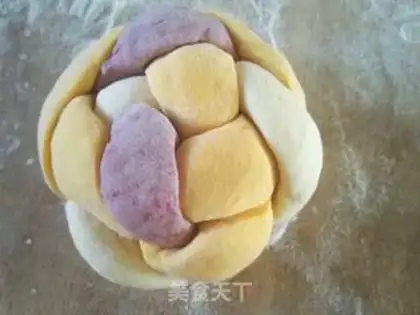
25
Shape well。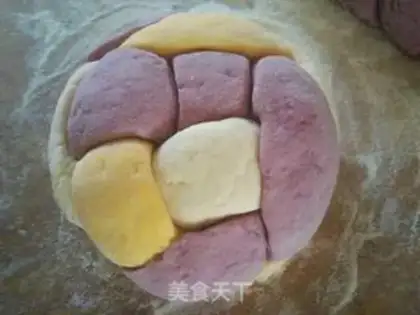
26
Keep going。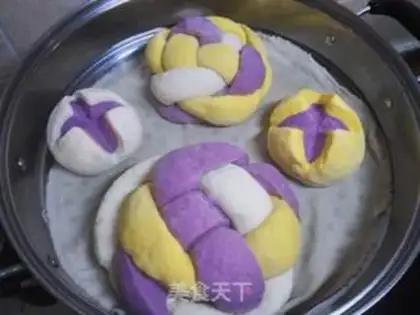
27
It's important to put it in the steam closet again, so don't forget it, and make two bouquets。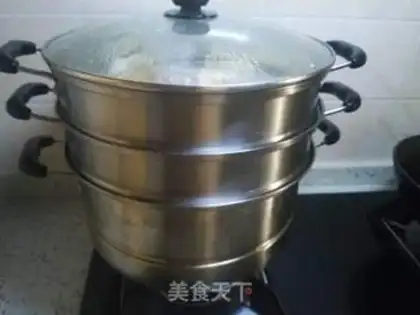
28
Fifteen minutes later, fire was fired, the fire steamed and steamed for 20 minutes, and after the fire was shut down, the boiler was opened in two minutes to prevent the surface from wrinkled。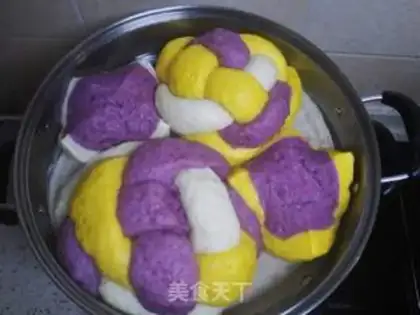
29
Let's go, fatty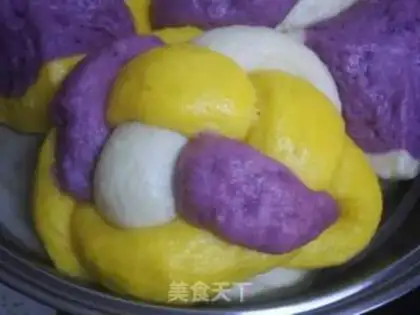
30
It's beautiful color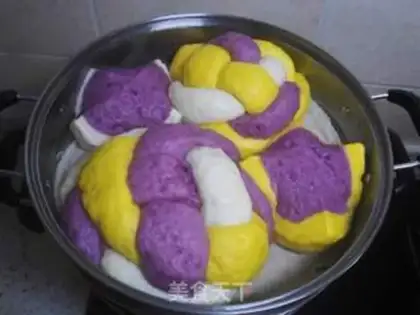
31
I'm happy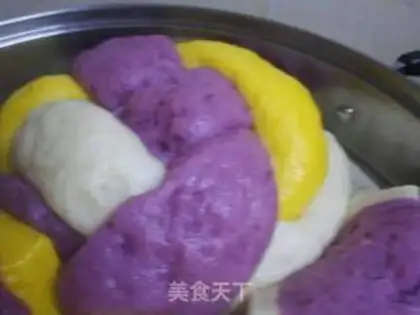
32
Hair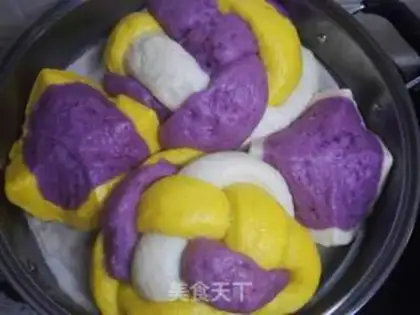
33
Hair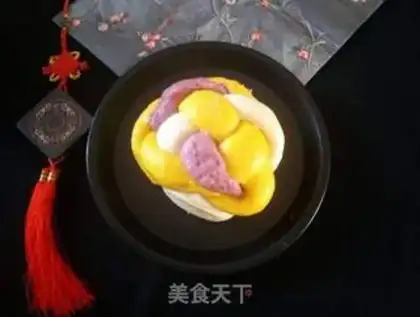
34
It's big and hairy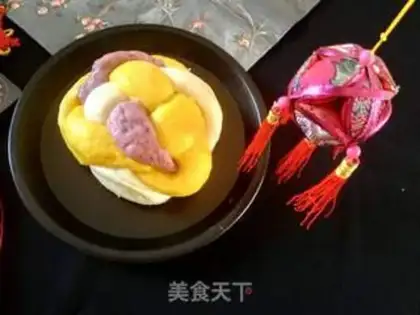
35
It's finished! It's finished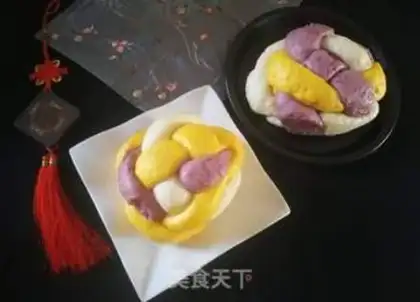
36
It's finished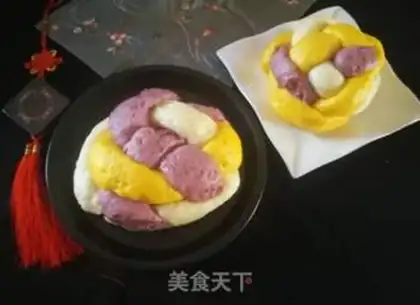
37
成品图It's finished