Cute-looking buns
By VicentaLakin
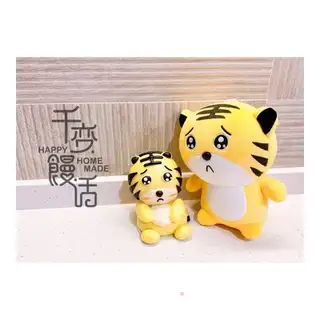
It's tougher than ever to ask me to be her favorite baby. It's a choreographer
Recipe Recommendations
- medium-gluten flour 100g
- yeast 1g
- fine sugar 15g
- vegetable oil 3g
- milk 64g
- bamboo charcoal powder appropriate amount
- Gardenia yellow powder appropriate amount
- sweet fragrance
- steamed
- several hours
- simple
Steps for Cute-looking buns
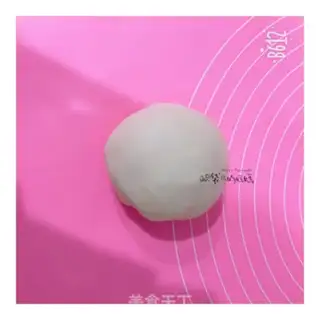
1
A three-lighted face of flour + sugar + yeast + vegetable oil + milk. And then you mix the natural vegetable and vegetable powder in colour. Zenium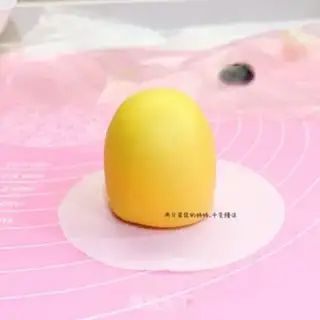
2
The head (70 g) is rounded and pushed high (as graph)。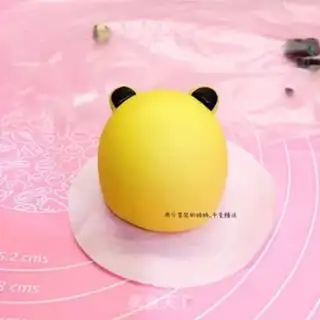
3
The ears (1 g yellow, 0.5 g black) are covered in an elliptical form, followed by the blacks in an elliptical form, folded together, pressed slightly with a face stick, and then half-cut into an ear。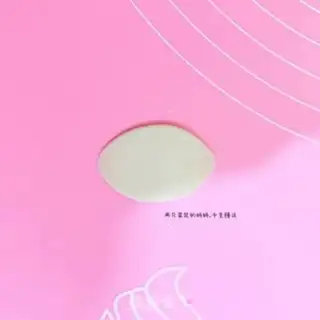
4
The white part of the face (4 g) is in the image。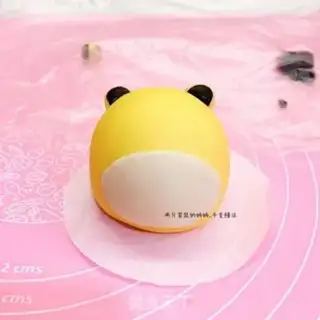
5
Put some milk on the face and tie step 4. Put it aside and remember to cover it with plastic bags to avoid dry skins. Then do the body part。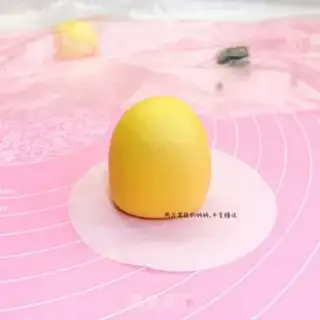
6
Body (60 g) exhaust round, push up (e.g. graph)。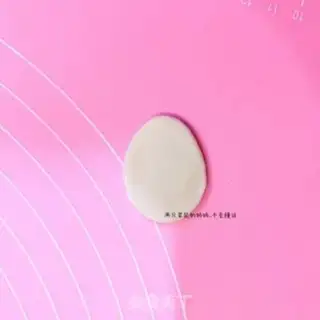
7
The white part of the stomach (4 g) is in the image。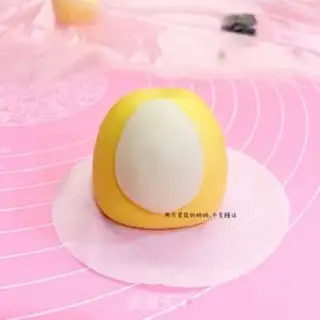
8
Put some milk on the stomach and tie step 7。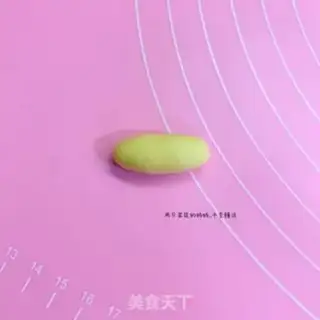
9
The hand (four grams on one side and a total of eight grams on the other) rubs four grams in shape。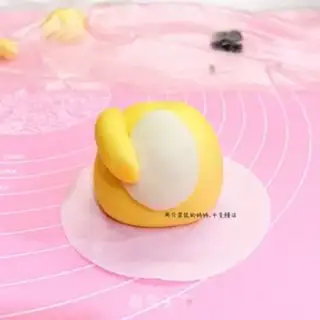
10
Put some milk on your hands。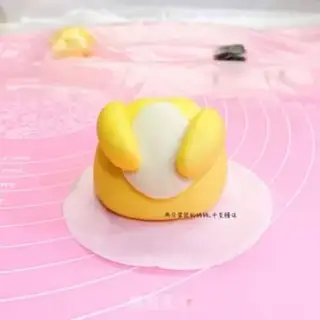
11
Your hands are full。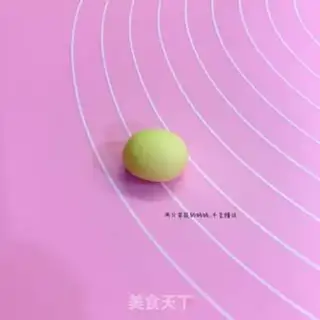
12
Five grams on the foot (five grams on one side and a total of ten grams on the other)。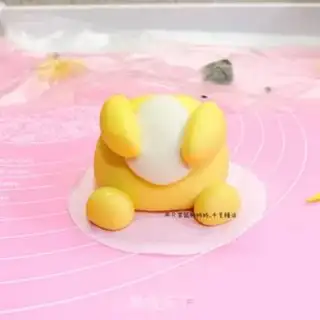
13
Put some milk on your feet and it's done。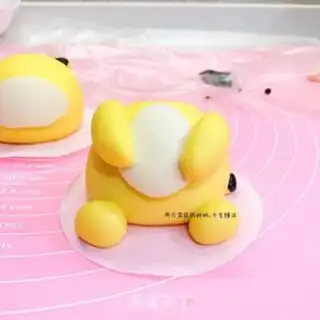
14
The tail (yellow 7 g) is a fair black mass, the tail is striped, a little black paste at the end, and then the tail goes forward from the center of the back to the side a little bit. This step doesn't get a picture, so let's just think about it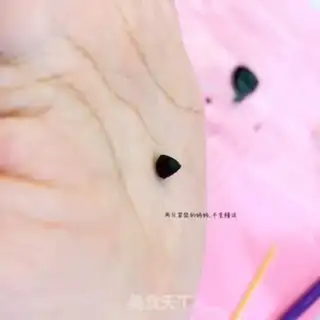
15
Nose, make a triangle。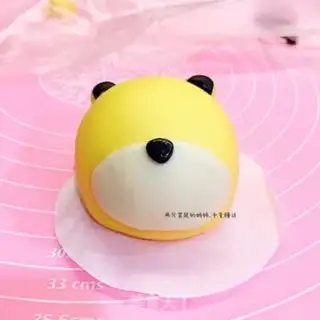
16
Put some milk on the step 15 and press the triangle to make it more flat。
17
Plus mouth。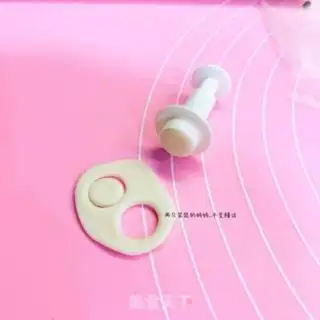
18
Start doing eye parts, pressing two circles with molds (e.g. graphics)。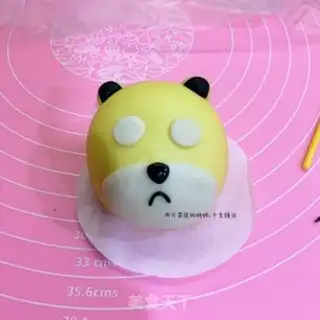
19
Put some milk on it and put it on it。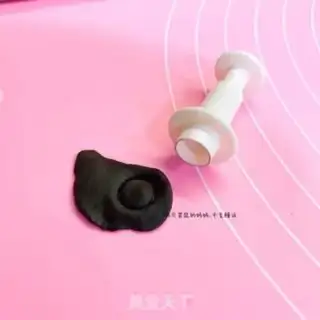
20
And two circles of black noodles。
21
Put some milk on it and put it on it。
22
And then the water with the eyes. The eye is finished。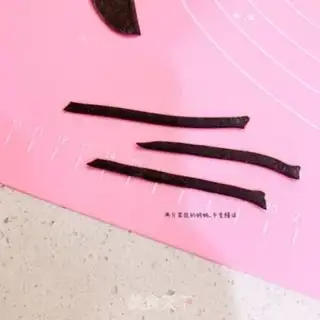
23
Do the tiger's tattoo。
24
Put some milk on it。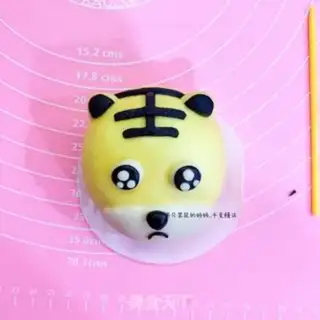
25
To be like a king。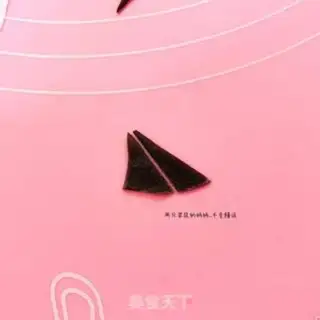
26
Face next to the line。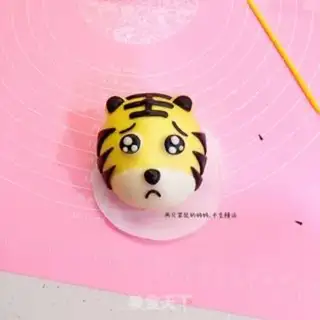
27
The head's finished with the gill。
28
I'm fermented once, fermented directly, fermented in a steam cage on a cold-water pan, and I usually wait for 30 to 40 minutes for a white bun, because we're hotter in Malaysia, so I'm fermented in cold water. The way I see whether the fermentation is finished is by touching, and it's like the feeling when the meat under the thumb is relaxed, and if it doesn't look like it's five minutes later. You've had a long fermentation. It's short-forming, it's longer to ferment.) My gas stove is bigger, so I'm a small fire evaporating for 18 minutes, and it's not open until five minutes before it's off. My fire is just for information, so don't be too big to roll
29
It's possible to separate the head from the body and then combine it with a bamboo stick, so that the cute tiger can steam it and burn it together, but the head can't turn. When it gets cold, you can shake it with a bamboo stickerCute-looking buns Make Tips
Remember that every step has to be airy, so the steamed buns don't sink