I'm still back to my 1:1 natural yeast and still prefer this one.
Fermentation with natural yeast without yeast at all requires a lot of time and patience. But what I have to say time and time again is that the patience is completely worth it, because the taste of the bread will definitely be different.
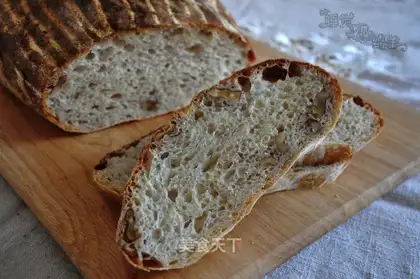
Look at this bread. It looks huge on the surface, and it is domineering and heavy. In fact, when cut open, it is a particularly elastic and soft bread. The cut pieces can be pinched left and right, or even twisted like a towel, but they will not tear.
I used healthy walnuts and brown sugar. Not much brown sugar was given, and this staple bread was not made into sweet bread. Just bite, first, your teeth and tongue feel the taste of the bread similar to Q; then you bite into the walnut, which is fragrant; after chewing two more bites, the faint sweetness of brown sugar and flour will be an intoxicating aftertaste.
I decided to bake such a big bread at Christmas and take it to T's house to share a delicacy that I couldn't usually buy with T's family.
Brown sugar walnut bread
By LucasKuhlman
Recipe Recommendations
- high-gluten flour 375g
- water 200 ml
- salt 3- g
- brown sugar 20g
- walnut 60g
Steps for Brown sugar walnut bread
1
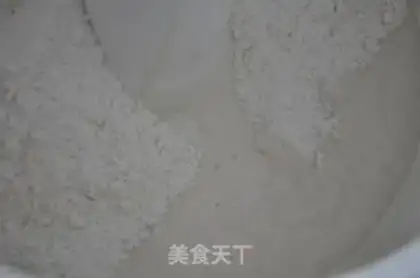
Mix gluten flour, water, and natural yeast evenly with a cooking machine at low speed,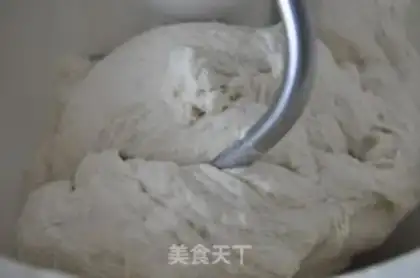
2
Until a dough is basically formed. Let stand for 20 minutes!
3
Then add salt and brown sugar, stirring on low speed for 1 minute, then turning to high speed for 5 minutes, until the dough is very smooth and elastic.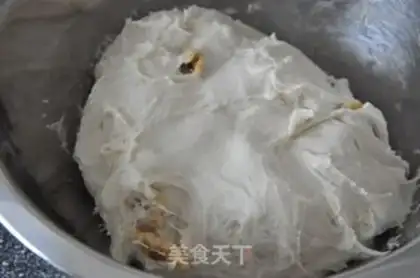
4
Rub in walnuts with your hands. Choosing a whole large walnut will have a better taste, but if you choose a smaller broken walnut, it will be more distributed. According to personal preference. Put it into an oiled basin (anti-stick), place it with a plastic bag, ferment for the first time at 20 degrees, 1 hour.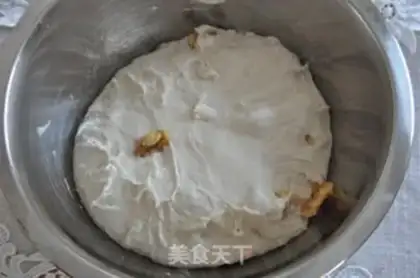
5
The dough increased slightly after 1 hour, but not too much.
6
Remove the dough, exhaust it, press it into a rectangle with your hands, fold it in three times, and place it back in the basin. Put on a plastic bag, ferment for the second time at 20 degrees, 1 hour.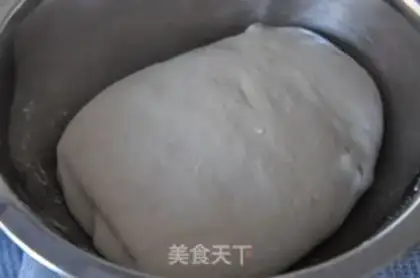
7
After 1 hour, the dough shape increased more than before.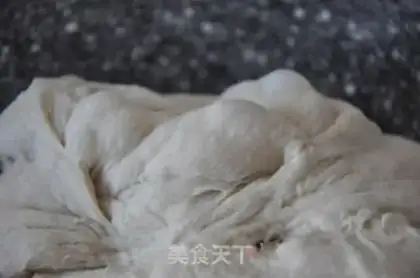
8
Take out the dough again and there are obvious bubbles when kneading, indicating that the fermentation is beautiful. The dough feels good. After exhausting, reshape.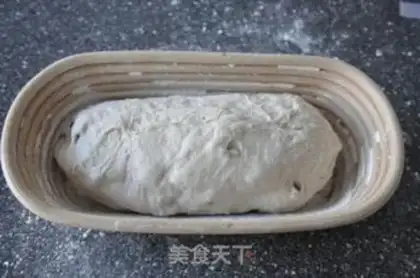
9
I got a big olive shape today. Put it into a bread fermentation basket, sprinkle some flour on the surface, gently place it in a plastic bag, place it in the refrigerator, and ferment for the third time for 8-12 hours.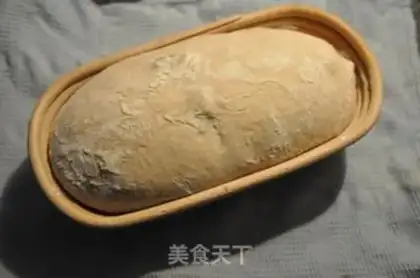
10
The bread more than doubled in size after the third fermentation.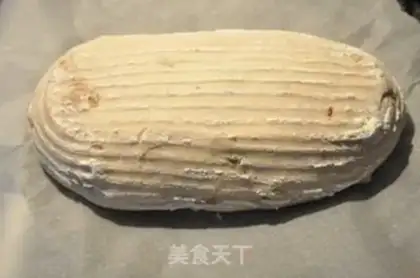
11
Carefully buckle the bread onto a baking sheet covered with baking paper and ferment for the fourth time at 20 degrees.
12
Until the volume doubles, about 2-4 hours. Preheat the oven to maximum temperature, spray water, and push the dough at 220 degrees for about 20 minutes, then 180 degrees for about 10-15 minutes. Attention! Because the bread is not divided, there will be significant volume growth during the baking process, and it will grow taller, and may be closer to the heat source of the oven. In that case, the surface of the bread is likely to start to burn in a short period of time. Be sure to watch the baking, and once the color is good, lay tin foil before continuing.