fruitcake
By HoseaKuvalis
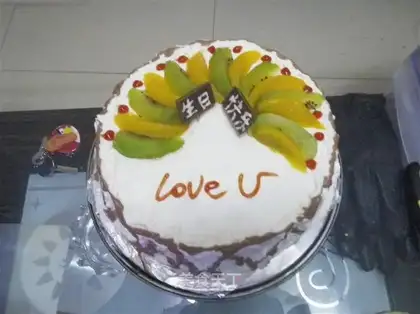
My husband celebrated his birthday and wanted to surprise him, so he made a DIY birthday cake. It was the first time he made it, and it felt very different. Although I ate most of it, it was also made for him in name, haha!
Recipe Recommendations
- Qi Feng cake blank 8-inch
- sugar appropriate amount
- fruit appropriate amount
- sweetening
- other
- several hours
- ordinary
Steps for fruitcake
1
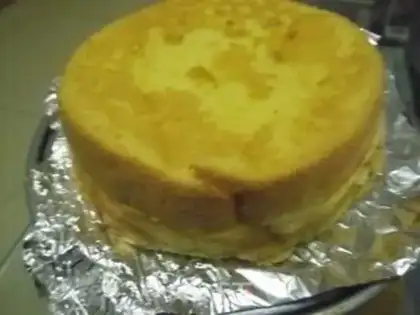
Qi Feng cake is 8 inches long and you can bake it yourself, but my rice has an oven and there is not enough time, so the cake preform I bought at a nearby cake shop costs only 12 yuan, which is cheap and saves trouble.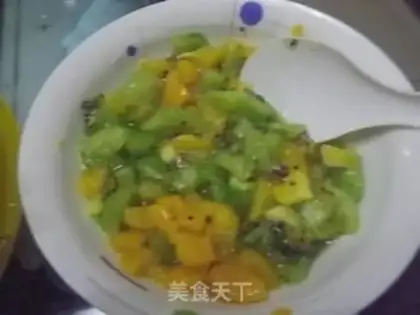
2
Prepare fruit. I happen to have kiwis at home and cans of canned yellow peaches that my husband and I love most. The fruit in the picture is used for filling, so cut into cubes. In addition, the fruit used for mounting decoration is sliced, so I didn't take any photos here.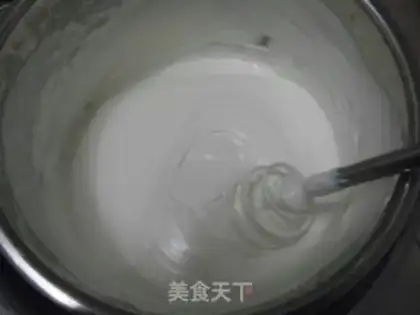
3
The main point is that I am tired of whipping butter. I used Nestle whipped cream (so sugar was added). I was miserable. The rice had an electric eggbeater, and it didn't work even after beating it manually for almost an hour. I checked the Internet and found that because the cream has low fat content, I added two spoonfuls of whole milk powder, but it still didn't work. I heard that I had to be beaten at low temperatures. Since there was no ice cubes, I thought of a way-open the refrigerator freezer door, put the container in front of the freezer door and beat it. Sure enough, it was over in a while. Of course, this method is not recommended for everyone to use. It's cold!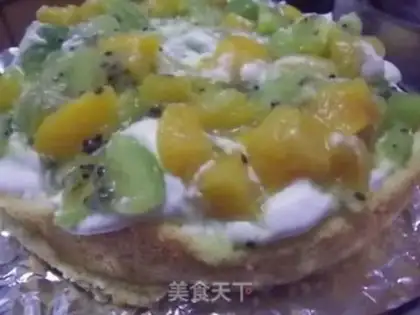
4
Cut the cake blank horizontally, spread a layer of cream inside, and add fruit cubes.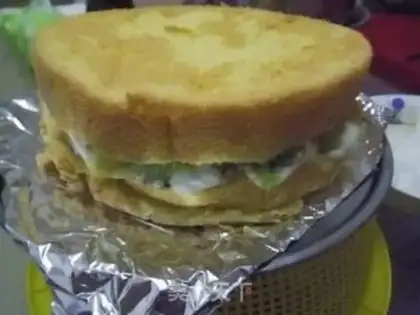
5
After adding the fruits, cover the other half of the cake and start applying the outer layer of cream. I don't have a decoration table (it's replaced by the folds of the steamer, although it can't be rotated, let's make do, we don't have to be so professional), and I don't have a scraper (it's replaced by a flat rice spoon).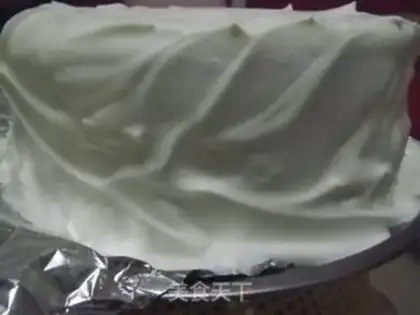
6
Sprinkle and butter!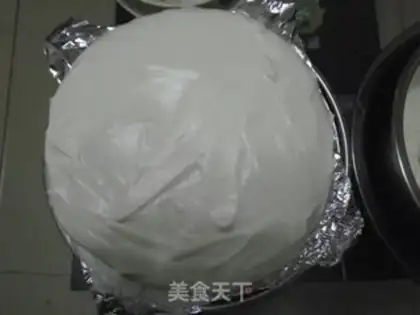
7
Smooth as much as possible, and we can start decorating.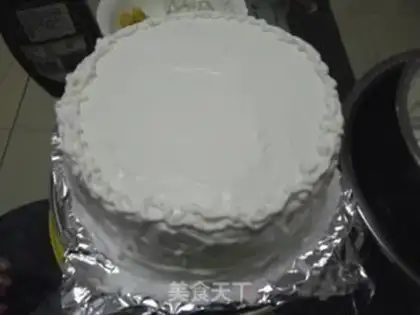
8
The wood has a decoration bag (instead of a fresh-keeping bag) and the wood has a decoration nozzle (a small hole is poked in the corner of the bag instead). The cream is squeezed out first and then dropped on the cake. Like drawing wavy lines, you can mount some lace and decorate it. It can also make the cake look bigger.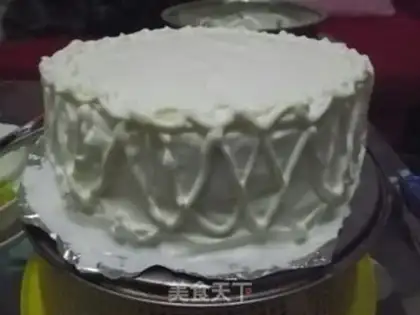
9
You can also decorate the sides of the cake to avoid monotony. Although my technique is not very good, it was my first time, and it was interesting!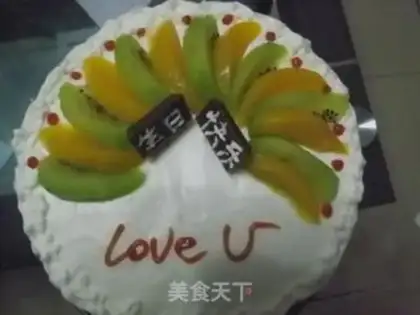
10
Roughly shape, start the decoration on top, and arrange the cut fruit slices according to your imagination. There was also Dove chocolate at home. I broke two pieces, wrote "Happy Birthday" on the chocolate with cream, and fixed it on the cake with a toothpick. There was no red fruit at home (I wanted to buy strawberries, but it was extremely expensive this season), so I used ketchup instead to make decoration, and the effect was good.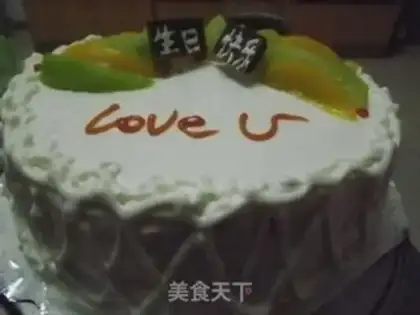
11
Take a picture of the side three-dimensional point.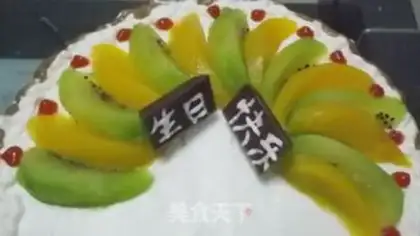
12
Recent photos are still beautiful.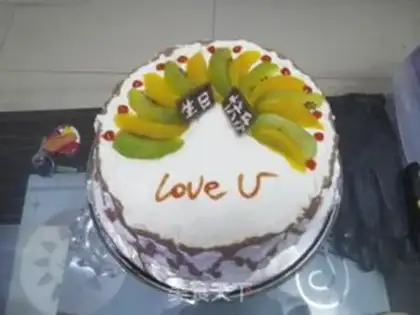
13
My husband suggested putting some chocolate sauce on the side. My food is too thin and the cake is a little disfigured, but it's okay!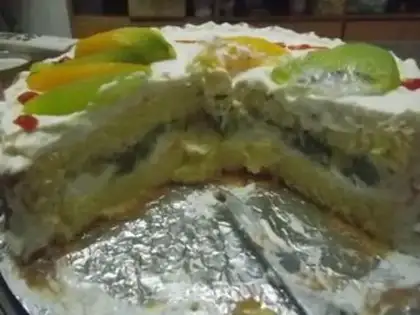
14
Let's start eating. My husband said it was delicious. It's my first time making cakes, but I still feel a sense of accomplishment. In fact, I eliminated most of them. Who asked me to make them so delicious?