Peach buns
By VicentaLakin
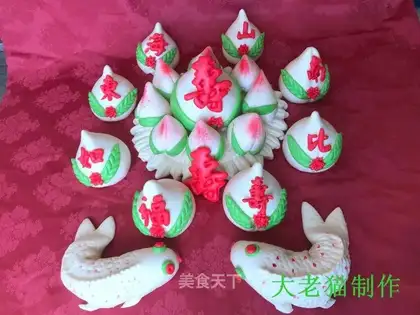
Recently, because of the epidemic, everyone's “suffocated” at home! The old cat's too bored to “squeeze” and hand out a peach sticker for everyone to enjoy; first, a finished chart, town. ~ Ha ha
Recipe Recommendations
- flour appropriate amount
- yeast appropriate amount
- food coloring a little
- sugar a little
Steps for Peach buns
1
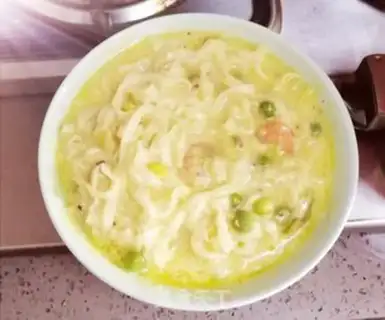
First, the flour is made into fermented noodles, then the flour is plattered, a little wake-up, and then the strips grow。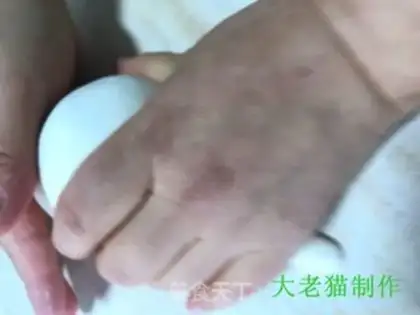
2
It is then reduced to the right size; then it is rubbed into a smooth surface cone shape (must be made as shown in the figure; the point of the peach is picked slightly higher, otherwise the evaporated product is not working well)。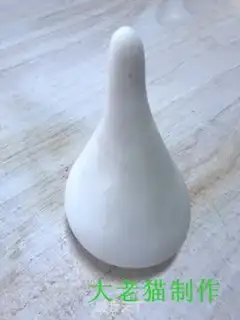
3
As shown in the figure。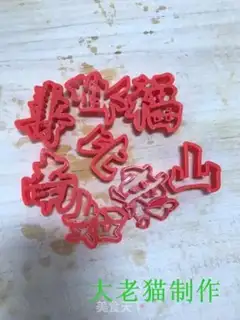
4
A section of the pasta is also taken, which is dyed with red and green colours with red and chrysanthemum, which is then condensed with a cane, which is later on; then, on the red face, the molds are pressed with the words “Foot like East Sea, Suuyun Mountain”; and the red “Peach Flowers”。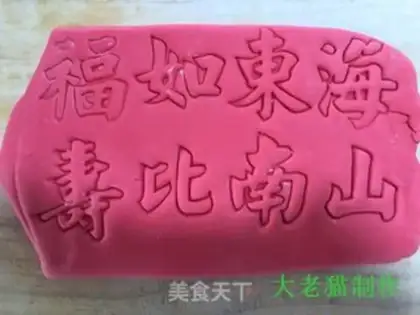
5
As shown in the figure。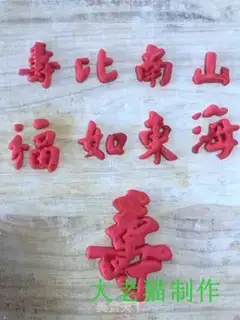
6
As shown in the figure。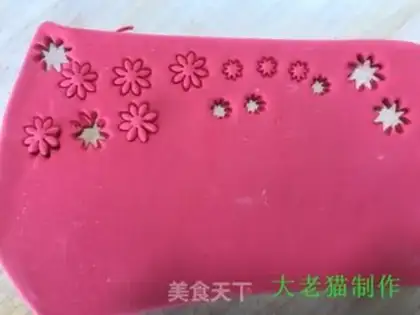
7
Peaches。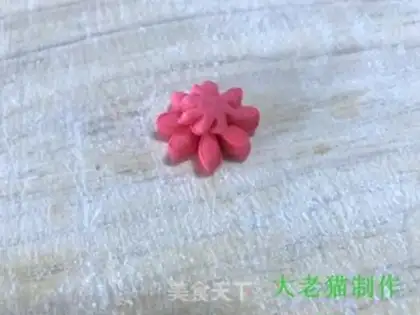
8
Peaches。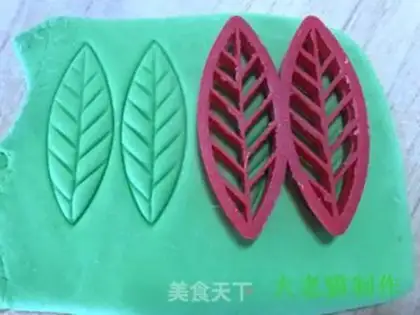
9
Use the mold to press the peach leaf on the green face。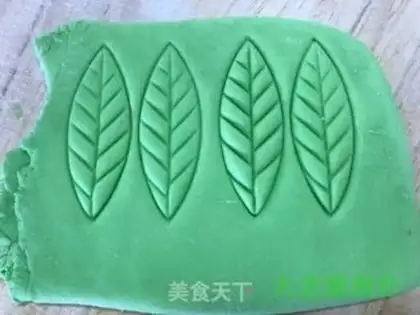
10
Peach leaves。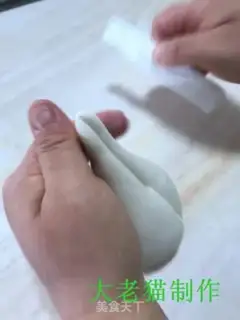
11
"Peach" embryos are formed, and they are formed into peach shapes by pressing out a "suture" with a comb。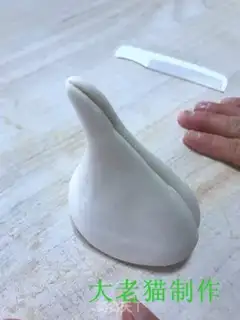
12
As shown in the figure。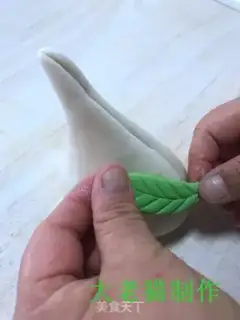
13
And then the made peach blossoms and the water of the peach leaves are glued to the peaches。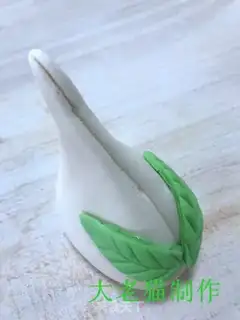
14
As shown in the figure。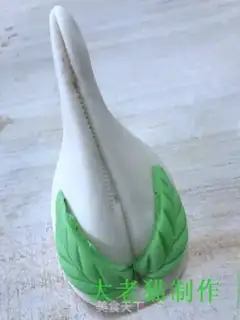
15
As shown in the figure。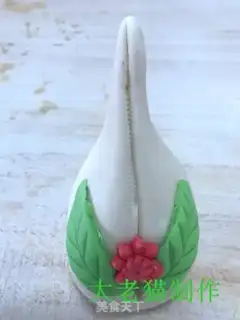
16
Good embryos。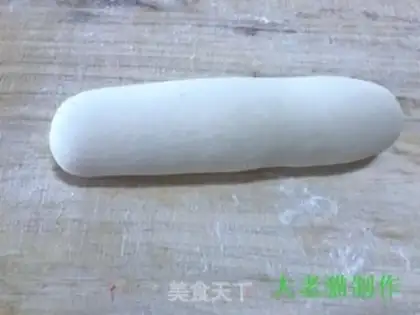
17
The grouping is made of “bars” and then “fish” as shown。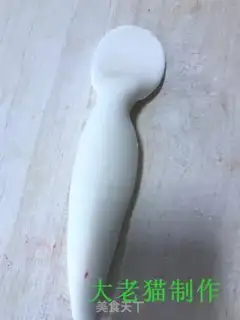
18
As shown in the figure。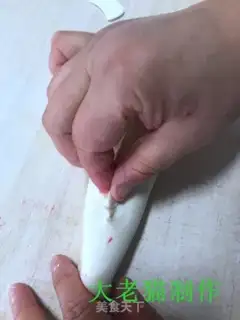
19
As shown in the figure。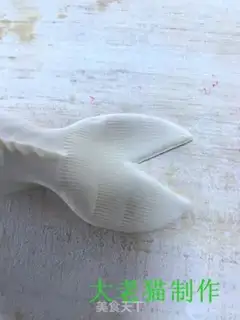
20
As shown in the figure。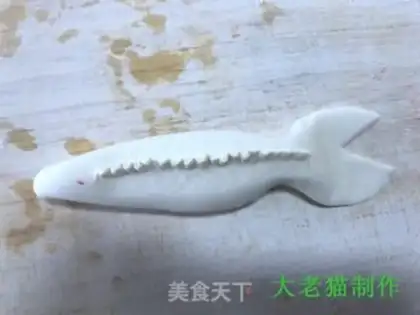
21
As shown in the figure。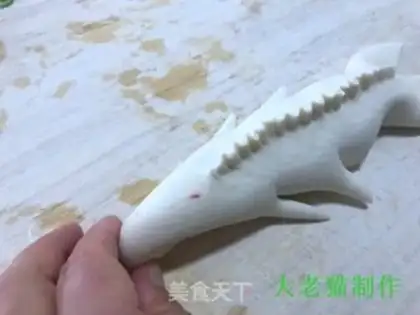
22
As shown in the figure。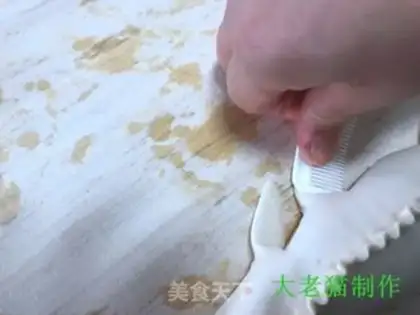
23
As shown in the figure。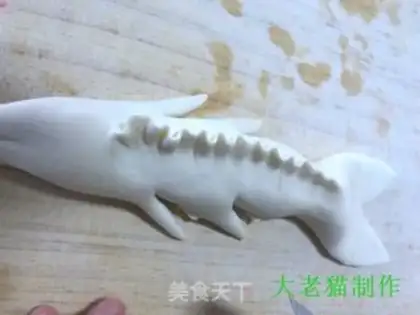
24
As shown in the figure。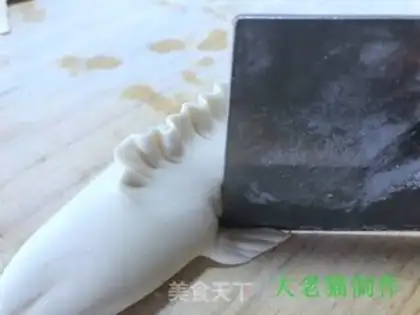
25
As shown in the figure。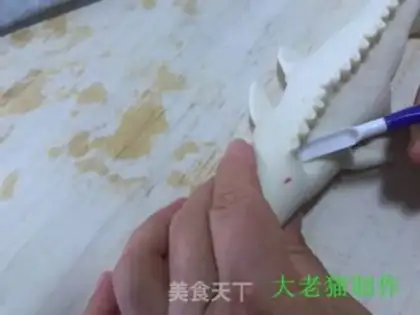
26
It is then carved with a knife on the face of the fish; it is then crafted to make it more visible。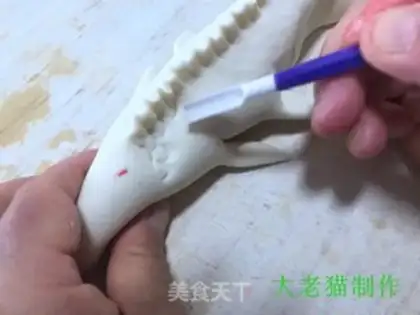
27
As shown in the figure。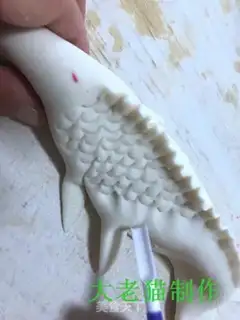
28
As shown in the figure。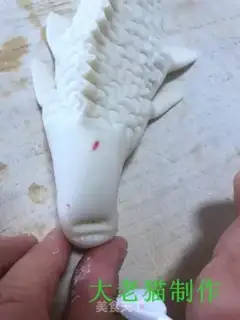
29
The eyes, mouths, etc. of the fish are then “installed” to make it better and more visible。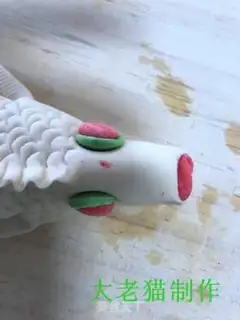
30
As shown in the figure。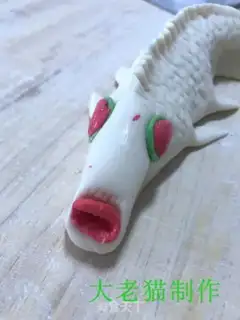
31
As shown in the figure。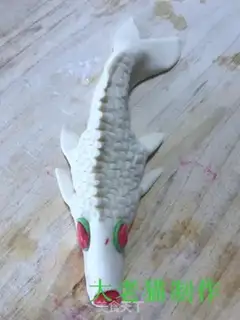
32
As shown in the figure。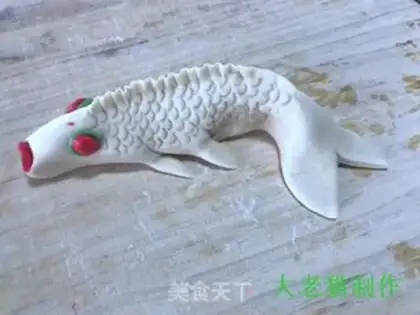
33
As shown in the figure。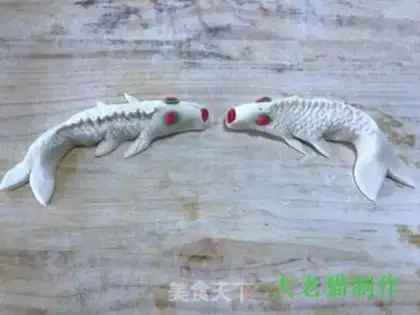
34
Good embryos。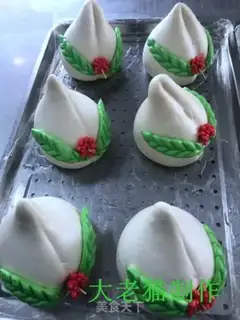
35
Producing raw embryos, such as peaches and succulent fish, evaporated and matured, and dryed for backup。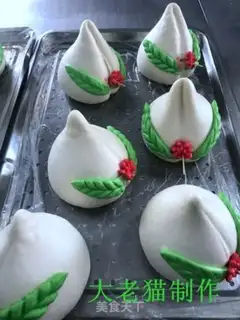
36
Steam complete。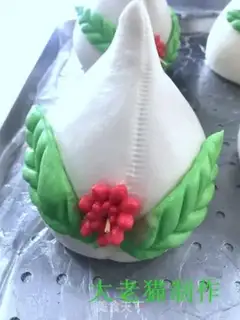
37
As shown in the figure。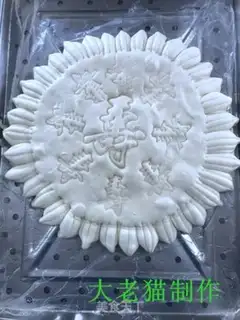
38
Steam complete。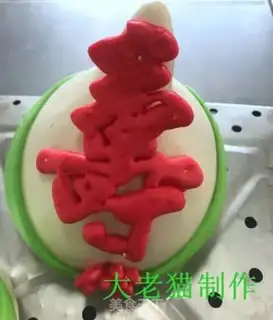
39
Steam complete。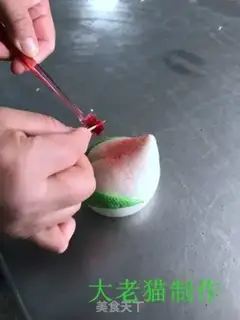
40
When the peach is cooled, the toothbrush is covered with red edible colours (not too much), and then the toothbrush is drawn with toothpicks, so that the colour is evenly sprayed on the surface of the peach。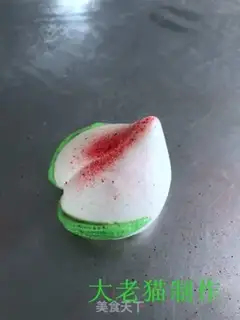
41
As shown in the figure。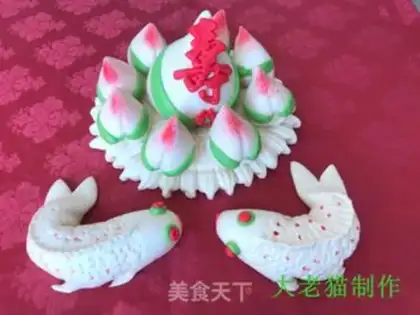
42
Show the finished product。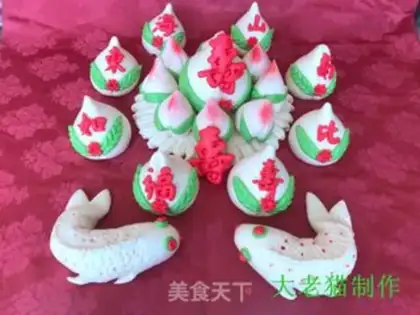
43
The product presentation。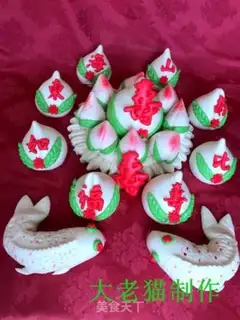
44
The product presentation。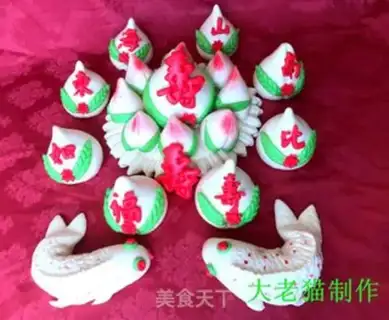
45
The product presentation。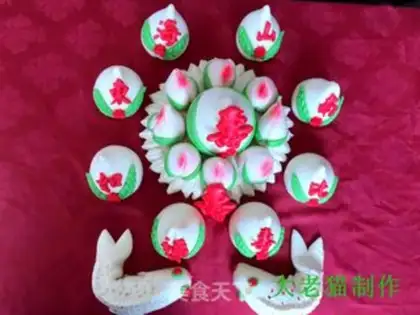
46
How do you like the Chinese-style traditional cherries? Welcome to the comment. Thank you