It doesn't matter if you can't buy butter or you're afraid that eating vegetable butter is unhealthy.
Can you make a delicious cake without butter?
If you master the above portions well, you can make 12 cups. My oven is small, so you can finish it twice.
And I made it several times, and it was very successful every time, so this kind of cake is easy for people who are not very good at making snacks to use ~
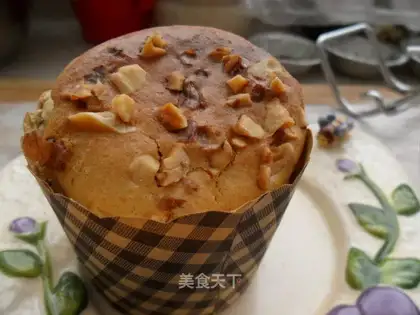
Peanut and Walnut Muffin Cup
Recipe Recommendations
- low powder 200 grams
- milk powder 50 grams
- baking powder half a spoonful
- milk 150 grams
- peanut butter 2 tablespoons
- eggs 2 only
- crushed nuts appropriate amount
- salt half a teaspoon
- peanut oil 30 grams
- sugar 50 grams
- sweetening
- baking
- an hour
- ordinary
Steps for Peanut and Walnut Muffin Cup
1
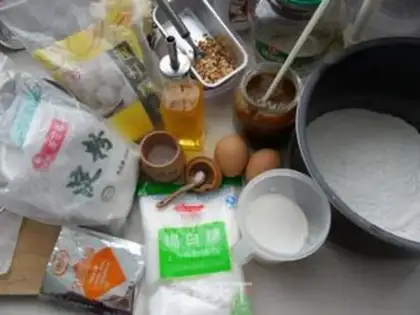
1. Prepare all ingredients first so that you can make them easily. This time, I used the peanut butter I bought downstairs. It was heavy in color and thin in texture. You can also put a spoonful of it.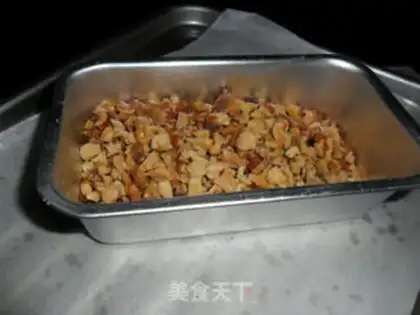
2
2. Production of chopped walnuts: Oven at 150℃, heat the middle layer for 10 minutes. Remember to watch at any time before it gets burnt. Cool and chop. Set aside.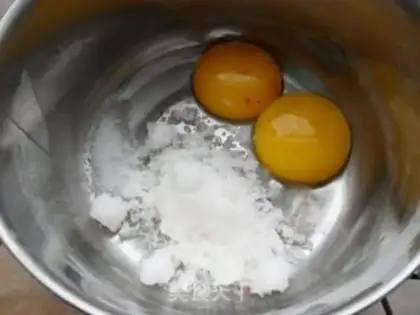
3
3. Separating the egg yolk and egg white (I only remembered to take a photo after sprinkled with sugar ~~XD)
4
4. The container for beating eggs should be big enough. In fact, it is best to use a large glass bowl (the stainless steel basin makes so loud when beating eggs!)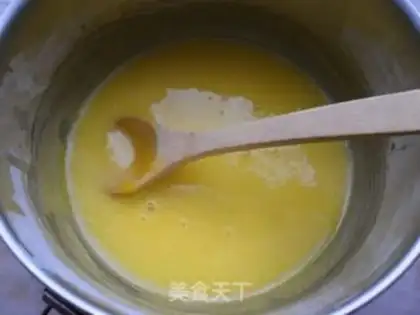
5
5. Add 20 grams of sugar to egg yolk and add half a teaspoon of salt, stir until melted.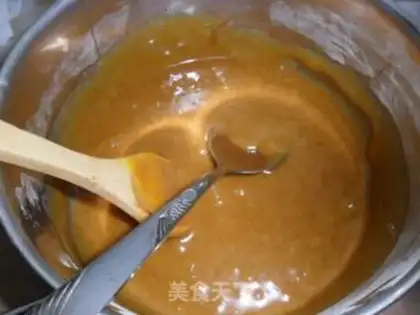
6
6. Add peanut oil and peanut butter to the egg yolk liquid about 3-5 times in divided times and stir well to prevent separation of the oil and water.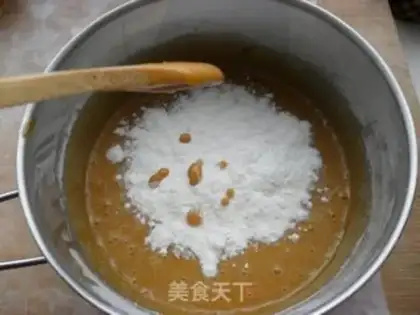
7
7. Add milk, flour, and milk powder at an interval between the peanut oil, and stir several ingredients evenly and well with the egg yolk liquid.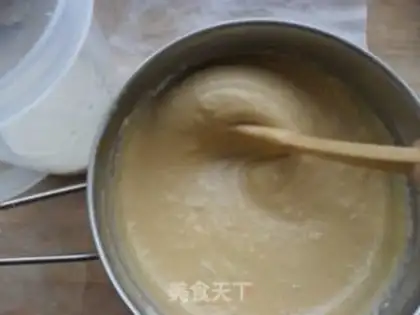
8
8. After stirring completely, add the appropriate amount of chopped walnuts (leave some of the slightly larger chopped walnuts on the top of the cake, and mix other shredded bits into the egg paste.)
9
9. Beat the egg whites and add the remaining sugar in three times.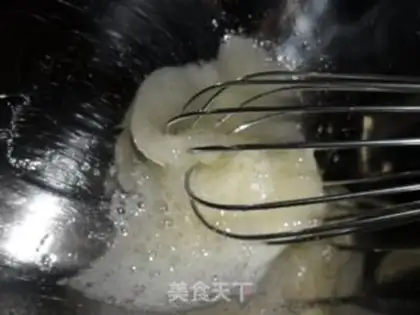
10
10. When you add sugar for the first time, the egg white liquid starts to bubble. Keep beating hard! Come on! (Don't really add peanut oil to it--)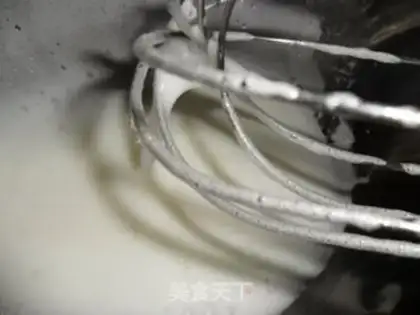
11
11. When adding sugar for the second time, the egg white liquid more than tripled. This is probably called wet foaming-hahaha ~ Come on!!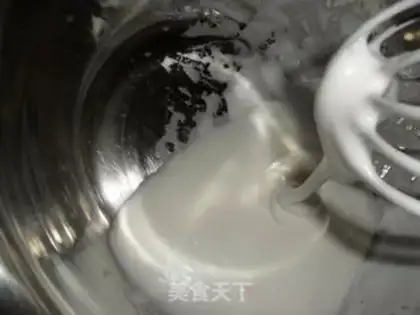
12
12. Add sugar for the third time, when you feel that your arm does not belong to you, and see that the egg white liquid can be so sticky, you will be a hundred times more confident!!!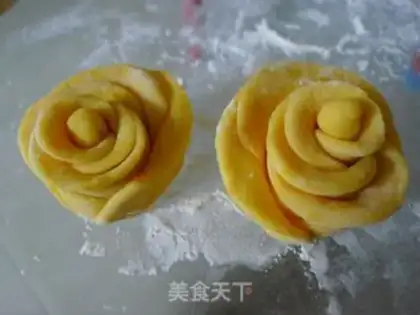
13
13. Keep tearing your arms! When the egg beater is lifted, the egg liquid will not drop. Is this called dry foaming???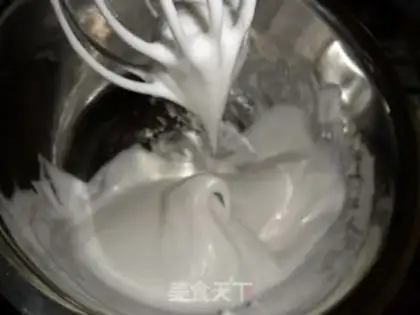
14
14. When the egg is lifted up the whisk, the egg liquid in the basin is already hooked. At this time, if you put the whisk into the egg white liquid, it will never fall down! (But the tired person fell down--)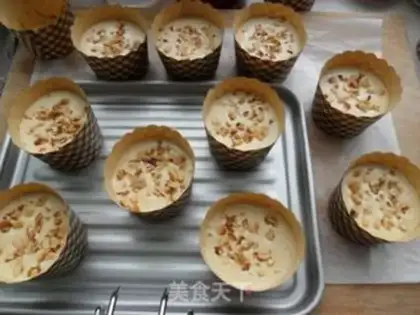
15
15. I found myself very white! I forgot to take a picture of the mixing of egg yolk liquid and egg white liquid-because I was afraid of defoaming, I quickly poured it into a paper cup. When mixing the two egg pastes, remember to stir them up and down! Don't draw circles!!! Shake the mixed cake paste in the basin to shake out the large bubbles inside. The paper cup capacity is 7 minutes full. If you don't believe me, I can post a sad picture with the cake paste gushing out and filling the baking sheet--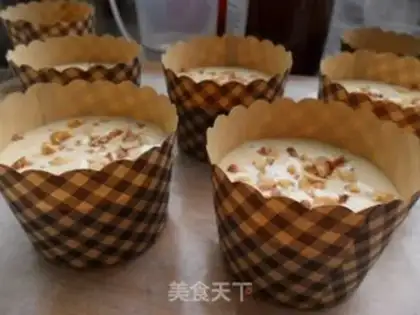
16
16. Sprinkle large pieces of crushed walnuts on the surface (Hey! Don't steal roasted walnuts while working!!!)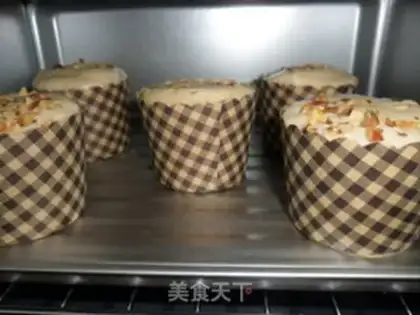
17
17. At 185 ℃, preheat the middle layer over high heat for 10 minutes, place it in the oven and bake for 30 minutes. The batter starts to expand and expand ~~~ If the oven is hot, remember to change the position of the baking sheet.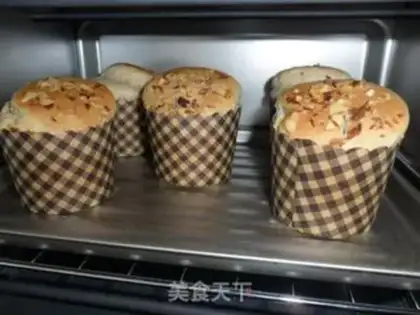
18
18. I don't know why? What I roast this time is always bulging?? The one roasted at her mother's house cracked in the middle ~~ Unfortunately, it was wiped out without a picture.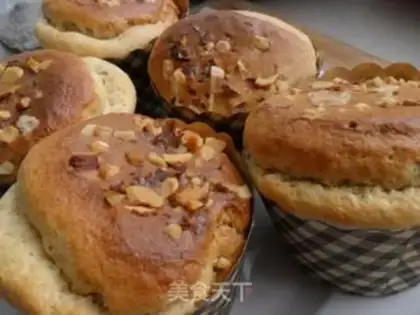
19
19. This is a finished product that has been baked. It doesn't look as good as the outside. But how can you look at it? How can the Lun family be interested in their own works?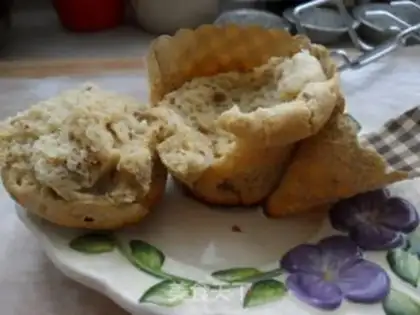
20
20. The color inside is dark because I use too much peanut butter from downstairs! The small thing is crushed walnuts. Take a freshly baked hot muffin and put it in your mouth. Your body is not only filled with sweetness, but also a sense of accomplishment.Peanut and Walnut Muffin Cup Make Tips
The tips this time are just a few words. I still don't use butter! Make a fist!!!! I don't use much sugar, so if you like sweet food, you can consider the ingredients yourself. Condensed milk or honey can also be added. This time, we chose peanut oil because we made peanut butter muffins. If you don't like the strong taste of peanut oil, you can change it to other vegetable oils to make basic cakes. Only when I was making cakes for my noble parents and adults at my mother's home did I realize that the temperature difference between the ovens on both sides was very large! My chopped walnuts were burnt after being roasted at 100℃ for 5 minutes-Nei Niu ~~ Because of this, I only tried the muffin cups I made for my parents until 100℃. Therefore, if you want to make your own baking food, you must first understand the firepower of your oven and not blindly follow other people's recipes. In fact, there are many ways to make muffin. I hope you can create your own famous muffin cup based on my improved version!