Homemade cheese sticks
By VicentaLakin
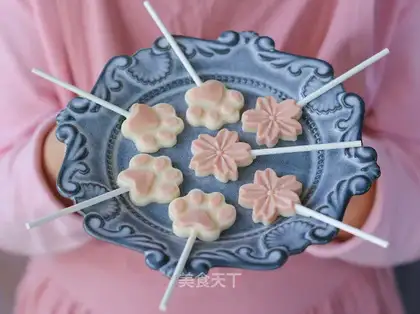
After the first five, the heat suddenly got hot, and the mushy little friends started screaming for cold drinks. The mothers were in trouble, fearing that they would eat too cold and hurt their stomachs, and fearing that they would buy too much cold drinking additives and sugar to be healthy. Today, we are presented with a kind of sour sweet, cool and stomach-free, simple, non-added, nutritious and calcium-composed child cold drink — cheese bars. I'm using silicone lollipop. Small head, one. Silicon glue is easy to demodel. If you are lazy enough to buy a mold, you can also make it with a bowl, and then you can draw a square piece with a knife and eat with a spoon or fork。
Recipe Recommendations
- milk 200 grams
- Breakfast cheese slices 3 tablets
- white granulated sugar 10 grams
- gelatin tablets 2 tablets
- strawberry powder 3 grams
- sweet and sour
- cook
- ten minutes
- simple
Steps for Homemade cheese sticks
1
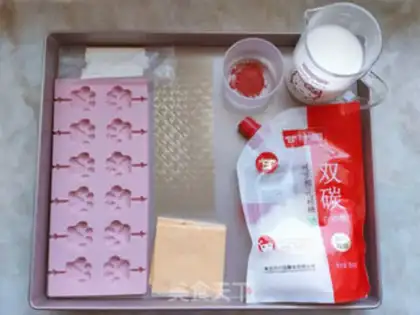
Prepare all kinds of material. Breakfast cheese is yellow, square, ready-to-eat cheese, which is used when making sandwiches. It's in the supermarket freezer. Gillidin is an animal adhesive protein that is often used for Western food or for desserts such as mousse, pudding, etc., and acts as a condensation plastic that can be bought in bakeries。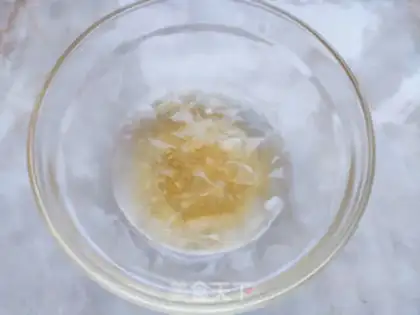
2
Cutting the gilding tablets, filling them in small bowls, adding a little cold water bubble and pouring out the extra moisture. The use of glitting powder also requires early cold water bubbles. This is done in order to stabilize evenly and to prevent the blocks from not being dissolved。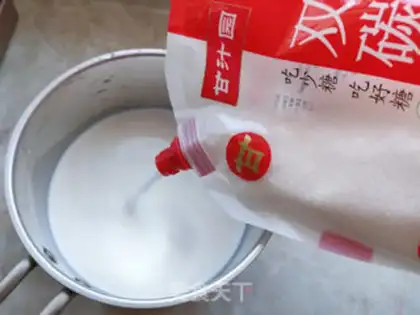
3
Take a small milk pan and pour milk and white sugar. I use double carbon sugar, which is safer and healthier than the white sugar that sulfide。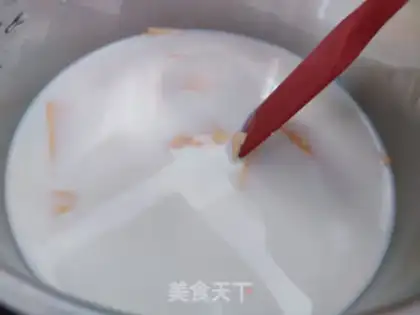
4
Add three more cheese slices, heat them with a little fire, so that they can be fully dissolved。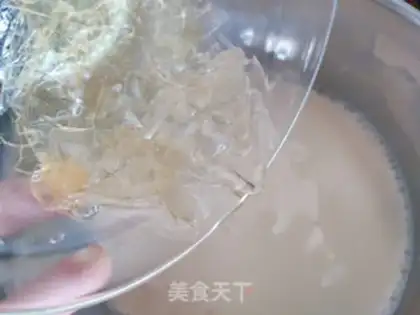
5
The milk pan is out of the fire, the milk is cooled to about 50 degrees, the bubbled glitting tablets are plattered, the remaining temperature is fully dissolved, and the cheese fluid is ready. It is important to note that the temperature of milk, which melts at 35 degrees, or more than 60 degrees, will affect the condensation of the child。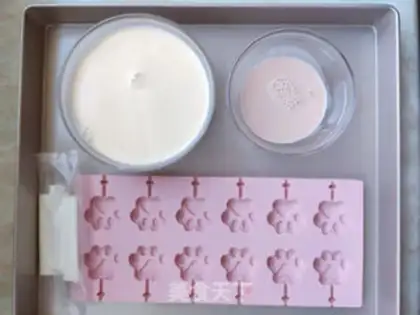
6
And then we split the mixed cheese fluid into two, one of original and the other with strawberry powder. Little tip: If you make only one original taste or don't use molds, this step can be omitted and the cheese drops into the bowl and put in the freezer. If there is no strawberry powder, it can be replaced with cocoa powder, tea powder, etc., or if it is added to the mashed or jam, it can produce cheese sticks of different tastes。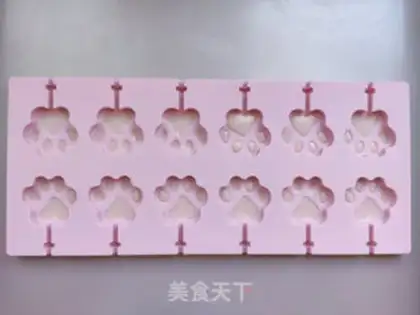
7
The mold is placed in the tray and the pink strawberry-flavored cheese is poured into the mould. A little tip: Silicon glue is softer, with a hard bottom tray, so it's easier to move back and forth and not easy to spill. The pattern of the mold is condensed, with a small spoon, drip or squeezing bottle. If it's a problem, just fill it up and make it a color。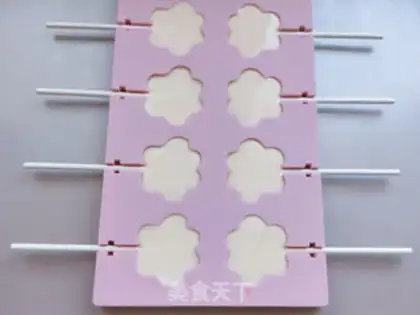
8
Put the tray in the fridge, freeze it for about 10 minutes, to be condensed in the pink part, then put in a paper bar, pour into the original cheese fluid and fill the mold。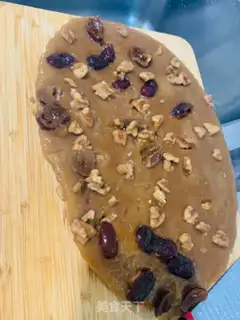
9
Re-place the mold in the fridge for about 20 minutes, and then decompress it. A little tip: Don't pull a paper bar when it's off, you're gonna have to pull a silica on both sides, and then you're gonna pull out the stick after the edges are separated。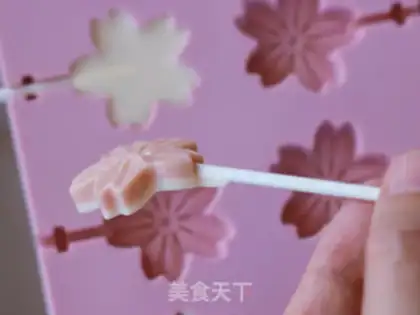
10
It's a dry cheese bar that eats straight. It tastes soft, it's not hard, it's ready, it's delicious。Homemade cheese sticks Make Tips
A good cheese bar requires sealing, cold storage, with a shelf life of 3-5 days。