Japanese soy bag
By VicentaLakin
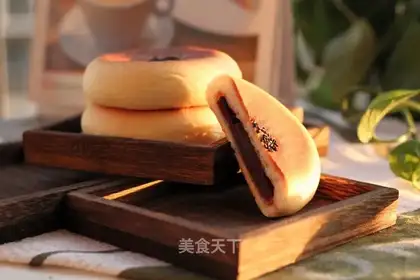
It's a soybean bag like the old dome. It's crushed! Is it better to call a soybean? It's the same thing as the usual pie. It needs to be processed when it's baked
Recipe Recommendations
- high-gluten flour 300g
- low-gluten flour 30g
- milk powder 30g
- fine sugar 30g
- sugar-tolerant dry yeast 5g
- salt 3g
- butter 30g
- bean paste 480g
- sesame appropriate amount
- milk
- sweetening
- roast
- an hour
- senior
Steps for Japanese soy bag
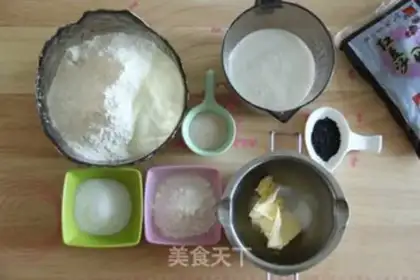
1
Prepare food items and soften back up early with butter。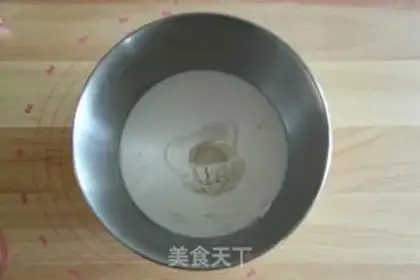
2
Salt and butter are placed in reserve, powder is poured into a bucket, then liquid is poured into the corner and fine sugar is placed in a dry yeast。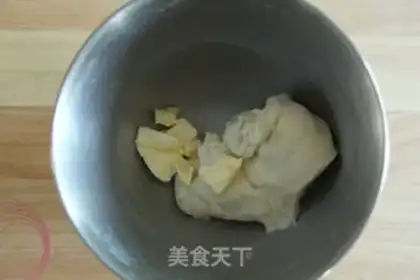
3
The cook sets up, blends the materials into groups, turns two to three to smooth, pulls out the thick membranes and then adds salt and softened butter。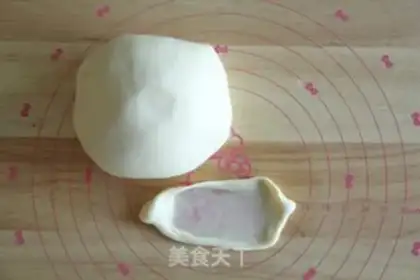
4
Turn two to mix butter and pasta, then shift three to four to expand, and pull out a thin film that is so strong and transparent that the bread is not as demanding as toast。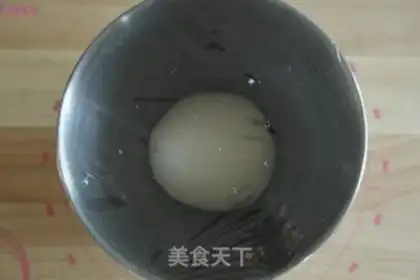
5
The first fermentation at a temperature of 27-28°C takes place at approximately 50 minutes to 1 hour。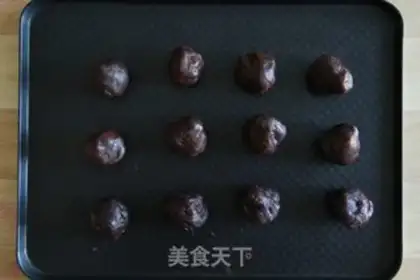
6
During the fermentation period, the material can be divided into 40 grams and 12 copies. If you want to wrap it up, you can freeze it for a little while. There's a little grouping, there's no soft party。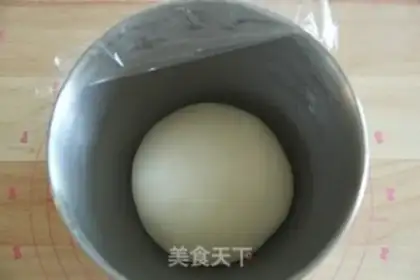
7
It ferments to double the size of the noodles, looks at the state, usually poking a hole with a finger-tiped flour, and it does not significantly collapse。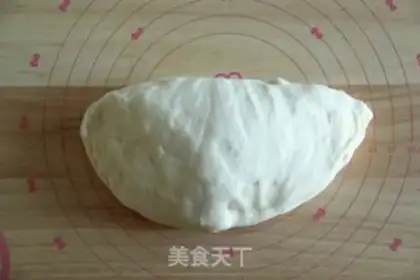
8
Take out the noodle, fold the pressure light, exhaust。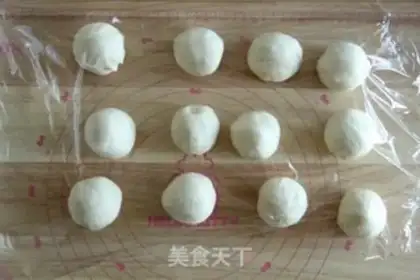
9
Split the noodles into 12 copies. It was also a small rounding method, covering 15 minutes of membrane laxity。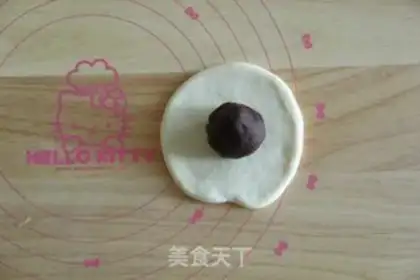
10
Take a loose pasta, open up, turn over and put on a pate ball. Then you put the skin on the pyre ball, and you put your right hand in the mouth, and I'm used to it. You have to keep the shut tight, or you'll miss the casserole。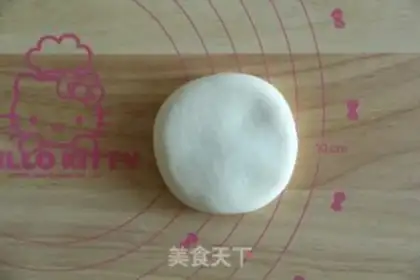
11
It's working. Turn your face down. Press a little flat. Don't press too flat。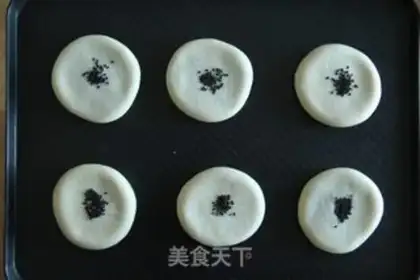
12
It's all working, a little water spray, sesame particles。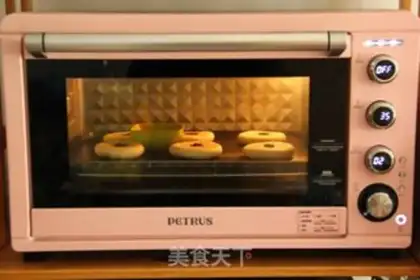
13
Put it in the oven, develop fermentation fermentation, re-fermentation at 35°C, with a humidity of 70 - 80%, so that a bowl of hot water in the oven can increase humidity and fermentation up to 1.5 times greater。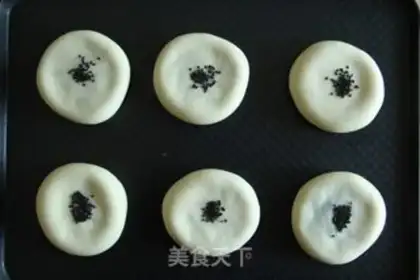
14
When it's fermented, take out the preheat oven, 190 degrees up and down。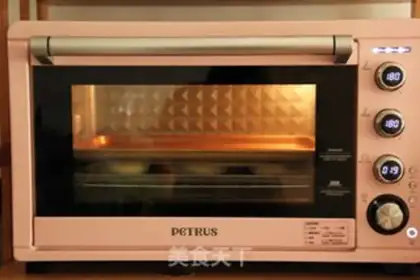
15
Put a piece of oil paper on the fermented noodles, and then press on a flat plate. On the oven, otherwise there would be no room for the bakery to expand and then put it in the lower part of the oven, turning 180°C and roasting for 20 minutes。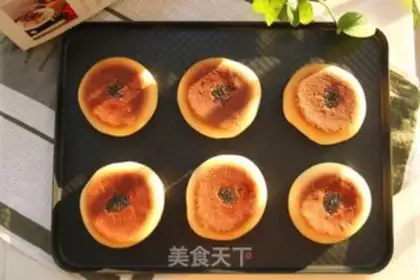
16
When you're out of the oven, you're moving on to the cold shelf, and you're cold enough to be able to pack and seal. In winter, the house temperature seal can be finished or frozen as soon as possible。Japanese soy bag Make Tips
MILK MAY BE RESERVED FOR ADDITIONAL FLOUR, DEPENDING ON THE AMOUNT OF WATER THAT THE FLOUR ABSORBS, AND THE CONDITION OF THE FLOUR IS CONSIDERED NECESSARY. 2. THE WRAPPING OF THE CASSEROLES MUST BE TIGHTENED TO PREVENT A LEAK IN THE CASSEROLE. IT MUST BE ON A DISH WHEN IT'S BAKED, AND IT NEEDS TO BE FLAT-FLOORED, WITH NO FLOWERS ON THE BOTTOM. 4 THE OVEN USED IN THE TEXT IS PE3050, AND IF YOU ARE WARM AND WARM, PLEASE FINE-TUNE IT ACCORDING TO YOUR OWN OVEN. THANKS FOR THE FORMULA