Pumpkin honey bean toast
By MeaganNader
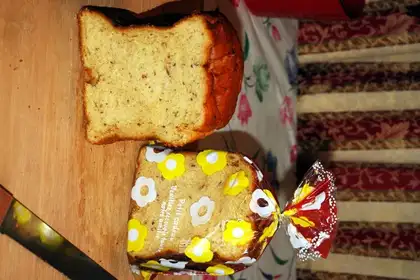
This toast is pumpkin honey bean toast, and pumpkin juice has been taught to everyone in the previous recipes, so I will omit it here. Also, this toast is really delicious beyond my belief. It tastes very good, even if you don't need to put a lot of sugar in it. I use a bread machine to make it, but if you can make the dough with your own hands, you can also use an oven. Hehe, in fact, the ingredients of the bread are the most important. If you master the ingredients well, it will definitely taste delicious. Everyone may wish to try according to my ingredients O(④_④)O
Recipe Recommendations
- high-gluten flour 250g
- eggs 1个约65g
- milk 100ml
- milk powder 50g
- honey beans 50g
- sugar 40g
- salt 4g
- butter 30g
- dry yeast 4g
- sweetening
- roast
- several hours
- ordinary
Steps for Pumpkin honey bean toast
1
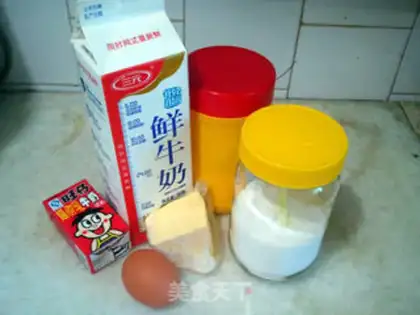
Sugar, eggs, milk powder, butter, salt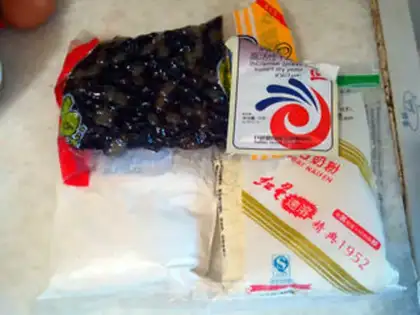
2
Honey beans, high-gluten flour, milk powder, dry yeast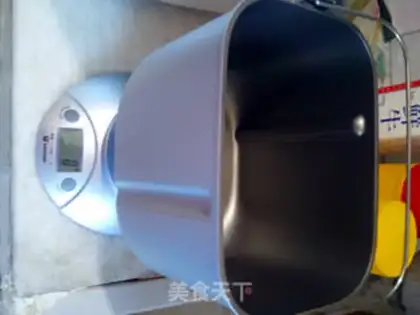
3
Put the bread cone on top first to measure.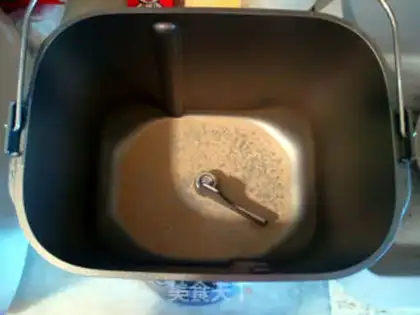
4
The dry yeast was put first in our hands, because the yeast began to ferment as soon as it encountered water, so we placed it at the bottom. Dry yeast 4g~5g.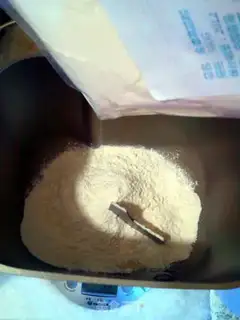
5
Add 250g of high-gluten flour.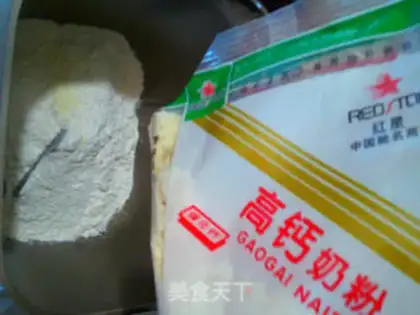
6
Add 50g of milk powder. In fact, I think it doesn't matter if you add more. The milk flavor will increase. It's delicious.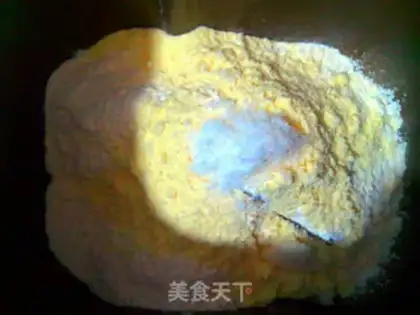
7
Add salt, sugar, and milk powder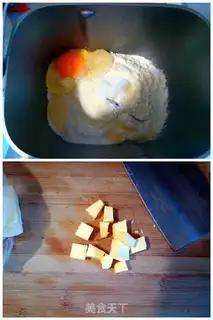
8
Add eggs and butter.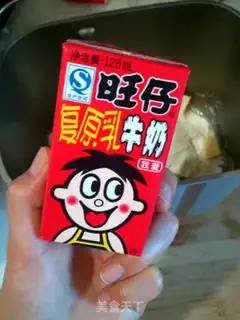
9
Add milk. I suggest everyone use this brand. It has a strong milk flavor.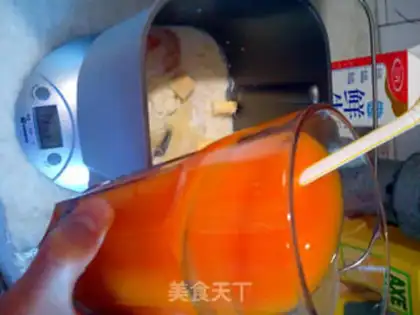
10
Add freshly made pumpkin juice. See the last recipe for the process.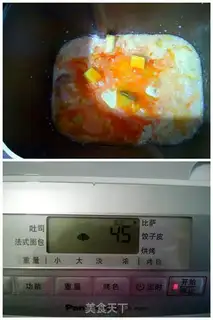
11
The ingredients are almost ready, then let the bread machine start spreading the dough first.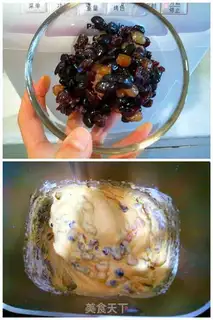
12
The bread machine starts to stir when it leavens the dough, so you can put the honey beans in. I asked the bread maker to ferment the dough first so that the bread would be softer.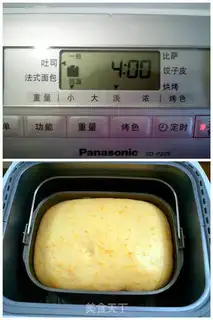
13
After the bread has only been spread through the dough once and it has finished fermentation, we can click the bread making switch, and now we can actually start making bread. The picture shows the dough I found when I opened it in the middle. It looks like it's fermented very well.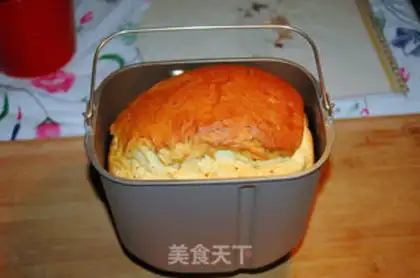
14
The bread was ready in a few hours, and it looks good.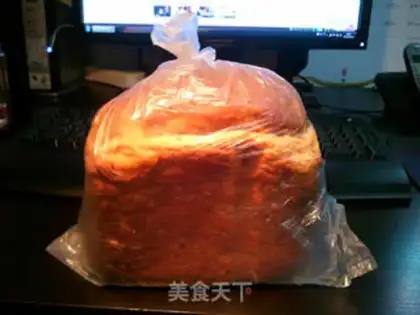
15
When the bread is about the same as your body temperature, be sure to put it in the bag so that it can slowly soften.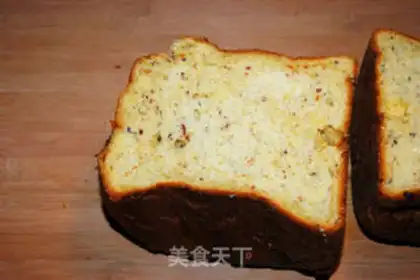
16
After letting it soften, you can slice it. After cutting it open, you will find that it looks very nice, and after tasting it, you will find that it tastes delicious and soft.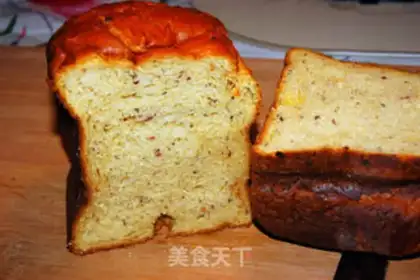
17
It's really delicious.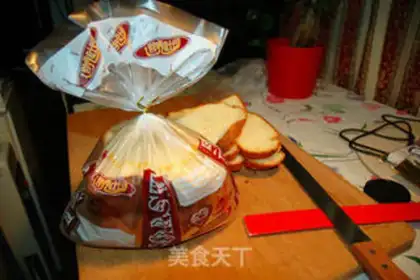
18
Cut it into slices to make a sandwich. If you don't slice it, put it in the packaging bag you bought specially. This way, you will feel more beautiful and like it.Pumpkin honey bean toast Make Tips
Although the bread outside is delicious, the calories are really too high. I still make it myself the healthiest and most delicious. I can put whatever I want. In fact, I didn't know how to knead bread dough, so I chose to buy a bread maker. However, if you are good at kneading dough, you can make your own bread according to my ratio. If you knead dough yourself, you only need an oven. You don't need a bread maker. There is also the pumpkin juice. Because I just want to color it, it doesn't taste like pumpkin at all. If you need the flavor of pumpkin, you can just remove the milk and replace it with pumpkin juice. Or you can use other juice instead. You can make it yourself and you can use it so freely. Finally, be sure to remember: put the bread in the bag when it doesn't become hot so that it will soften. O(∩_∩)O