Polish
By VicentaLakin
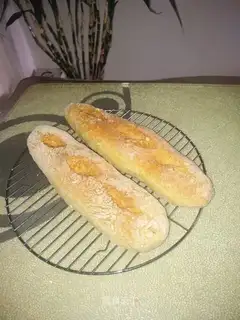
Steps for Polish
1
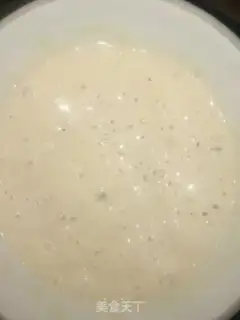
Production of Polish species one day in advance: fermentation of materials to the surface filled with countless small bubbles and cooling of refrigerators for 8-12 hours。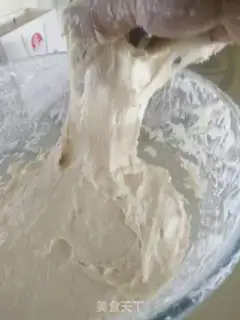
2
ON THE FOLLOWING DAY, HAND-CARVING OF THE FACE BEGAN WITH THE FERMENTATION OF A THIRD OF THE CLEAN WATER, AND POLISH SEED AND T55 POWDERED THE FACE OF THE SEA, THEN THE SALT OF THE SEA WAS RUBBED INTO THE FACE OF THE FACE; THE REMAINING WATER WAS POURED SEVERAL TIMES INTO THE WATER, INTO A TRANSPARENT AND SMOOTH FACE, AND IT WAS ABLE TO PULL OUT THE MURAL (TO BRING THE FACE INTO THE FULL EXPANSION PHASE)。
3
The soft, slurry-like noodles are fermented in a plastic box。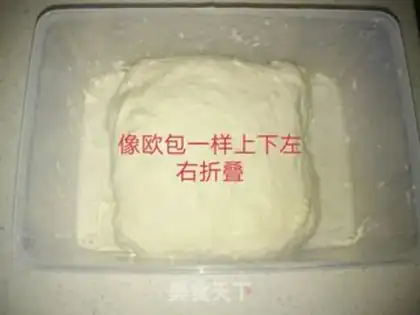
4
Collapse the noodles every 60 minutes (a total of four folds, a test of patience)。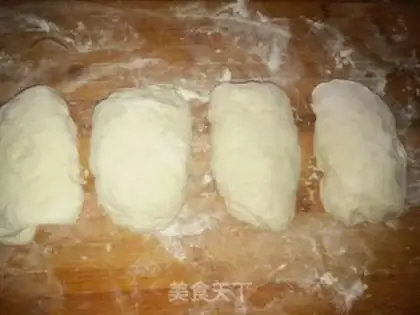
5
Four folds and a further 60 minutes. A large amount of flour was spilled on the board and the flour was divided into 4 equal points。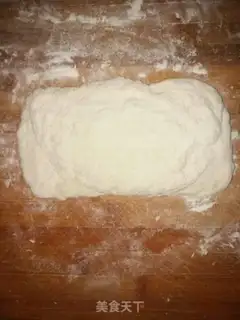
6
Take a noodle and pull the square with your hand。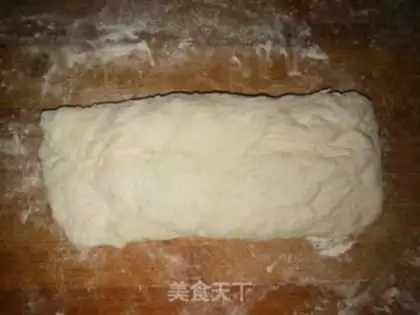
7
Turn the noodles up and down。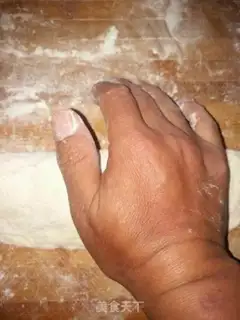
8
Then the right hand closes the stitch。
9
Squeeze and sew the olive shapes of growing strips。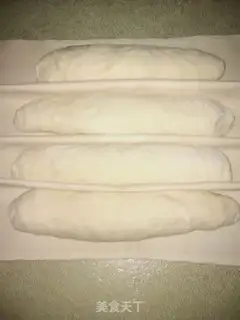
10
Four noodles were made of sticks and put on fermenters for a second fermentation。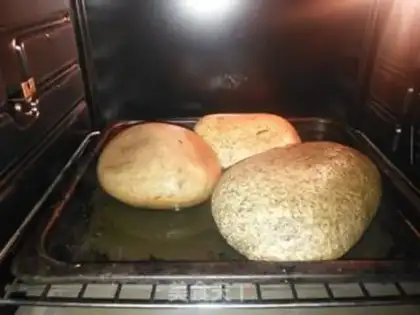
11
When the stick is fermented twice as large, a grill is thrown into the open water and placed in a 250°C pre-heat oven above the bottom of the oven (manufacturing steam, rapidly swelling the bar in the baking, with many gas holes in the internal tissue)。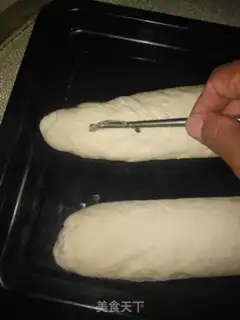
12
The fermented stick was cut when the preheated oven (three mouths of the family version of the stick)。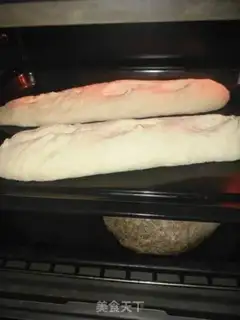
13
The grill is sent into the oven for 25 minutes (the steam-producing grill remains at the bottom)。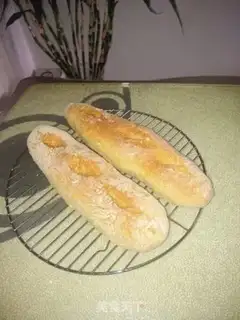
14
Looks like a golden, corky stick came out。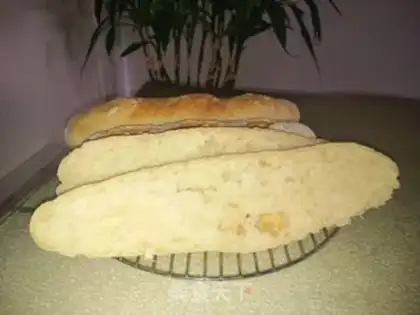
15
When cooled, the stick was flattened with a bread knife, and its internal structure showed holes of varying size。