Smiley face cookies
By KaleyVon

One of my son's classmates was injured and recuperating at home. We are going to visit him. What gift should we bring? Yes, let's make a smiley face cookie so that he can face everything with a smile and view everything with an optimistic look!
Recipe Recommendations
- low-gluten flour 220 grams
- butter 100 grams
- eggs 50 grams
- powdered sugar 75 grams
- salt handful
- sweetening
- baking
- ten minutes
- ordinary
Steps for Smiley face cookies
1
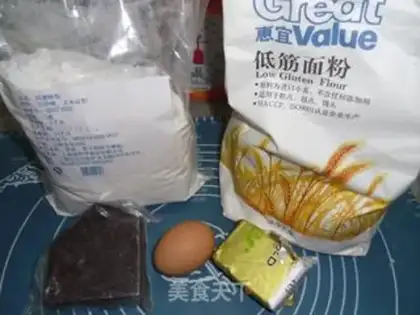
preparation materials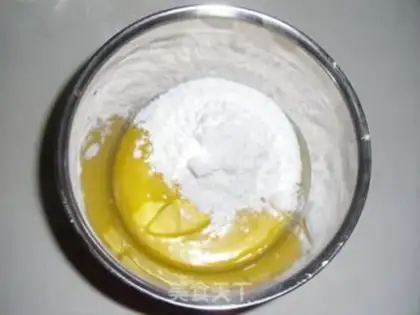
2
soften the butter, add powdered sugar and a pinch of salt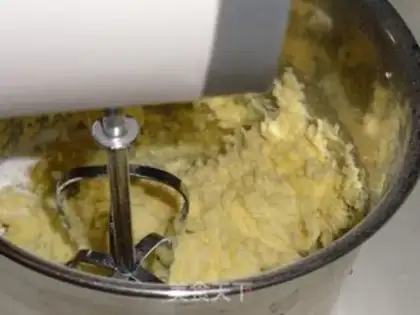
3
Beat with an egg beater until evenly and smooth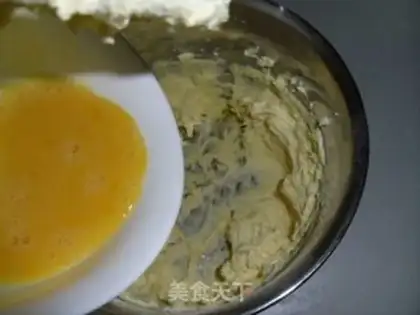
4
Add the egg mixture to the butter in three times and beat evenly with an egg beater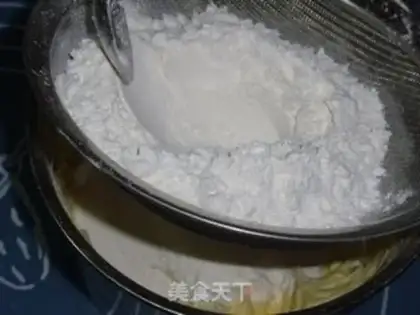
5
Sift in low-gluten flour and stir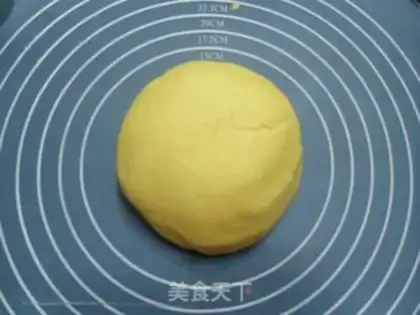
6
Knead into a smooth dough
7
Place the dough on the chopping board and roll it out into thin dough sheets (this way it is convenient to put the oil paper directly into the baking sheet after cutting, otherwise the biscuits will easily get out of shape when moving)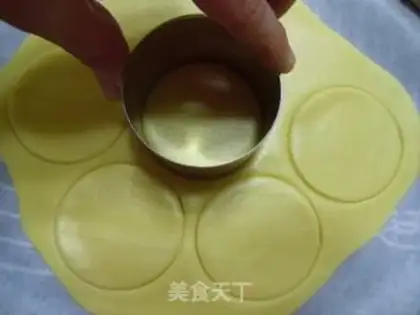
8
Use a cookie die to cut round dough sheets one by one, remove the ingredients and continue to knead them into dough, and then roll out the cutting die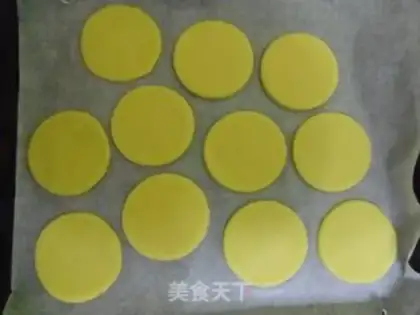
9
Move the oil paper to the baking sheet
10
Send into a preheated oven at 190 degrees and bake for 20 minutes until the surface of the biscuits turns slightly golden yellow
11
Place the chocolate in a bowl, heat it over water and stir constantly until it melts completely
12
After the cookies have cooled, pick up a cookie and dip it in the melted chocolate in each direction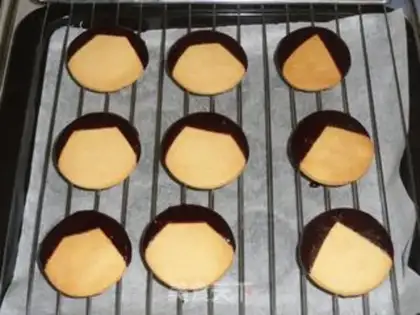
13
This way, the hair is done, and place all the dipped cookies on the baking net to dry
14
Put the remaining chocolate into the decoration bag, cut a small opening at the front end of the decoration bag, and draw various facial features and smiling expressions on the biscuits. After a while, the chocolate solidified and the smiley face cookie was a success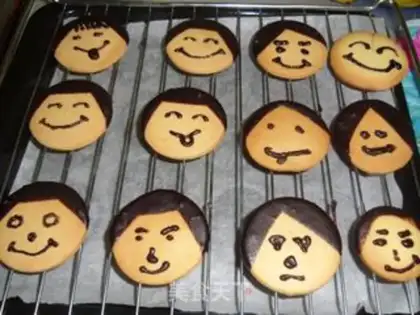
15
Smiley face round cakes with different expressions!