After the 15th day of the first lunar month, the year is almost over ~~~~~ Taking advantage of the lingering warmth of the New Year, I would like to present the first cake of the Year of the Dragon and wish everyone a happy New Year and a happy 2012!!!!!
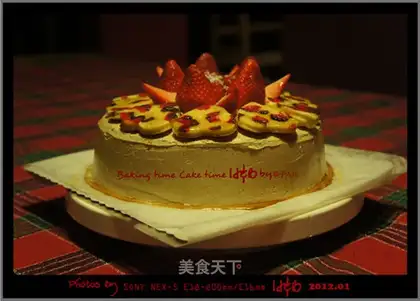
New Year cake (cake--8-inch cocoa chiffon; heart-shaped leopard print cake slices--Chiffon cake slices)
New Year cake
Recipe Recommendations
Steps for New Year cake
1
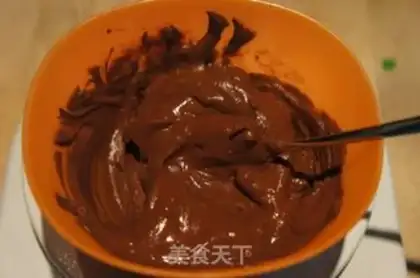
First, mix cocoa powder with hot water into thick cocoa paste, let cool for later use;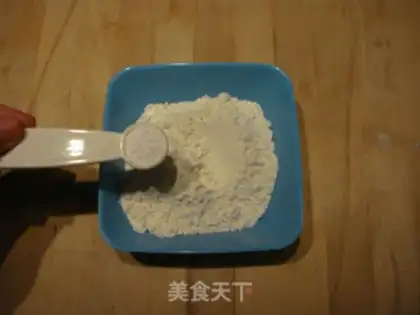
2
1) Mix low powder and baking powder well;
3
2) Sift the mixed powder twice for later use;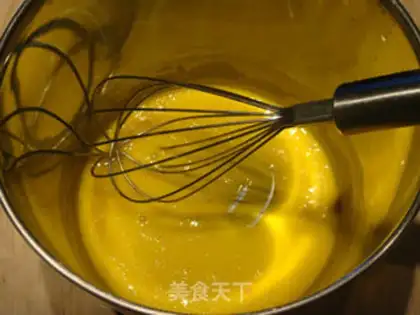
4
3) Beat the egg yolks with a manual whisk first;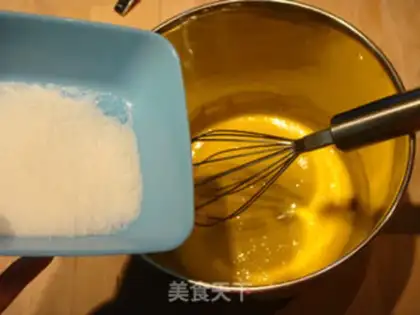
5
4) Pour the fine sugar into the egg yolk basin;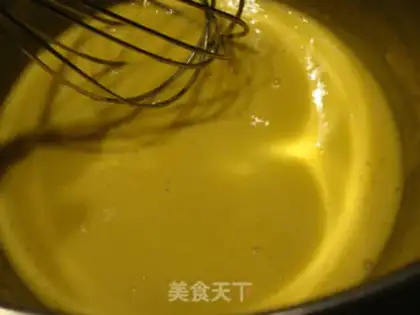
6
5) Beat the fine sugar and egg yolk together with a manual whisk until the fine sugar melts and the egg yolk liquid becomes thicker and lighter;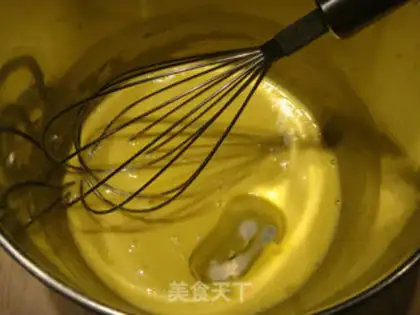
7
6) Pour in vegetable oil several times;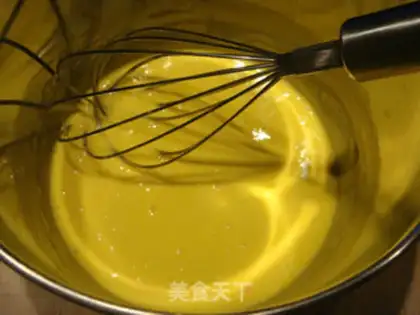
8
7) Whisk each time until the vegetable oil and egg yolk liquid are completely blended before adding the next one;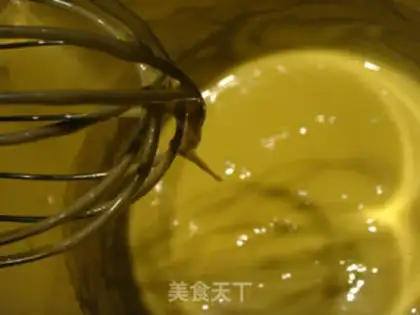
9
8) This is the last time when all the vegetable oil is added. At this time, the egg yolk paste becomes obviously thicker and lighter in color. When lifting the egg beater, the egg yolk paste will flow down slowly in a rough state;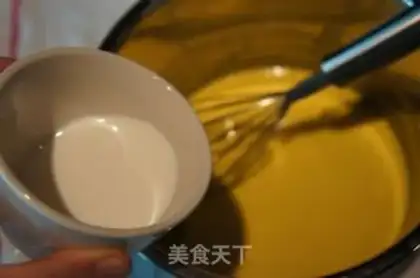
10
9) Pour milk into the egg yolk paste once;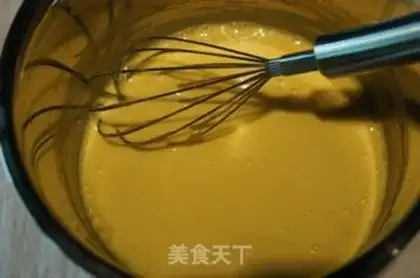
11
10) Stir the milk and egg yolk paste evenly with an egg beater;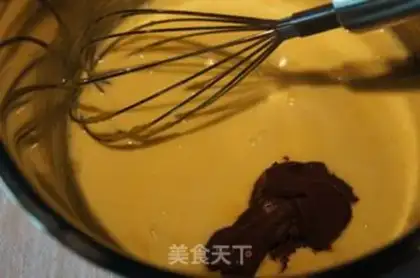
12
11) Add the cooled cocoa paste into the basin;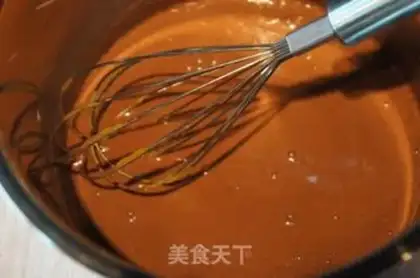
13
12) Use an egg beater to beat the cocoa paste and egg yolk paste evenly;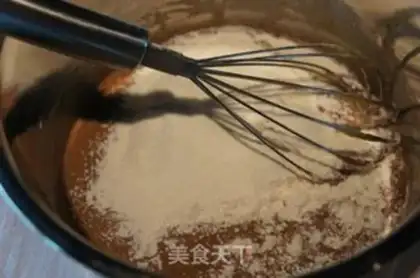
14
13) The powder that has been sifted twice before is sifted for the third time and sifted into a basin of egg yolk paste;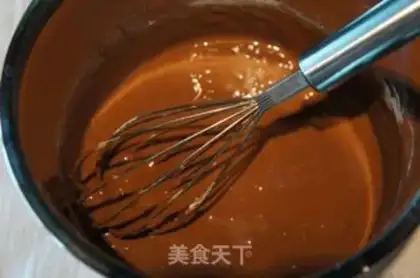
15
14) Use an egg beater to beat the flour and egg yolk paste evenly in different directions;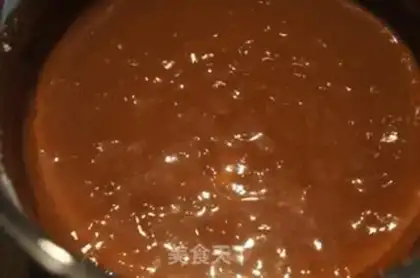
16
15) The cocoa egg yolk paste is ready;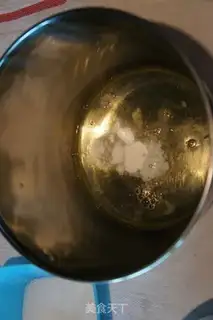
17
16) Add appropriate amount of baking powder, lemon juice and salt to the egg white basin;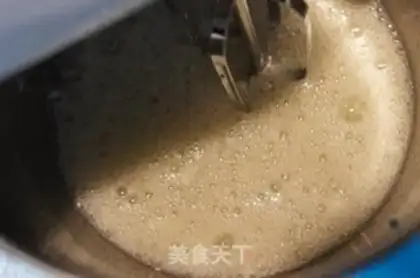
18
17) Use an electric egg beater to stir at low speed until this rough foam shape is obtained;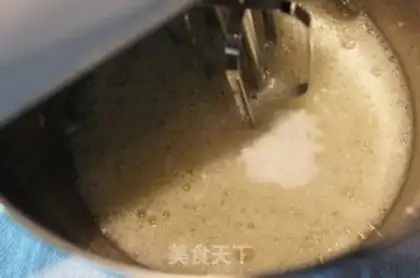
19
18) Add 1/3 of the egg white and fine granulated sugar at this time;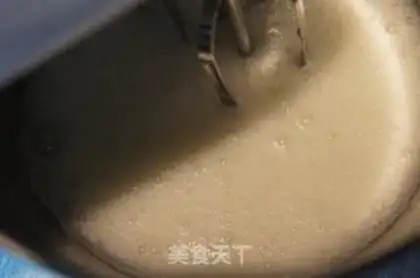
20
19) Use an egg beater to stir until there is a dense, fine foam like soap foam;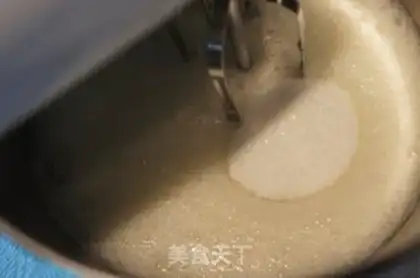
21
20) Add another 2/3 of the fine sugar at this time;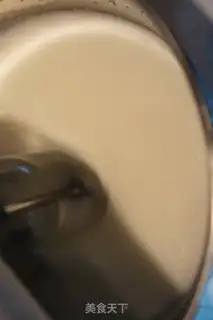
22
21) Switch to the electric eggbeater to high-speed stirring until the egg whites in the basin are beaten;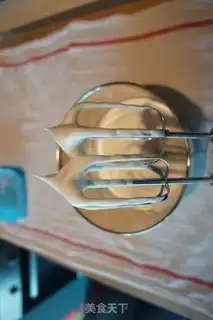
23
22) Beat the egg white until it is hard to foam-lift the egg beater and the egg white will form a short upright pointed shape;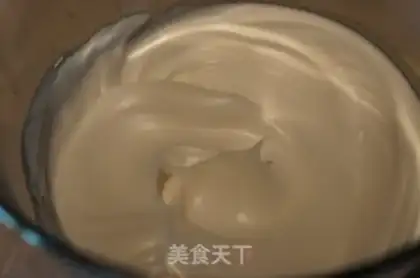
24
23) The protein in the basin is also in this hard foaming state;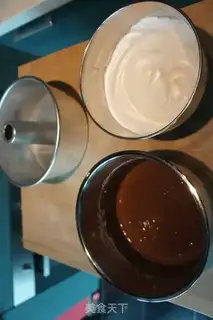
25
24) Preheat the oven to 175 degrees for the last prepared cocoa egg yolk paste and protein paste, and the spare Qi Feng mold should be water-free and oil-free;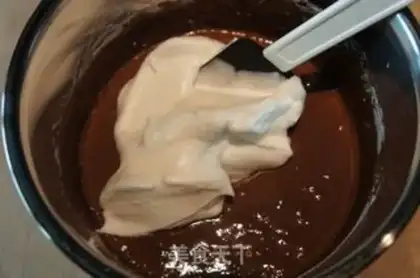
26
25) First take 1/3 of the protein paste and put it into the cocoa egg yolk paste;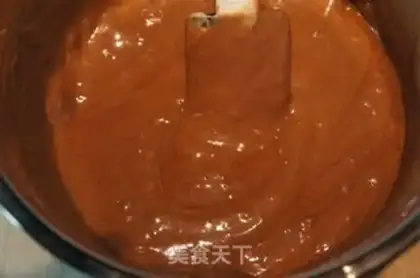
27
26) Use a rubber spatula to stir evenly;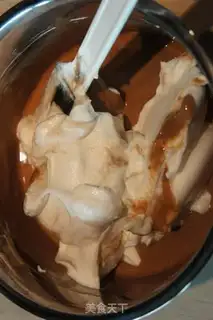
28
27) Take another 2/3 of the egg white paste into the egg yolk paste basin;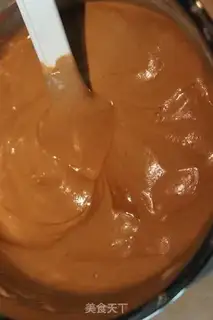
29
28) Continue to use a rubber spatula to stir the egg white paste and egg yolk paste evenly;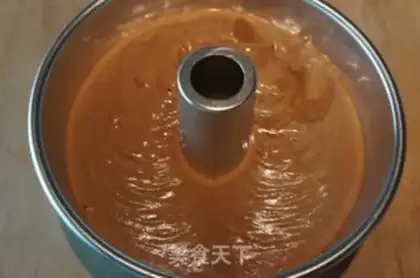
30
29) Slowly pour the prepared cocoa Qi Feng paste into the Qi Feng mold, first shake it up and down in the air, and then shake it on the table a few times to shake out the large bubbles inside the cake paste; the middle and lower layers of the oven, at 175 degrees for 45 minutes; the baked cake will be inverted immediately and removed after the cake has completely cooled down.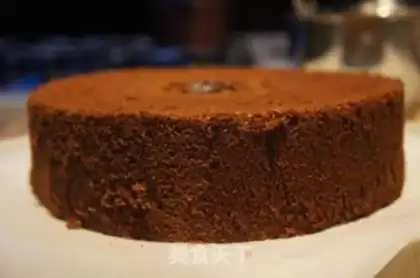
31
30) Cocoa qi after demoulding;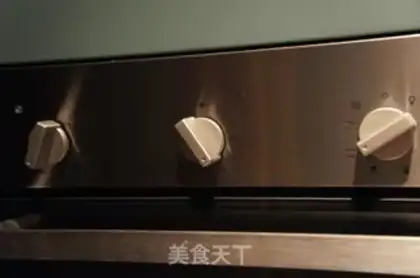
32
31) This is the 8-inch original Qifeng baked the day before. I took two cakes while they were still baking. Like this, there was no other photo and it was baked for 25 minutes;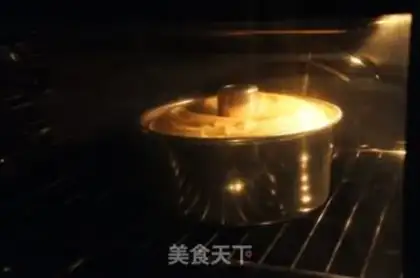
33
32) The cake climbs like this;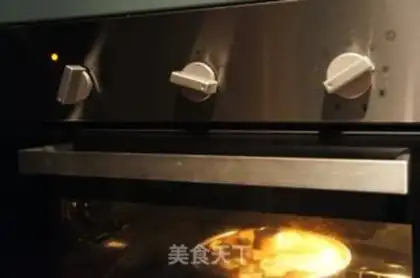
34
33) Bake until there are still about ten minutes left;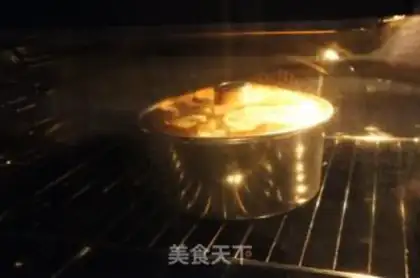
35
34) The cake will no longer climb high at this time, and the final baked cake will retract a little, but it is within the normal range;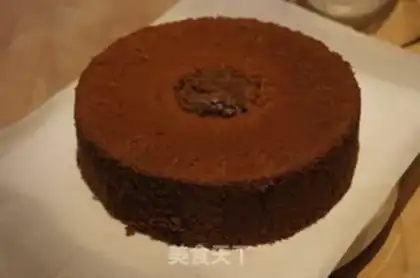
36
35) 8-inch Coco Qi Feng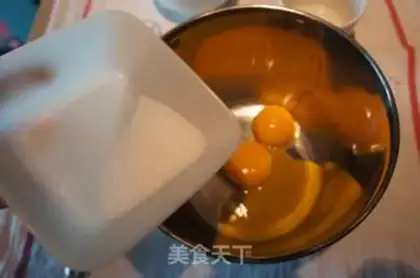
37
Cocoa egg yolk cream coating steps---1) Pour egg yolks into egg yolk basin with fine sugar;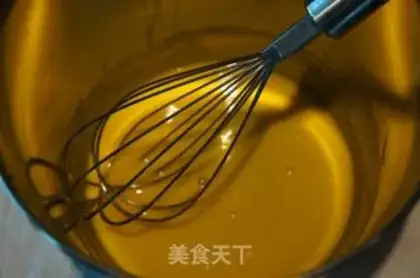
38
2) Use a manual whisk to beat the fine sugar and egg yolks evenly until the egg yolks paste becomes thick and lighter;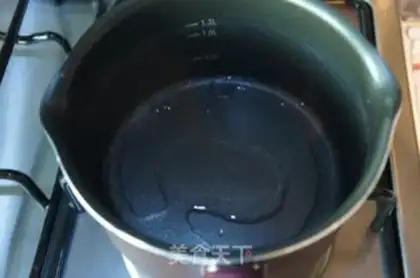
39
3) Pour clear water into a non-stick pan;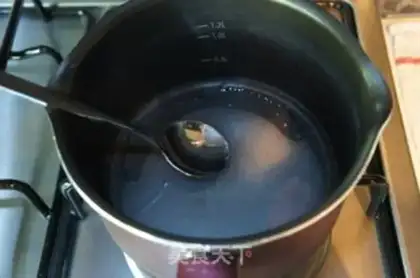
40
4) Pour in fine granulated sugar and cook over low heat to make syrup;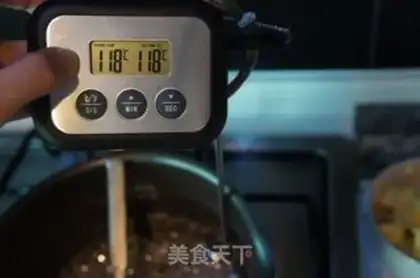
41
5) When the temperature of the syrup in the pot reaches between 118 and 120 degrees, immediately remove the small pot from the heat;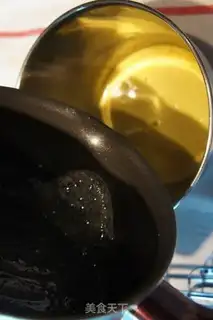
42
6) Slowly shake the syrup in the pan to heat it evenly, then pour it into a basin of egg yolk paste;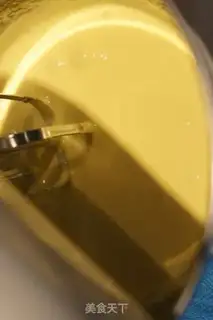
43
7) Beat quickly with an electric whisk while pouring in the syrup until the egg yolk paste in the basin has completely cooled;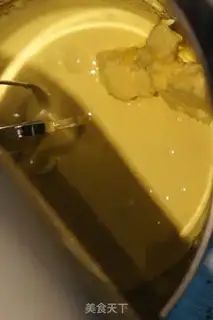
44
8) Add the softened butter in two times and into the bowl of egg yolk paste;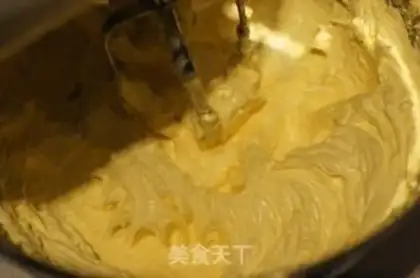
45
9) Whisk into a smooth, fluffy butter paste;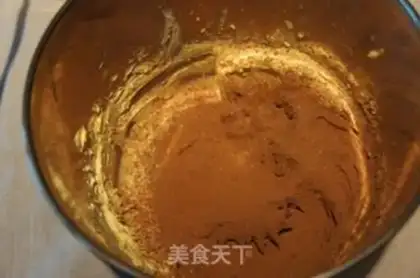
46
10) Sift cocoa powder into butter paste;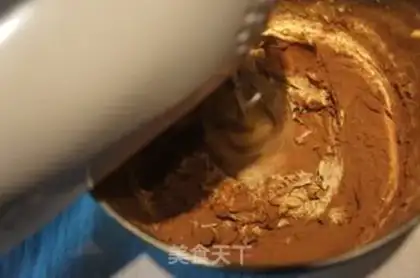
47
11) Continue to beat evenly with the electric egg beater;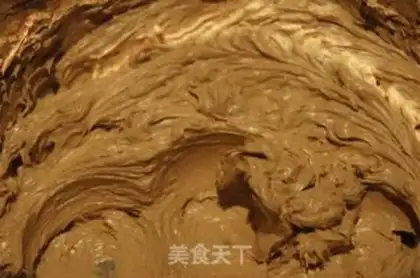
48
12) The cocoa egg yolk cream is ready. The successfully produced cream is smooth, shiny, loose and delicate, and can be easily applied to the surface of the cake without being unwieldy;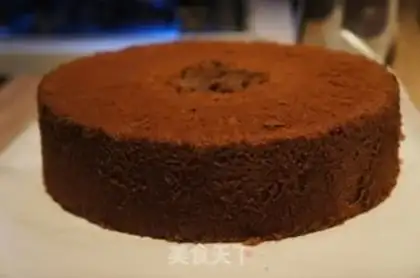
49
13) Keke Qifeng cuts off the top layer, the bottom surface facing up, and then fills the cut edge into the hole in the middle of the cake;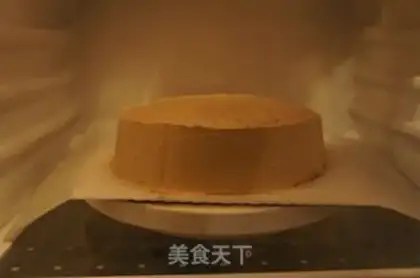
50
14) Spread the cocoa egg yolk cream evenly on the surface and around the cake with a spatula, then place it in the refrigerator to refrigerate;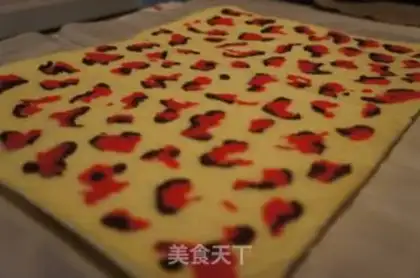
51
15) Bake another piece of pink leopard cake to decorate the cake. After baking and cooling, use a mold to carve the desired pattern;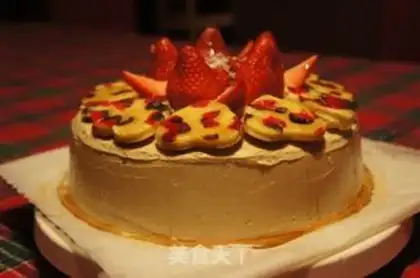
52
16) Cake decoration-Take out the refrigerated Qi Feng, place the heart-shaped cake slices on the top, sprinkle with coconut in the middle, place the chopped strawberries and the whole strawberries, and finally pour a layer of maple syrup on the surface of the cake.New Year cake Make Tips
1) The preparation of the ingredients must be done in advance, such as the temperature of the egg, the flour must be sifted twice first, and then sifted once when added to the egg yolk. This is done to allow more air If it is rolled into the flour, the baked cake will be looser;3) The cocoa powder is not easy to mix well with the egg yolk paste, so it is best to mix the cocoa powder with hot water into a paste in advance, so it will be easier to mix it with the egg yolk paste. Mix well; 4) Beat the egg white properly, until it has a hard foam like the one in the picture, or it can be beaten into a nine-point hard foam, that is, when lifting the egg beater, the egg white has a slightly curved corner;5) When adding 1/3 of the egg white paste first, the action should be quick and light, but you can't not mix well because you are afraid of turning it too much. The egg white paste you add for the first time must be mixed evenly with the egg yolk paste; 6) When pouring Qi Feng paste into the mold, it should be a little distance away from the mold, so that the cake paste can draw more air in during the pouring process;7) After pouring into the mold, there must be a step of vibrating the mold., expel the large bubbles inside, so that the baked cake will not have large voids inside the tissue; 8) The baking time and temperature are adjusted according to your own oven. 175 degrees and 45 minutes is the most suitable one for baking the wind in my oven. You can probably adjust it up and down according to this temperature and time; the 8-inch wind mold is placed in my oven. The middle and lower layers are suitable, if a smaller oven is placed on the middle and lower layers or the cake is covered with a layer of tinfoil; 9) The cake should be inverted immediately after being baked. The surface of the cake is stronger than the inside. The inverted inversion is to prevent the surface from pressing against the softer interior of the cake;10) When making the cream coating, the temperature of the syrup must be controlled between 118 and 120. Only when the syrup cooked at this temperature can be smoothly beaten with the egg yolk paste, and it will not be too thin or too thick;11) The butter must be softened at room temperature before it can be added to the egg yolk paste; 12) The last thing to note is that the successfully produced cream is smooth and shiny, loose and delicate, and can be easily applied to the surface of the cake without being unwieldy.