I thought about this cake for a long time before making it. I always felt that it was complicated and didn't want to do it, so I delayed it until Christmas. Now I had no reason to be lazy again, so I tinkered with it ~~~~ In fact, it's not as complicated as I imagined, but it's a little troublesome. One cake slice, one sandwich, and one coating, but in actual operation, it would take one day to go in.
BUT---A day's hard work is really comparable to the cake after making it!!!!! Not only is it beautiful in appearance, it is also quite delicious. The cake roll is made of a chocolate breeze cake roll. It is mainly delicious in its filling and coating. I use chocolate egg yolk cream for the filling and coating. The coating is chocolate coffee whipped cream. It's so delicious!!!!! I don't eat ordinary cakes after they are cooked. Because it was the first time I made it, I tasted a small piece of this cake. I almost burst into tears when it was delicious...
SO--Just take it on my feet. This cake is not only suitable for Christmas, but it can also be roasted and eaten in ordinary times. It's so delicious!!!!! My aunt saw my cake and said at the time that she thought it was very delicious. I would make it for my niece when I go back ~~~~ Actually, I was a little greedy. I will bake one next time and bring it with me. This cake is still relatively big and suitable for people to order more ~~~~
It is divided into three parts: cocoa breeze cake slices, chocolate egg yolk cream sandwich, and chocolate whipped cream coating. The sandwich can also be applied with less. This cake is also called annual ring cake. If you want to highlight the roll, you have to sacrifice the sandwich in the middle, but the best thing about these three parts is the sandwich... So I decisively chose to apply more of the sandwich. As for the annual ring ~~~~~~ As long as the cake rolls are rolled more beautifully, it will be the same.
Cocoa breeze cake slices--60 grams of egg yolk, 50 grams of fine granulated sugar for egg yolk, 75 grams of low flour, 1/2 tsp of baking powder, 50 grams of vegetable oil, 30 grams of pure milk, 20 grams of cocoa powder, 40 grams of hot water, 120 grams of egg white, 65 grams of fine granulated sugar for egg white, lemon juice, salt, and appropriate amount of baking powder
Chocolate egg yolk cream sandwich--120 grams of butter, 40 grams of egg yolk, 10 grams of fine sugar, 25 grams of water, 50 grams of fine sugar, 10 grams of cocoa powder
Chocolate whip and whipped cream on the surface--190 grams of whipped cream, 20 grams of fine sugar, 5 grams of cocoa powder, 5 grams of pure coffee powder, 10-15 grams of hot water, water and ice cubes
Christmas root cake
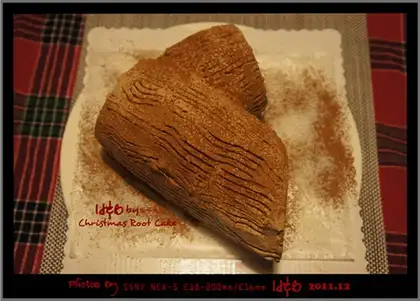
Recipe Recommendations
- egg yolk 60 grams
- protein 120 grams
- low powder 75 grams
- vegetable oil 50 grams
- pure milk 30 grams
- cocoa powder 20 grams
- hot water 40 grams
- baking powder appropriate amount
- lemon juice appropriate amount
- salt appropriate amount
- butter 120 grams
- fine sugar 50 grams
- water 25 grams
- whipped cream 190 grams
- Pure coffee powder 5 grams
- sweetening
- baking
- a day
- senior
Steps for Christmas root cake
1
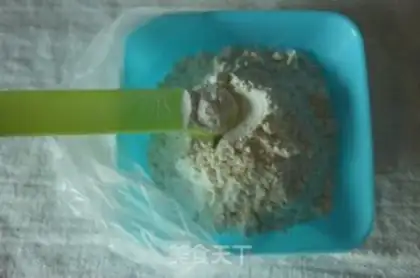
Cocoa Chiffon cake slices-mixed with low-powder baking powder.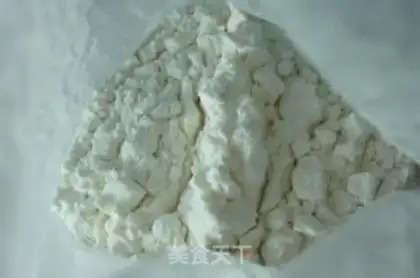
2
Sift the mixed powder twice to set aside.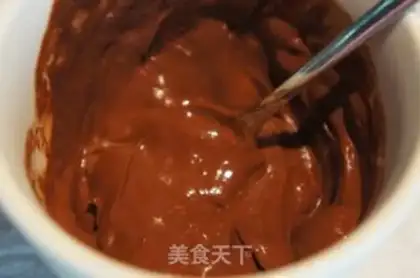
3
Stir cocoa powder with hot water to form a chocolate paste and let cool.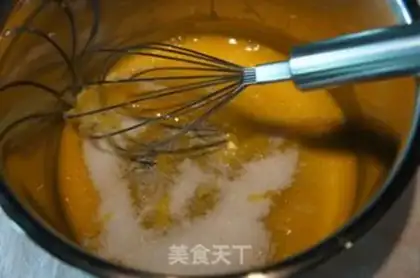
4
Beat the egg yolks with an egg beater, add the egg yolks with fine sugar and continue to beat with the egg beater.
5
Beat until the egg mixture becomes slightly light and thick.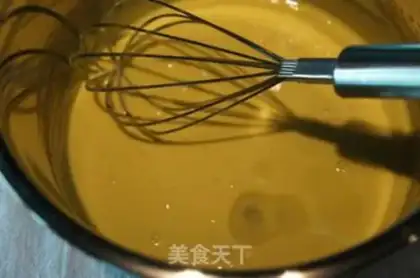
6
Add vegetable oil in small quantities multiple times, whisking each time until the vegetable oil and egg mixture are completely integrated before adding the next one.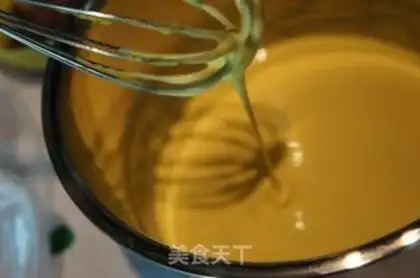
7
After adding all the vegetable oil, lift the egg beater and flow down in thick lines.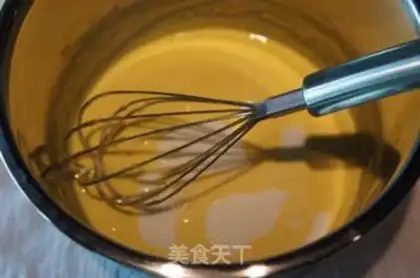
8
Then pour the milk in one go.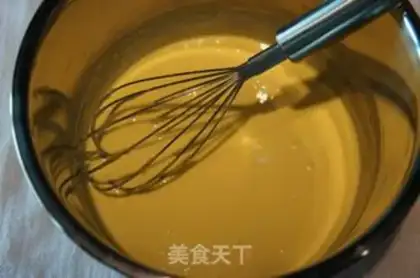
9
Beat evenly with an egg beater. The egg mixture will become lighter and thinner.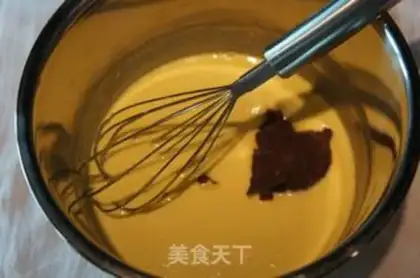
10
Add the cocoa liquor that has been melted with hot water before (the cocoa liquor will take the form of a solidified, sticky mass).
11
Continue to beat evenly with an egg beater to form egg yolk cocoa paste.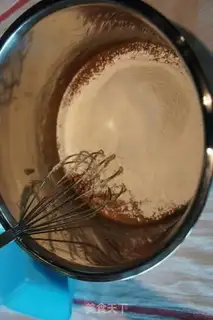
12
Sieve in the mixture of low flour and baking powder (this is the third time).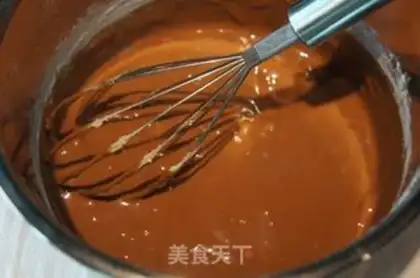
13
Use an egg beater to stir evenly in different directions to form cocoa batter, and the cocoa egg yolk paste is ready.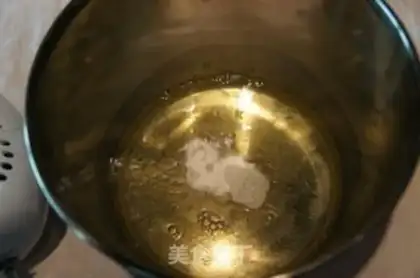
14
Put appropriate amount of lemon juice, baking powder and salt in the protein bowl (I used a small spoon of 1ML, 1ML of baking powder and lemon juice, and 0.5ML of salt).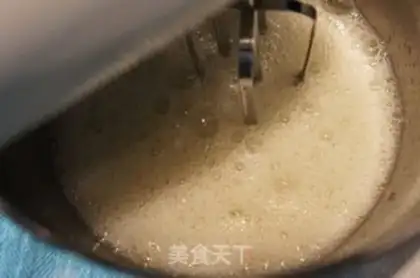
15
Use an electric egg beater to stir at low speed first until rough bubbles appear.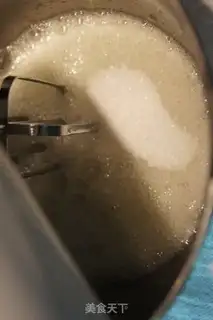
16
At this time, add 1/3 of the egg white and fine granulated sugar.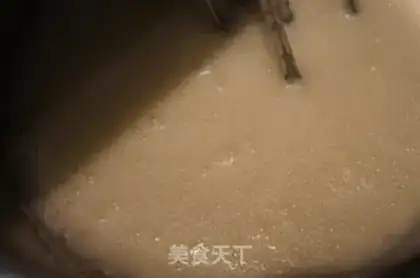
17
Continue beating until the foam is as fine as soap foam.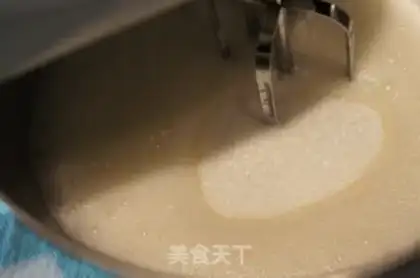
18
Add another 2/3 of the fine sugar.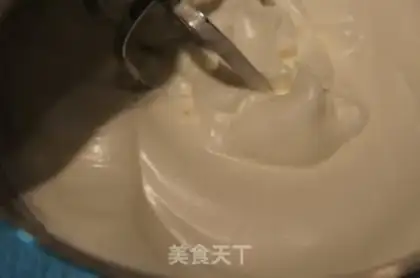
19
Switch to the electric eggbeater to high-speed whisk and beat the egg white into a wet foam-a delicate egg white cream, and the egg white paste is ready.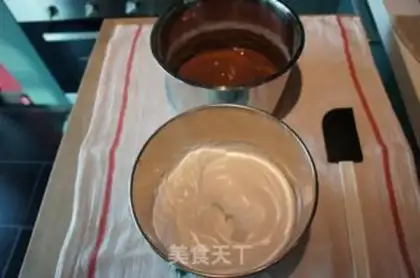
20
Preheat the egg yolk paste and egg white paste in the oven to 175 degrees, and lay oil paper on the baking sheet in advance.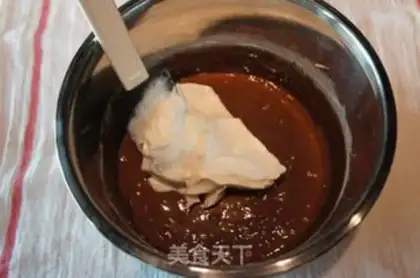
21
Take 1/3 of the egg white paste and put it into the cocoa egg yolk paste.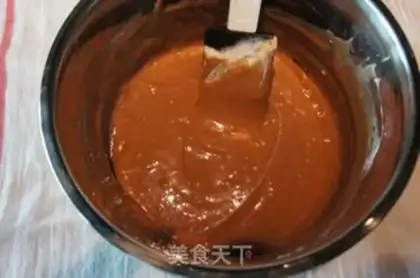
22
Use a rubber spatula to stir evenly. Although the egg white and egg yolk are two different textures of paste, try to mix well during the first stirring.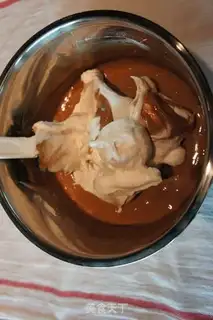
23
Then add another 2/3 of the egg white paste to the egg yolk paste.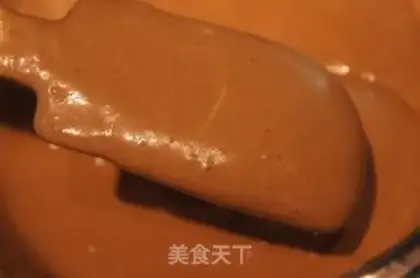
24
This time, just use a rubber spatula to gently mix well quickly. The stirred Qi Feng paste will not appear to be unevenly mixed between the protein paste and egg yolk paste.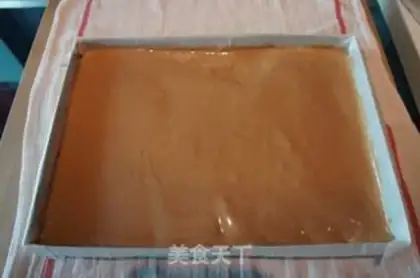
25
Use a spatula to quickly scrape the mixed cocoa batter into the baking pan, then use a spatula to smooth the surface of the cake paste, pick up the baking pan and shake it up and down a few times, and the middle layer of the oven is at 175 degrees for about 12 minutes.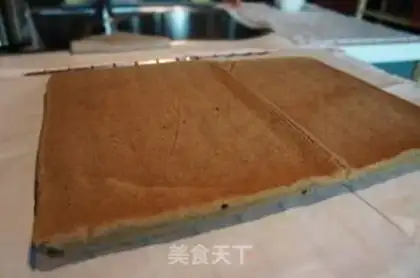
26
Immediately move the baked cake slices to the grill after being baked out of the oven and tear open the cake paper around them to dissipate heat. When the bottom of the cake slices is not too hot to the touch, take another piece of cake paper and cover the cake surface, carefully turn it over, and color it. Side down.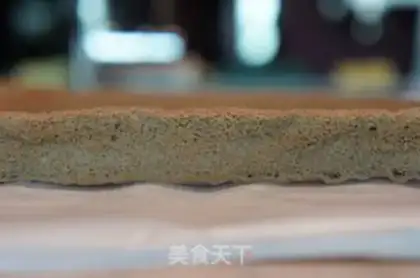
27
The cake slices are well grown, without shrinking at all, and the texture is very gray and delicate.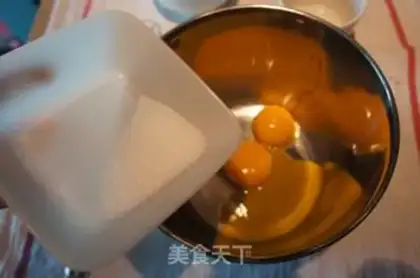
28
Chocolate egg yolk and cream filling--Beat egg yolk and fine sugar together with a manual egg beater first evenly;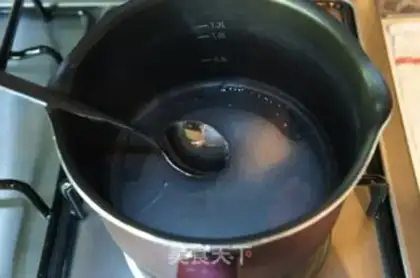
29
Pour 25 grams of water and 50 grams of fine sugar into a small pot, turn on low heat and cook until boiling.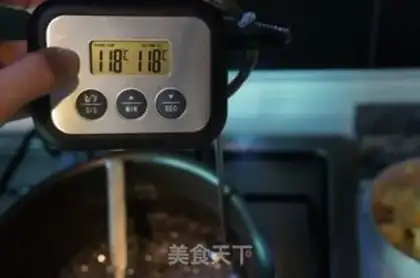
30
The fine sugar in the pot has completely melted, and the sugar water becomes thicker and thicker. At this time, if there is a thermometer for that kind of food, it is best to put it into the pot and watch the temperature. If there is no one, you should watch the syrup in the pot boil to this extent: If the surface of the syrup is all boiling with small bubbles, it is basically almost the same. At this time, the thermometer shows 118-120 degrees, which means that the syrup has been cooked, and the heat must be turned off immediately.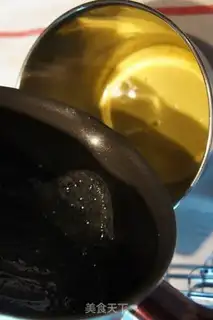
31
The cooked syrup is gently shaken in the pan to make the temperature even, and then slowly poured into the egg yolk paste.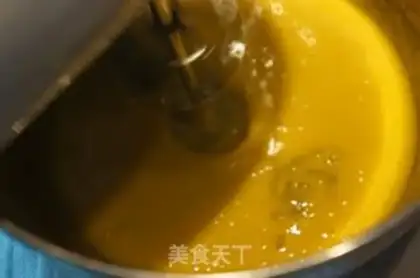
32
Whisk quickly with an electric whisk while pouring.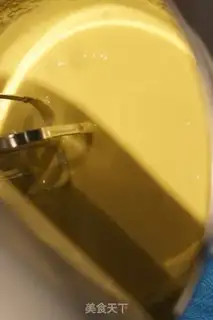
33
Use an electric whisk to continue beating until the egg yolk paste has completely cooled down and finally becomes smooth and fluffy.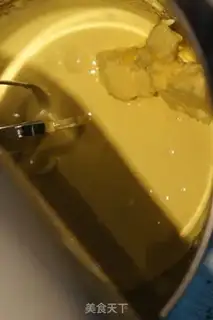
34
Put the melted butter at room temperature into the egg yolk paste in 2-3 times, beating well each time before putting it down again.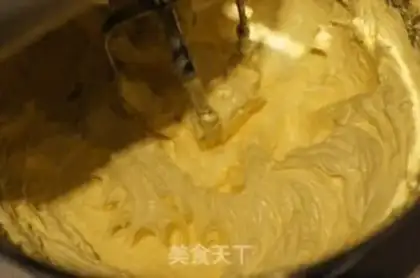
35
The butter paste is very loose and smooth.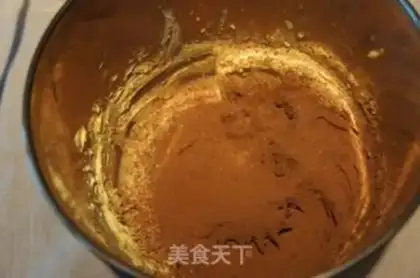
36
Sift in 10 grams of cocoa powder into the beaten egg yolk paste.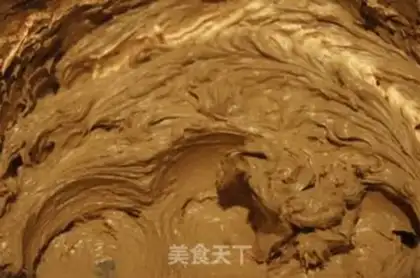
37
Just continue to beat evenly with an egg beater, and the chocolate egg yolk cream is ready.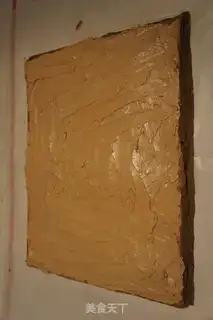
38
This cake roll uses the inner roll method, where the colored side is rolled inside, so when applying the cream cream, it should be applied to the colored side of the cake piece, and evenly and thickly coat the surface of the cake piece.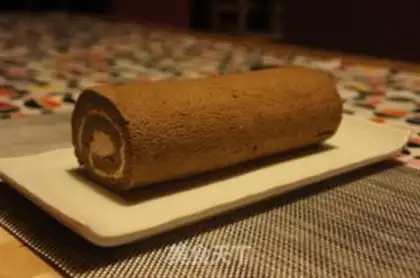
39
After coating, roll it into a tube and wrap it with cake paper and fix the two tops. Put it in the refrigerator for an hour to shape, then take it out and cut off both ends.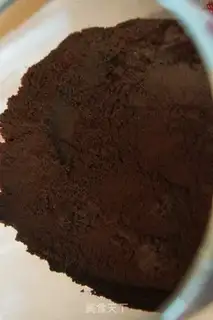
40
Chocolate is served with whipped cream and coated on the surface-prepare coffee powder in advance and grind it yourself best. If you don't have it, use pure coffee powder instead.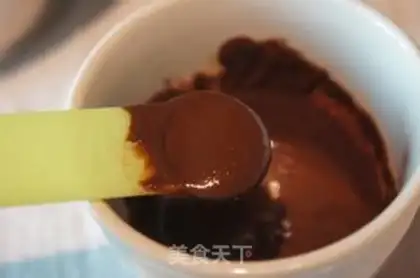
41
Add cocoa powder to coffee powder, mix well with hot water, and let cool for later use.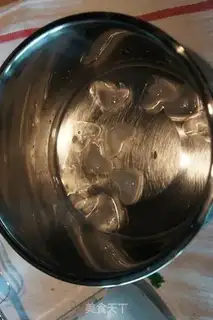
42
Put water and ice cubes in a large basin.
43
Put a small basin on top and pour the whipped cream into it.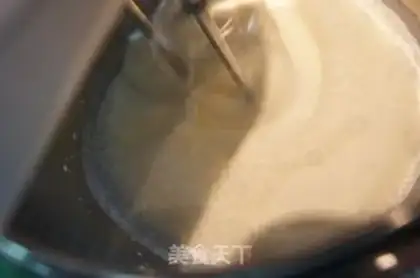
44
Whisk quickly with an electric egg beater until the surface of the whipped cream is thick but still flowing, add all the fine sugar.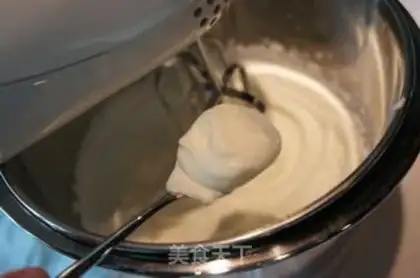
45
Continue beating until the whipped cream is completely solidified.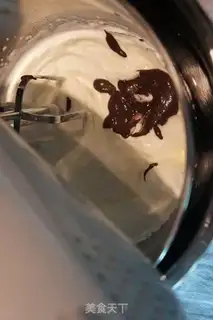
46
After cooling, put the coffee and cocoa liquor into the whipped cream and continue to beat evenly with an egg beater to form a brown cocoa whipped cream paste.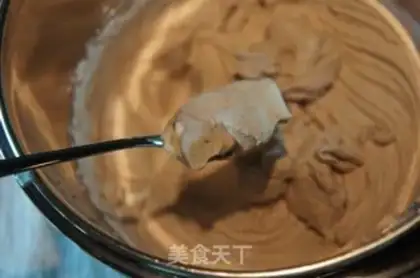
47
The successful whipped cream paste is light and fluffy in texture, delicate, smooth and shiny, and can be easily applied on the surface of the cake.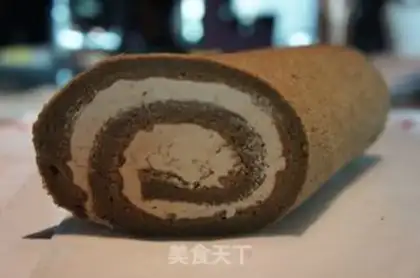
48
Making of root cake-I made this cake roll the day before and left it in the refrigerator for one night. Because it was not eaten until the next day, I was afraid that leaving it overnight would affect the appearance of the whipped cream, so I made it before eating. Coat the dough and take out the cake roll that had been refrigerated in the refrigerator for one night;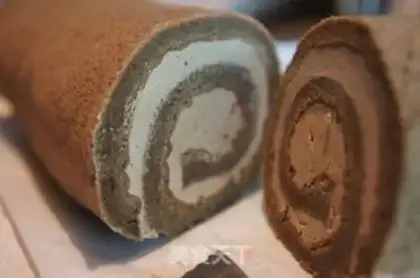
49
Cut it obliquely in this way, half as big and half as small. When cutting, pay attention to the beautiful cut surface, which should be exposed to the outside.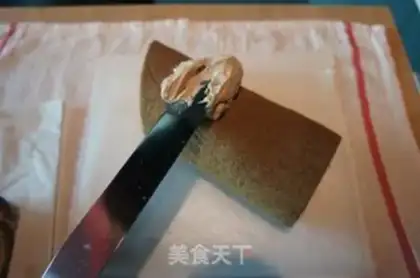
50
First apply whipped cream on the large side with a spatula.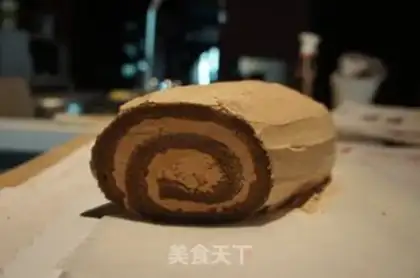
51
Use sufficient amount of whipped cream, and apply as thick a layer as possible to make the cut surface feel textured.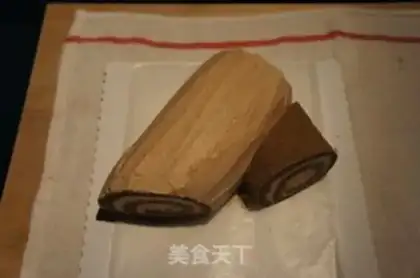
52
Put the other small one in this position, close to the large one.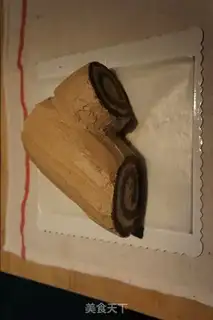
53
The small ones are also thickly coated with whipped cream.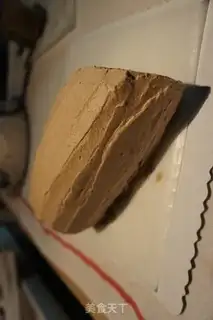
54
After applying butter to both of these sizes, first use a spatula to smooth the surface, and then use the arc-shaped head in front of the spatula to gently draw wide scratches back and forth on the surface of the cream, so that the effect will be more realistic.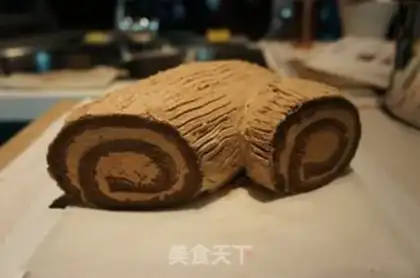
55
Use a fork to draw a mark on the surface of the cake, slightly deeper.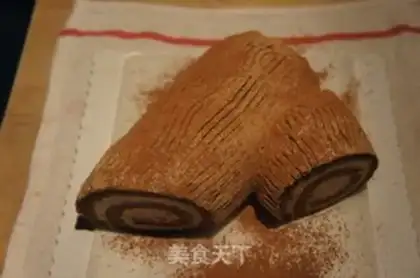
56
Place cocoa powder in a fine sieve and sieve it on the surface of the cake.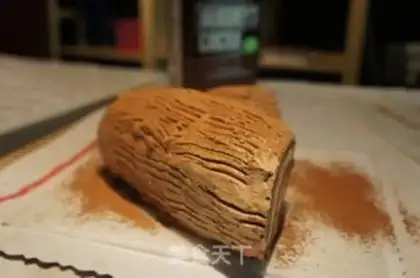
57
The root cake is ready.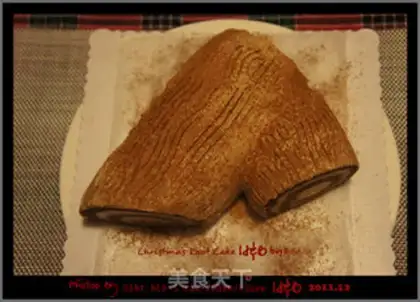
58
Before eating, put the cake back to the refrigerator and refrigerate it. Refrigerate the whipped cream for a while and cut it, and the dough will be beautiful.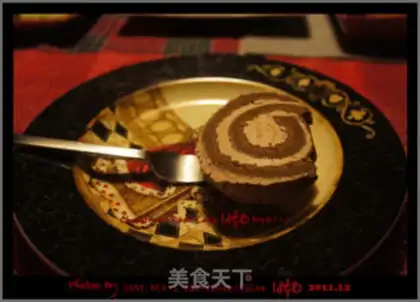
59
I cut a small piece and started eating it. The cut surface is beautiful, right?~~~~Christmas root cake Make Tips
1) Chocolate egg yolk cream sandwich--The successfully prepared egg yolk cream is fluffy, smooth and shiny, has a thick taste, and has excellent mouth melting properties. In addition, sugar-free cocoa powder has a better flavor and mellow flavor. Compared with the whipped cream, this egg yolk cream has better solidification and long-lasting properties, and the sandwich used to make cake rolls will be fuller and more beautiful. 2) The key step in making egg yolk cream is when the syrup is off the heat and when it is cooked. Therefore, this thermometer is more important. The syrup cooked at a temperature of 118-120 degrees has the right thickness, so it can be very well mixed with egg yolk paste. If the syrup is too thick, it will not be poured into the egg yolk paste. If it is too thin, it will affect the mixing with the egg yolk paste;3) The final cocoa egg yolk cream is delicate, loose and smooth, and can be easily spread evenly on the surface of the cake; 4) Chocolate whipped cream is applied to the dough-not only does the sugar-free cocoa powder, but also half of pure coffee powder, so it is particularly fragrant when eaten. The cocoa powder and coffee powder taste very well ~~~~~5) The pure coffee powder placed in the whipped cream is best ground by yourself. It is very delicate and has a special aroma;6) The whipped cream can be beaten until it will not flow in the basin, and it will be solidified with a small spoon; The same is true for fresh cream added with cocoa coffee paste;7) When making tree root cakes, cocoa powder should be sprinkled on the fresh cream, so the scratches on the surface of the cake should be deeper with a fork, otherwise it will not be obvious when sprinkled with cocoa powder;8) Put the cake in the refrigerator for a while before eating, and when it is cut again, the fresh cream will be set, and the cut surface will be more beautiful.