My oven has been purchased for 6 or 7 years, but I have only actually used it a few times, basically just idle equipment. Recently, I really want to settle down and learn some baking. I have purchased some tools and raw materials. My interest is unstoppable. Looking up information online and reading baking books is really like that. Since I am a rookie, I would like to start with the simplest way to make bread. So I saw several posts about making old-fashioned bread, and I thought about learning from the recipes of tirami cakes and the sand-exposed bird to start preparing the ingredients. Taking out the electronic scale and weighing various raw materials, I was very busy. Because I was worried that it would not succeed, I halved their raw materials to avoid waste if it would not succeed. Hehe, I really worked hard and frugal.
Details of ingredients;
yeast; 150G gluten flour, 12g white sugar, 3 g dry yeast powder, 120g milk, 120g water
Main dough; 150g high-gluten flour, 40g sugar, 3 g salt, 12g milk powder, 1 whole egg, 35g butter, 30g water.
Surface treatment; melted butter in moderation
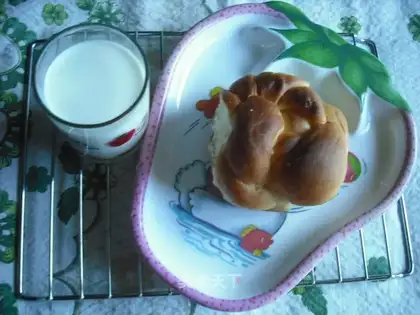
Lao bread
Recipe Recommendations
- high-gluten flour 150g
- white sugar 12g
- salt 3g
- milk powder 12g
- whole egg one
- butter 35g
- water 120g
- milk 120g
- sweetening
- baking
- several hours
- ordinary
Steps for Lao bread
1
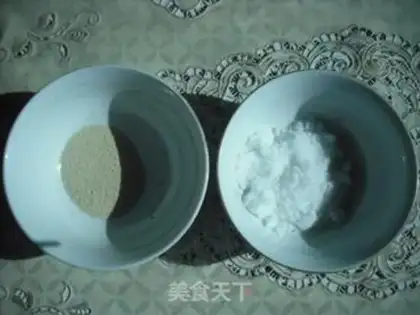
3g dry yeast powder, 12g white sugar.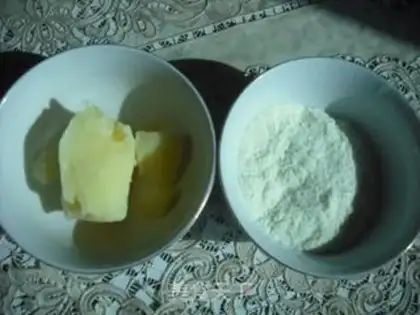
2
Butter 35g, milk powder 12g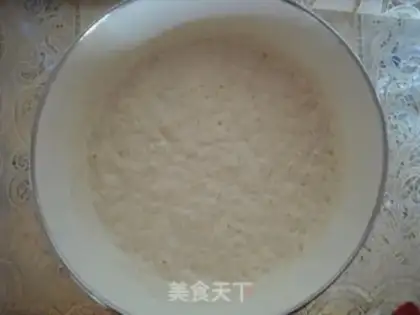
3
150g of gluten flour, 12g of white sugar, 3 g of dry yeast powder, 120g of milk, and 120g of water are mixed together to ferment for nearly two hours.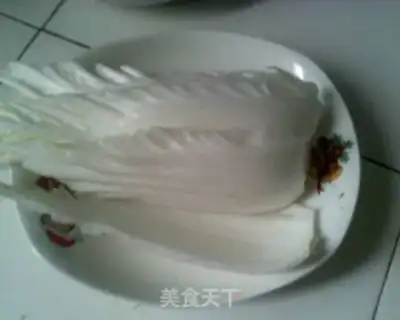
4
Add all the ingredients of the main dough (except butter) into the fermented starter and mix, 150g of high-gluten flour, 40g of white sugar, 3 g of salt, 1 whole egg, 12g of milk powder, and 30 g of water.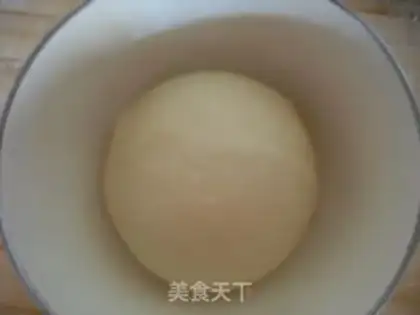
5
The dough was soft and good waiting for secondary fermentation. Since I had no practical experience in making bread for the first time, I had to follow the recipe. I found that the dough together was too thin and couldn't be kneaded together, so my hands were particularly touching. I had no choice but to add some thin dough and continue to knead., I was also very uneasy and thought that this bread was going to be soaked. I added nearly 40g of thin dough, and the recipe had changed. I didn't know if I could still make bread with that flavor? Let's just leave it to you whatever you want. So I kneaded and beat, and I was so tired that it took me more than half an hour to barely take shape and pull out a relatively thick film. At this time, I added butter and continued kneading and beating until the full expansion stage. (I accidentally deleted that picture)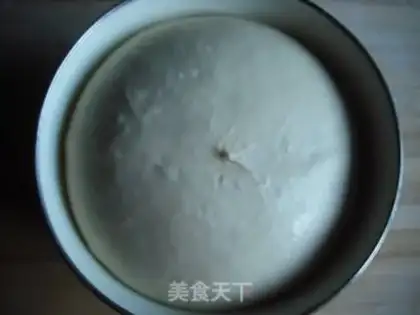
6
After more than two hours of fermentation, my dough finally fermented. I was very excited. When I saw that the dough had grown more than 2 or 5 times, I was worried that it would be overdone.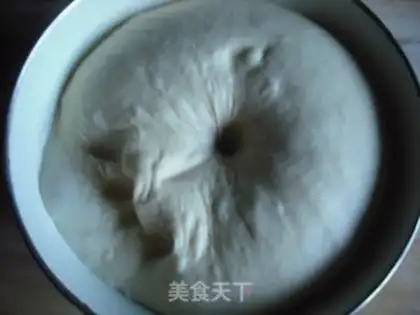
7
I forgot to follow the prescription saying that I should dip my fingers in some dry flour and insert it in the middle to test the degree of fermentation. In addition to being excited, I scratched the prepared surface and left a few finger prints. Only then did I remember what I should do. That action. In fact, the finger print in the middle was repaired later, hehe!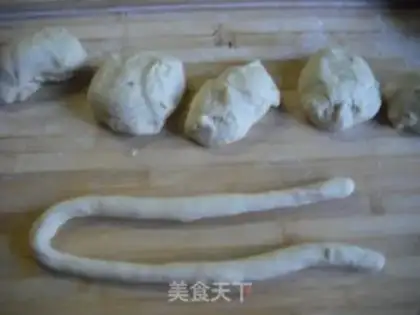
8
Remove the dough from the pot to vent the air, then squeeze it into six dough pieces of uniform size, rub the dough into long strips and tighten it, and then pinch the ends together.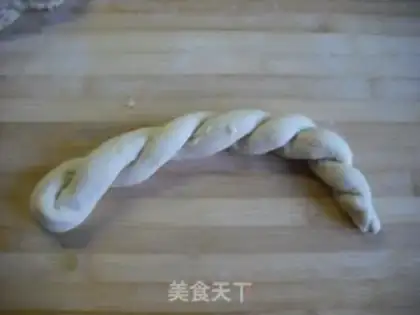
9
Roll the kneaded noodles together like making sesame flowers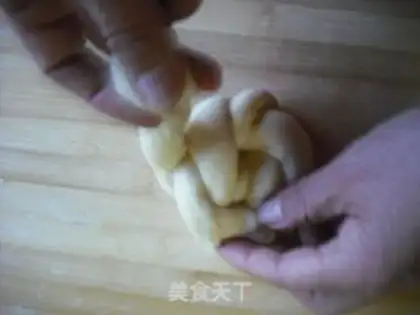
10
Stuff the two ends of the rolled noodles under and wrap them around from the middle.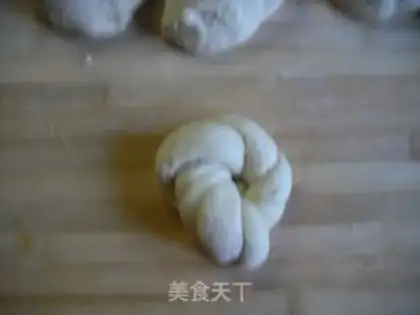
11
Made bread blanks.
12
Place the dough on a baking sheet covered with tinfoil. Hehe, since I am not an old hand, the bread blanks made are in various shapes, covered with plastic wrap and waited for fermentation again.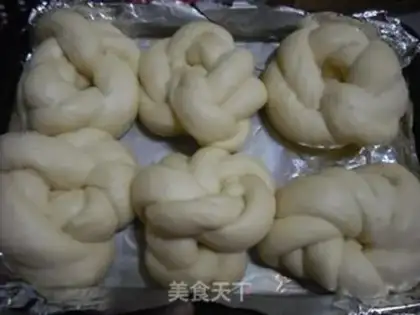
13
Cover it with plastic wrap and wake it for more than 20 minutes to maintain humidity and temperature. When the volume has grown, it will be OK. Put the wakeup bread into the oven, heat the middle layer to 180 degrees C for 30 minutes, and rub it until about 20 minutes. Take out and brush the butter melted at room temperature on the bread with a brush, cover it with tinfoil, and place it in the oven to continue baking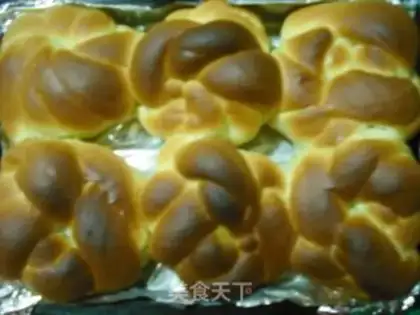
14
The golden yellow, sweet old bread was baked, and my debut work was a success!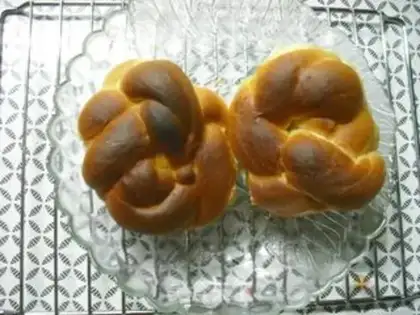
15
Hurry up and show off, and take photos.
16
Eating the old bread I made myself, I recalled my childhood and missed the taste very much. It's sweet and slightly sour. It's beautiful.Lao bread Make Tips
Pay attention to the temperature in the oven when baking and do not overdo it. Cover with tinfoil.