100% Hokkaido mellow milk toast is a kind of toast that beginners want to make, but nowadays it is common to mix dough in a bread machine or other blender methods. Handmade because the Chinese dough is mixed with the main dough. I can't mix it and cannot leave the film. I have made it many times but failed.
This time, I adjusted the formula to understand the meaning of Chinese planting, so my one is called 90% Hokkaido mellow milk toast. Although it is not 100% medium, 10% is reserved in the recipe mainly to mix other ingredients of the main dough, and the amount is not very large, so the final fermentation effect is completely close to 100% Hokkaido.
Hokkaido milk toast
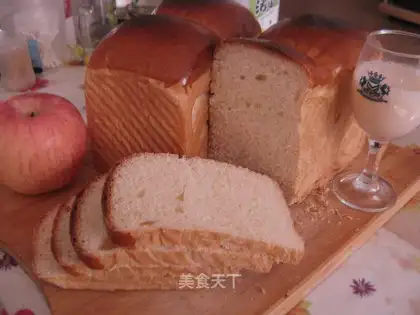
Recipe Recommendations
- high-gluten flour 466
- fresh milk 140
- protein 41
- white granulated sugar 18
- unsalted butter 12
- salt 6
- milk fragrance
- baking
- several hours
- senior
Steps for Hokkaido milk toast
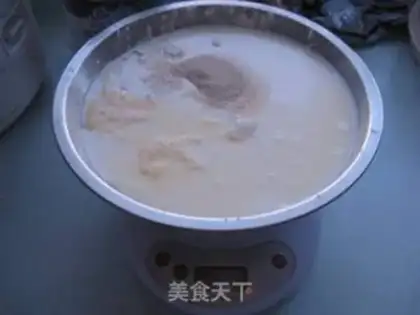
1
I would also like to ask the moderator to explain that when I uploaded it, I couldn't change the name of "Ingredients" in the ingredient details column. In fact, it should be called "Zhongzhi Dough". Okay, without being too much ado, this step is to mix all the ingredients except unsalted butter.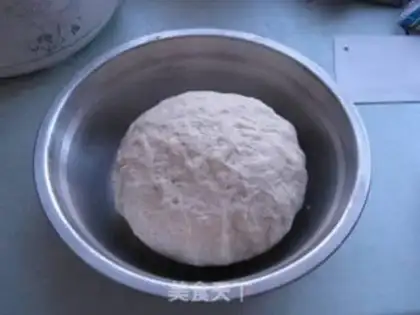
2
Just knead the middle dough until it is as shown, that is, just knead it together. Then don't forget to add the last ingredient: unsalted butter.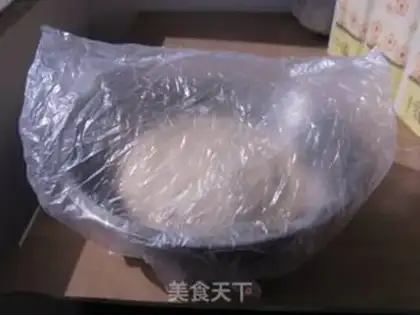
3
Fermenting at room temperature, some people will ask me if it takes too long, can I ferment it in other faster ways? I said sure. However, there is a little trick: the yeast will have a richer flavor after fermentation at low temperatures for a long time. Although the fermentation time at room temperature is long, the flavor after fermentation is good.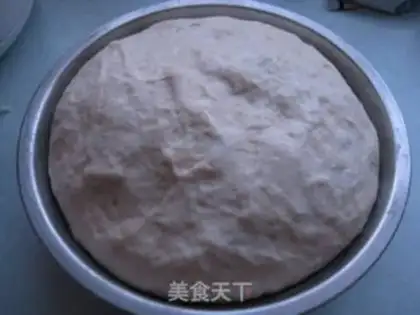
4
Look at it after fermentation for 3 hours and 10 minutes. Isn't it a big deal? That's enough.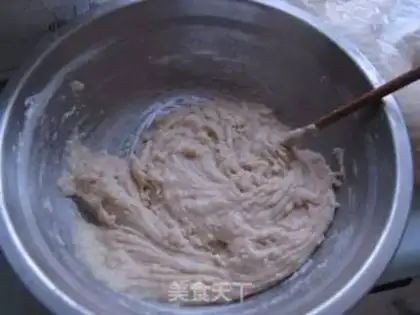
5
Now start kneading the main dough and see how sticky it is and does not form a lump. This process must be fast because yeast powder is added to it and is high in sugar. If the process is too slow, it will affect the yeast fermentation in the later stage.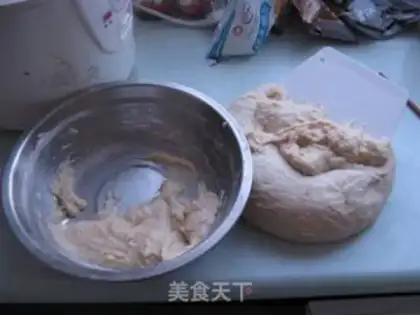
6
Generally speaking, we say that we cut the Chinese seed into small pieces and add them to the main dough. In fact, I reversed it and add the sticky main dough to the Chinese seed. Let's see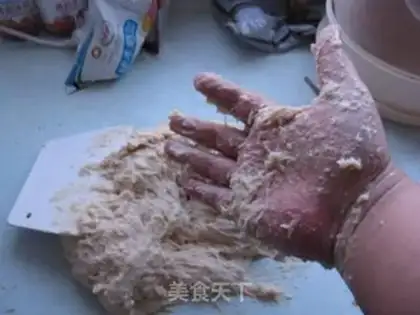
7
Isn't it a bit tragic? When I used to do 100% medium planting, it was miserable. The table, basin, and hands were all wet, but it's much better now. Massage harder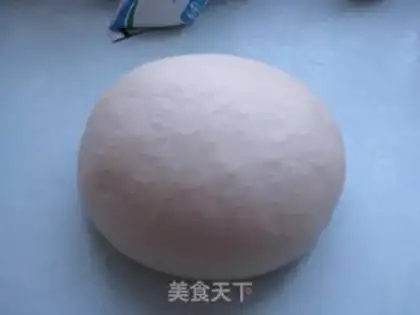
8
Ten minutes at most, and it's like this now. Isn't it great?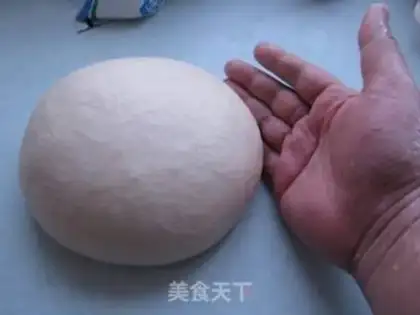
9
Looking at the comparison photos of the hands again, the hands are also bare and there is no dough sticking to them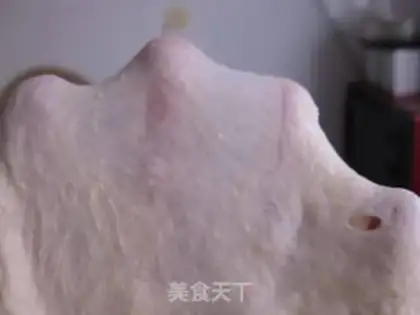
10
Look at the state of my film without butter. That's great.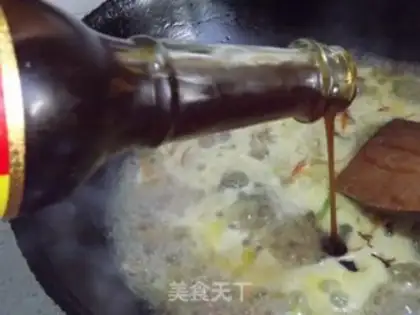
11
add butter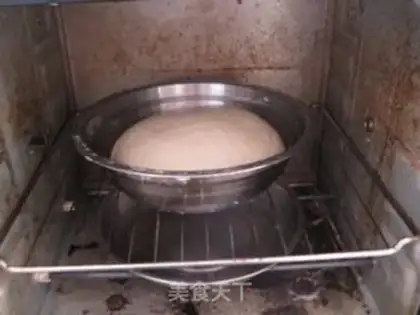
12
Put it in the oven and ferment for 30 minutes. See the stainless steel plate on the heating tube at the bottom? There is hot water inside, so that you can moisturize when you ferment. How about it? Isn't that a good idea?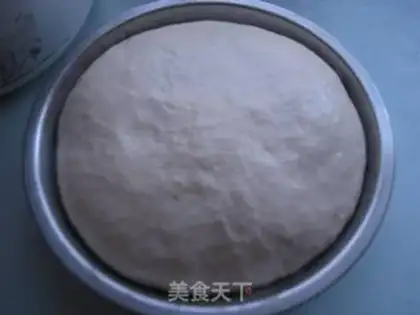
13
Photo after 30 minutes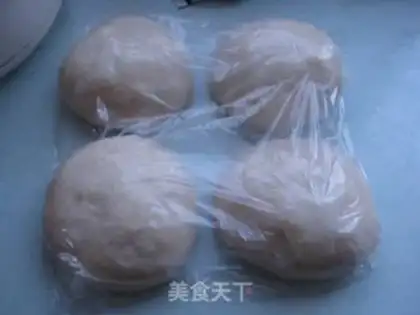
14
Divide the dough into 4 portions, round and cover the dough and relax for 15 minutes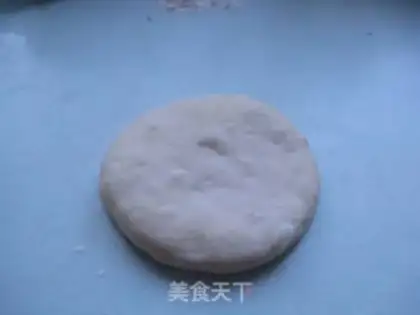
15
The following is the plastic shaping method. I will demonstrate one method. Because the dough is relatively wet and soft, you can use a little dry flour, just the dumpling flour at home. First, press the dough with your hands into a cake shape.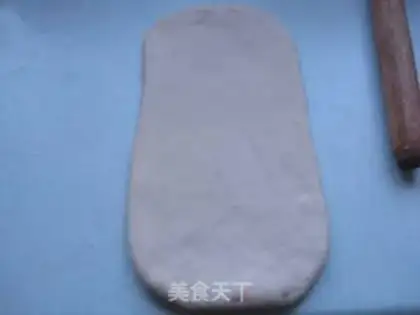
16
Use a rolling pin to roll it into an oval shape, mine will soon turn into a rectangle. Hehe, this will be more conducive to the next step
17
Turn the bottom of the dough upside down, and fold it as shown
18
Fold it again, and it's like this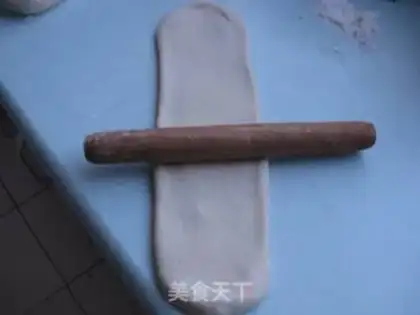
19
Turn it over again, press it slightly with your palm, and then roll it open with a rolling pin. If you feel air in the dough, use a toothpick to deflate the air on the side, and make sure that the surface facing upward is not damaged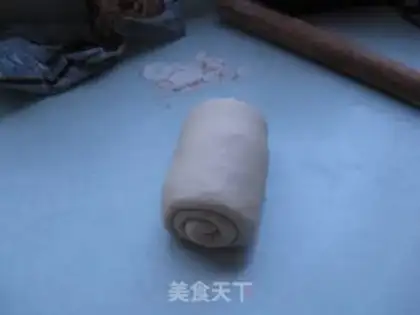
20
Turn the page again and see, we turned the page several times, three times, starting from top to bottom, as shown in the picture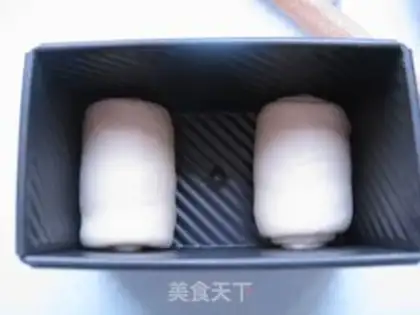
21
Pay attention to the placement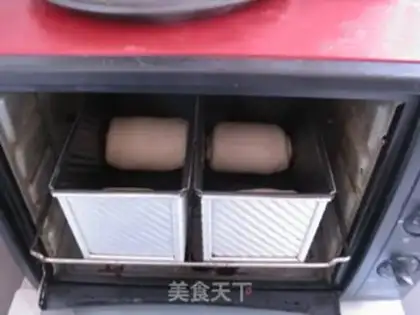
22
Put it into the oven and use the fermentation function to ferment. Note that there must be no shortage of water in the iron plate at the bottom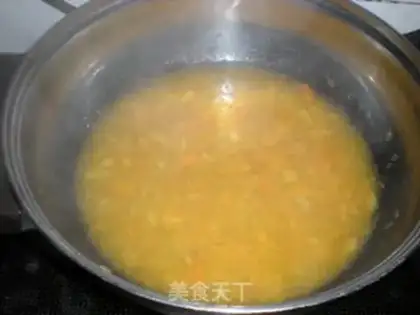
23
Do you still remember the original appearance? This is what it looks like after fermentation for 1 hour and 40 minutes. You can prepare to brush the egg liquid.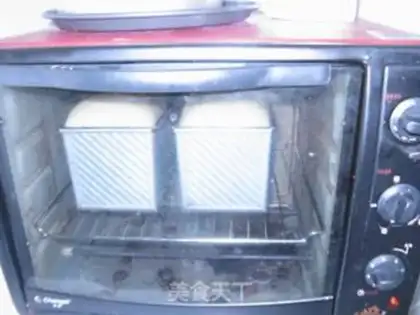
24
Brush the egg liquid, place it in the oven preheated to 200 ° C, adjust the temperature to 180 ° C for 35 minutes. About 10 minutes after the start, you find that the top dough has been colored, open the oven door, and cover a piece of tin foil on the toast. To prevent the top from getting burnt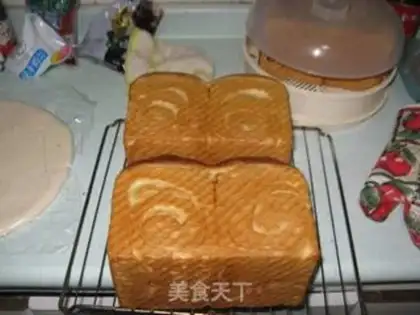
25
The finished product was baked, and the air was filled with the aroma of milk and baking dough. I was intoxicated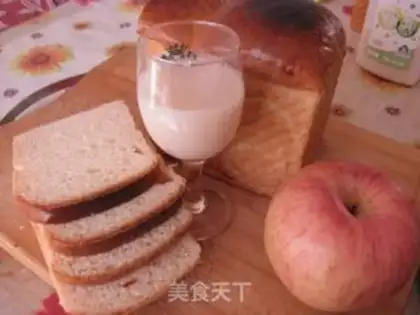
26
Later, it was found that for the 25B Changdi oven, the top was still a little too deeply colored because this bread grew too tall. Consider making it again and reduce it to 170 ° C and extend the baking time for 10 minutes. It should achieve the same effect and eliminate flaws. Okay, it's finally over. Thank you all