Cream honey bean toast
By LeannBrakus
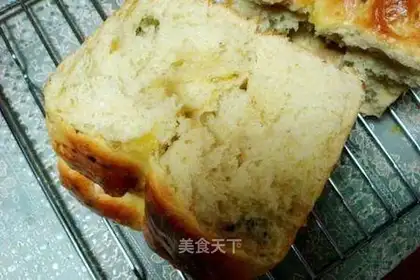
Ingredients: salt,high-gluten flour,Rich and strong fans,eggs,powdered sugar,fine sugar,qingshui,fresh milk
Recipe Recommendations
- high-gluten flour 300 grams
- eggs 一枚50 grams
- Rich and strong fans 30 grams
- qingshui 120 grams
- fresh milk 150 grams
- fine sugar 20 grams
- salt 3 grams
- powdered sugar 20 grams
- milk fragrance
- baking
- several hours
- ordinary
Steps for Cream honey bean toast
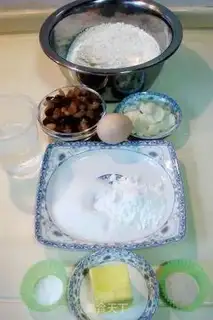
1
All ingredients.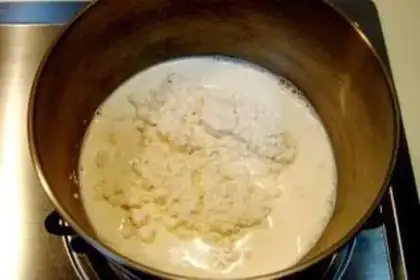
2
Make the soup first and add flour to the milk. The ratio of 5:1 is more appropriate.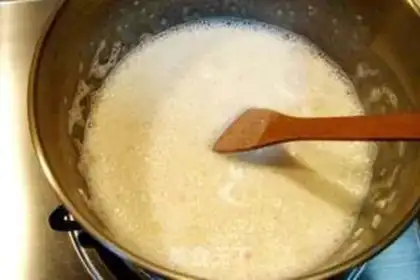
3
Then use a bamboo board to stir the two well, as long as there are no bumps.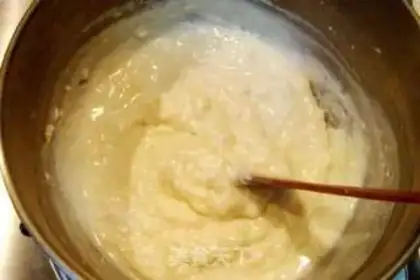
4
Heat the pan and boil it over medium to medium heat. During this period, use bamboo boards to stir continuously. Do not paste the pan until it is sticky and can be removed from the heat.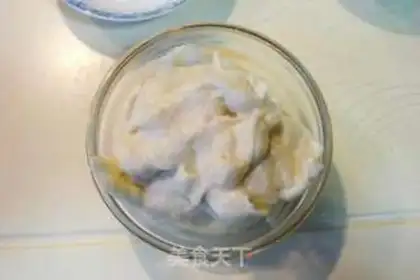
5
After leaving the heat, continue to stir evenly and pour into a vessel to cool. After cooling, cover it with plastic wrap and place it in the refrigerator for one hour. Use.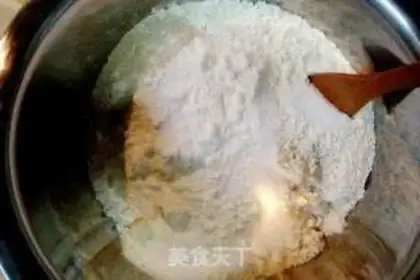
6
First mix all dry powders, such as flour, dry yeast, sugar, and salt, and mix them well.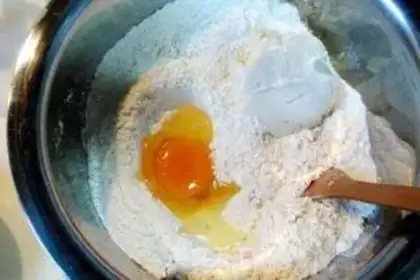
7
Then add the eggs and the refrigerated soup seeds, and mix with water to form a dough.
8
After the dough is initially combined, remove it from the basin and place it on the chopping board and rub it repeatedly until it feels strong and the dough is not too sticky.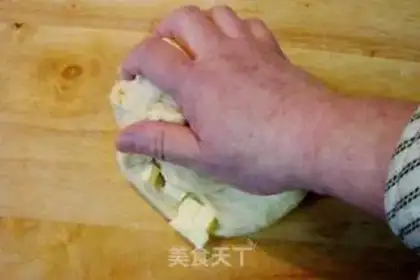
9
Then add the chopped solid cream grains, wrap them into the dough, and knead it repeatedly. At this time, the dough will be very sticky. You can use a rubber scraper to scrape the wet surface on the chopping board and hands back and forth.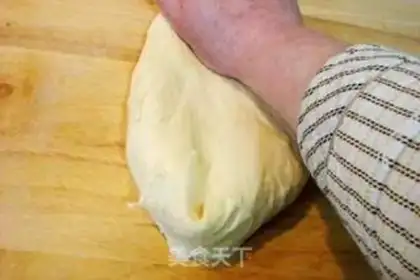
10
Until the oil and dough are fully blended, you feel that the viscosity of the dough is decreasing, but there is a slight viscosity, which proves that the gluten has emerged. It will comfortably clean the face plate and the broken dough on your hands, which means that you have reached the point of kneading dough.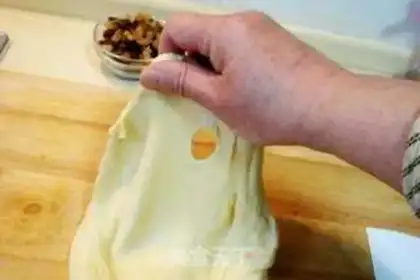
11
Next, you can check the kneading performance. Lift the dough with one hand, and it will fall down and form a film without breaking the muscles. Use your finger to poke it and create a round hole with no burrs around it, just like chewing gum bubble film. This was very successful. Congratulations on completing the most important step of handmade production.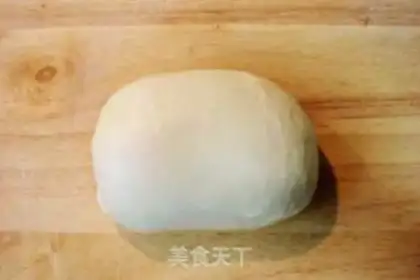
12
Simply knead the dough you have successfully kneaded on the chopping board repeatedly into dough. At this time, there is no need to continue kneading to find the feeling. When you have successfully kneaded the dough, go over the top. Kneading the dough will cause the dough to break the muscles, which will waste all previous efforts. We will talk about this issue in the future. The above is the basic method of making dough with post-oil kneading. It takes about 20 to 30 minutes. Gentlemen with strong strength may be faster. I would like to remind everyone not to be afraid when the viscosity is high. It is an important process from sticking to full absorption. If this link is not passed, high-quality bread cannot be made.
13
Place the dough in the basin.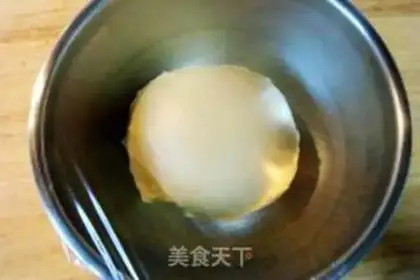
14
Next, we will start basic fermentation of the dough, cover the basin with plastic wrap, and rise in an environment with a temperature of 28 - 32 degrees and a humidity of 80 - 85 degrees. When you feel that the temperature is not enough, you can use a steamer to ferment. Generally, the water temperature is boiled until it can be tolerated by hand test. At this time, the water temperature is about 50 degrees, and the temperature of the steamer layer is just about 35 degrees. It is best to have a needle-type temperature meter at home. If you don't have it, just follow the method I said. I have experimented with this method with a needle gauge, so it is very easy to use.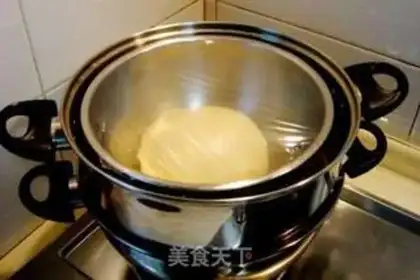
15
Put the basin covered with plastic wrap into the steamer.
16
Cover the pot and wait quietly for the baby to grow.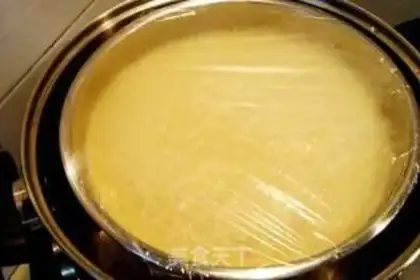
17
When the hair rises to 2.5 to 3 times, it can be taken out. If this process is well insulated, it takes about 40 minutes to 1 hour.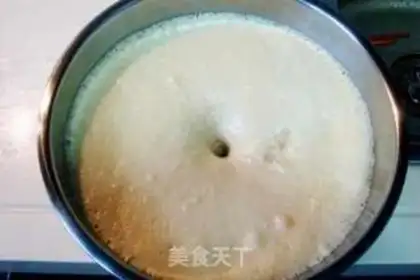
18
Remove the basic dough after fermentation, use your fingers to dip it in dry flour and poke it until the dough rebounds.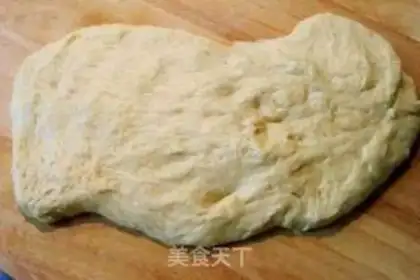
19
Place the dough on the chopping board and press with both hands to evacuate the air from the inside of the dough.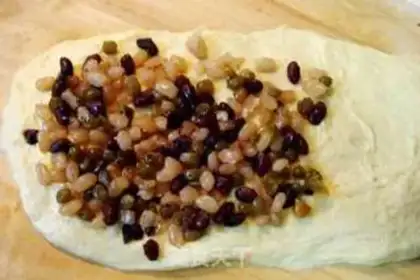
20
Press the dough again, press the dough into an oval shape while venting, and spread the colored honey beans evenly on half of the dough sheet.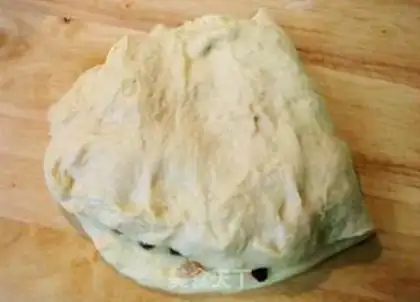
21
Then fold the other half of the dough.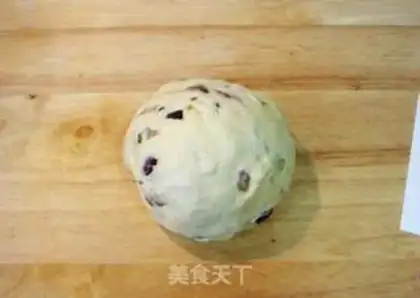
22
Fold the dough sheet with the honey beans repeatedly with both hands until the honey beans are evenly spread across all parts of the dough.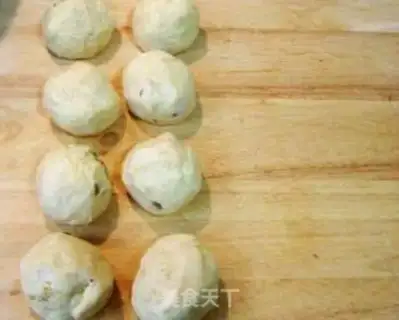
23
Then use a rubber spatula to divide the dough into the small pieces you need. This time it is a large toast, so it is divided into eight uniform pieces according to the size of the mold, and then roll into balls.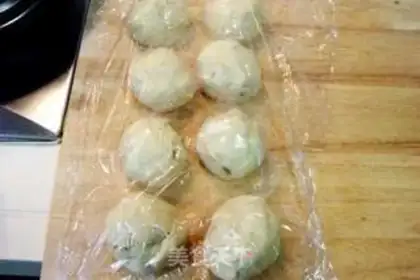
24
Cover the dough with plastic wrap and start the middle fermentation for about 30 minutes. You can only ferment on the chopping board without further insulation.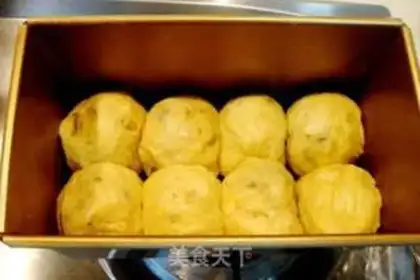
25
After fermentation for 30 minutes, round the dough again and arrange it neatly in the mold.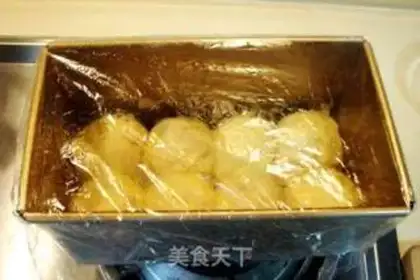
26
Cover the mold with plastic wrap and start the final fermentation. The temperature is controlled at 28 - 32 degrees and the humidity is maintained at around 80.
27
We still put it in a steamer to keep warm and ferment. Another method is to put the mold in an oven preheated at 30 degrees and place an iron plate filled with warm water under the mold to keep warm and moisturize fermentation. Both methods can be used.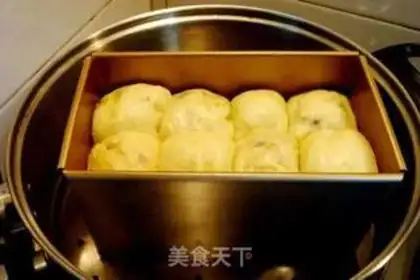
28
Do the final fermentation, make the dough grow to twice the size of the original dough, and then proceed to the last step and place it in the oven for baking.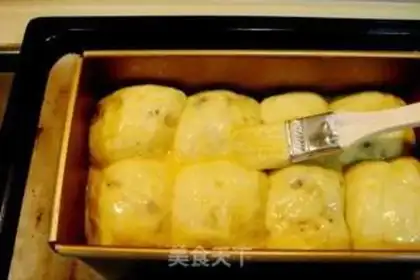
29
Apply egg liquid before baking. It is best to add half of the water when preparing the egg liquid. Since it is a large bread, don't rush to color too quickly, add some water and apply a thin layer on the dough.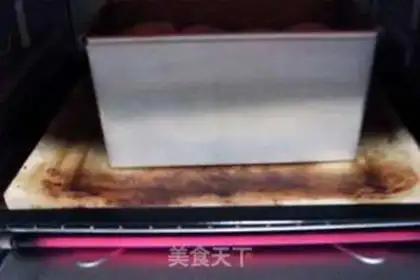
30
The oven should be preheated in advance before baking. Since the household oven is small in size, it usually takes 5 minutes to preheat it. This bread is large, so the temperature should not be too high. The reason is that the outside is burnt and the inside is not fully baked. It has become a sandwich of raw bread! Failure doesn't matter, mainly because it causes unnecessary waste. We usually control the temperature between 160 and 170 degrees. For example, if a home oven has a temperature control device, it is the easiest to bake this kind of big bread. It doesn't matter if it doesn't. We can set the temperature to the 160-degree gear for heating and baking for a while longer. I often use this method and can do other things when setting the time. Today, I will bake at this temperature, and the baking time is set at 35 minutes.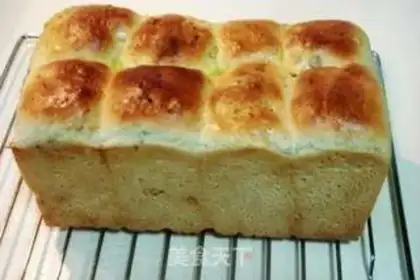
31
After baking for 35 minutes, the bread is baked. The mold must be turned hot. After the mold is turned, dry the bread on the drying rack. If there is no drying rack, you can use the original oven grill, and the bottom is slightly elevated. The bottom of my grill has four 1 cm high claws, so you can put them directly on them to cool.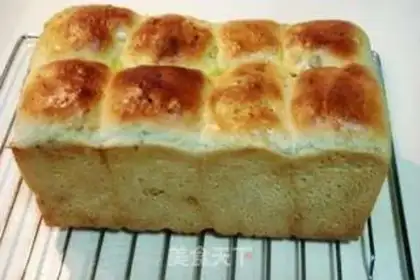
32
For bread collection, the bread should be collected when the temperature drops to 35 degrees Celsius, that is, if there is a slight residual temperature, it should be packed in a large fresh-keeping bag and preserved in the mouth. The general preservation period is about 4 to 5 days. It must not be put in the refrigerator. It can only be sealed and stored at room temperature. The reason is that the protein and oil in the bread will solidify at low temperatures, and the aroma after yeast fermentation will be lost. As a result, the bread will change its flavor. Many people say that preserved bread taken out of the refrigerator does not taste good. This is the reason, and the taste will become hard. Bread tastes best after being cooled for two hours. Never eat it hot. The carbon dioxide gas that expands and remains inside during baking should be exhausted before it can be eaten. This is the healthiest way to eat it.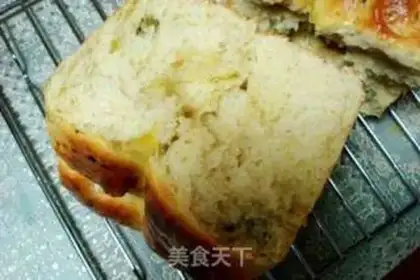
33
The loose bread that is broken after drying for 30 minutes is divided into parts.