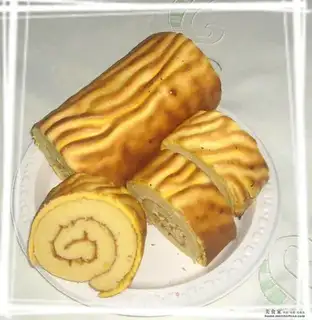
I remember my favorite food when I was a child was tiger skin cake. The thin yellow layer on the outside was fragrant and soft. The cake inside contained sweet jam. Every bite was a surprise. What fascinated me most was the tiger skin coat it wore. How can you make it into beautiful patterns? At that time, I never imagined that I could DIY myself in the future.
In recent years, many pastry shops have appeared in the streets and alleys. Every time I pass by, I can smell the aroma of cake wafting out of them. However, I am disappointed that there is still no tiger skin cake.
Since entering the baking business, I have always been pleasantly surprised by my creations, whether it is success or failure. During an accidental search, I discovered a way to make tiger skin cakes. I was so excited that I couldn't express my excitement. It seems that the cake I have been longing for is not far away from me.
Tiger skin cake
Recipe Recommendations
- sweetening
- baking
- three-quarters of an hour
- ordinary
Steps for Tiger skin cake
1
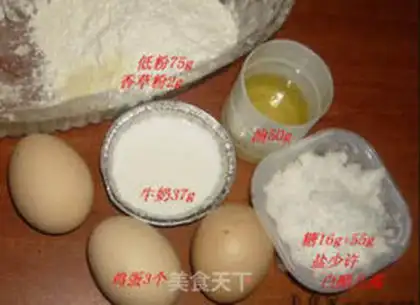
Ingredients for the cake: 75g of low flour, 2g of vanilla powder, 3 eggs, 50g of oil, 37g of milk, 16g+55g of sugar, a little salt, and a few drops of white vinegar.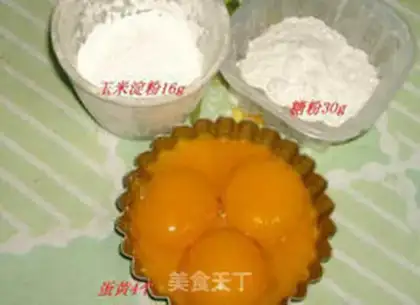
2
Tiger skin ingredients: 4 egg yolks, 16g corn starch, 30g powdered sugar (I lost 5 g).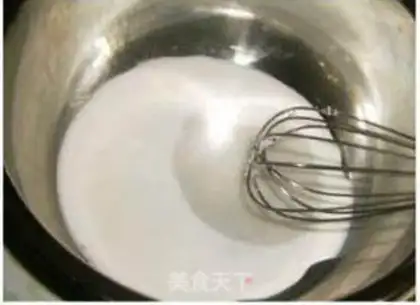
3
Add 16g of sugar to milk and mix well.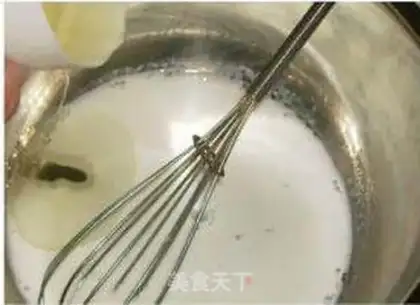
4
Come on, mix well.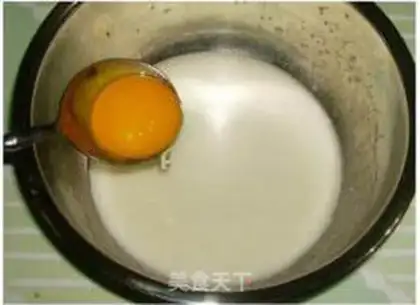
5
Add egg yolks one by one and mix well (start preheating the oven to 200 degrees)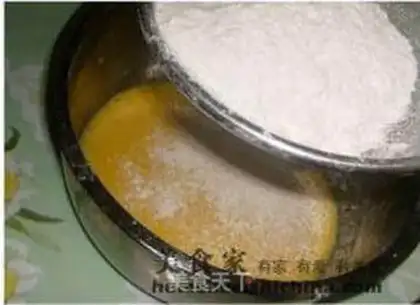
6
Sieve in the flour and cut and mix until egg yolk paste.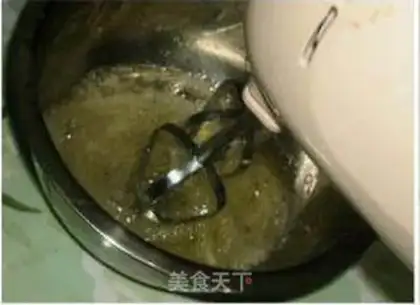
7
7-10: During beating the protein, add salt, white vinegar and 55g of sugar in portions, and beat until hard.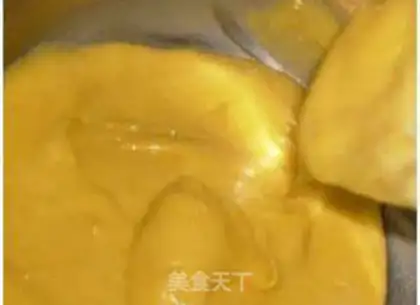
8
The stirred egg yolk paste is so thick that it cannot be mixed.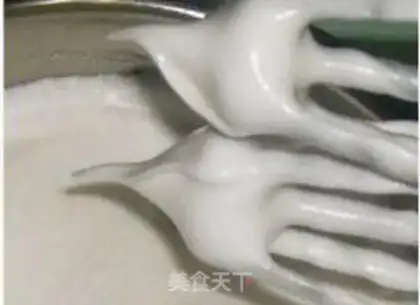
9
With the beaten egg whites, the egg yolk paste is so thick that it can't be mixed,(start preheating the oven to 200 degrees).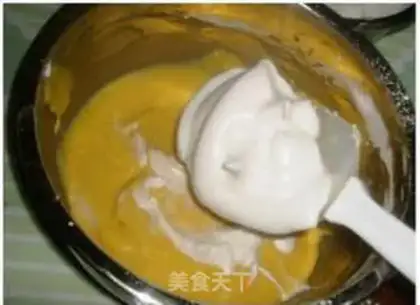
10
Add the beaten egg white to the egg yolk paste in three portions.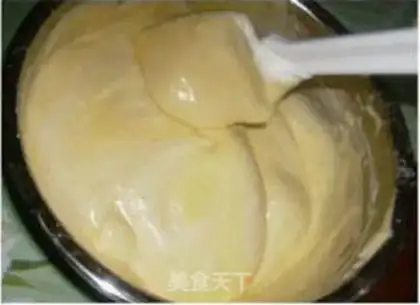
11
Gently stir from the bottom.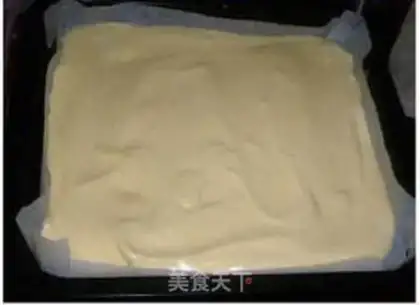
12
Pour into a baking sheet covered with oil paper and shake off large bubbles.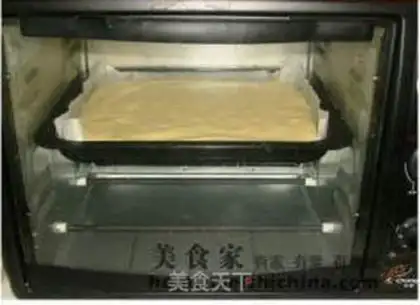
13
Put it in the middle layer, first at 200 degrees for 10 minutes, and then at 160 degrees for 10 minutes (the original recipe is 23 minutes. I was afraid that it would not be easy to roll if it was too cooked, so I tried it with a toothpick. When it was cooked, please adjust it according to your own oven).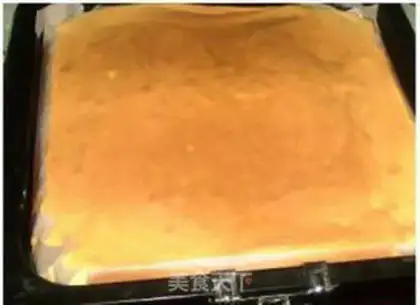
14
After the baked cake, turn off the oil paper (as if the cake was baked unevenly).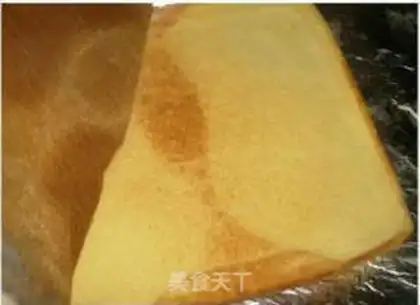
15
After the baked cake, turn off the oil paper (as if the cake was baked unevenly).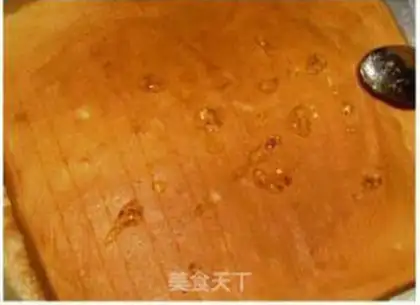
16
Conversely, use a uniform strip on the narrow side and apply jam.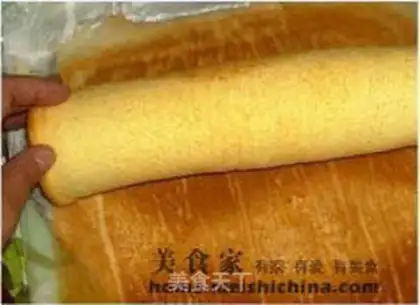
17
Roll it up (I wanted to roll it with thick blueberry sauce, but once I tasted the sweetness of the cake was enough, I applied a thin layer of osmanthus sugar).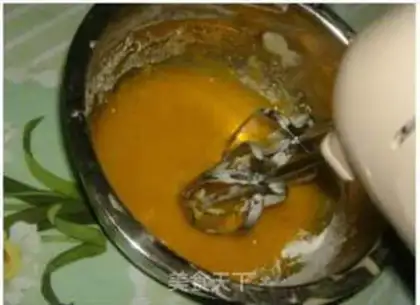
18
Mix tiger skin materials.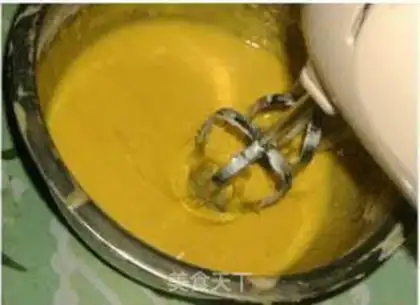
19
Beat with an egg beater until the color becomes white (it feels too thick, add a little milk, but the volume does not appear to have increased. Just mix well and will not affect the taste)(Start preheating the oven to 220 degrees).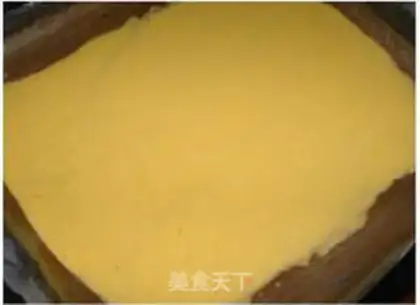
20
Spread the beaten egg mixture evenly into the baking sheet (the oil paper I used was the reverse side of the freshly baked cake, and saving was a virtue).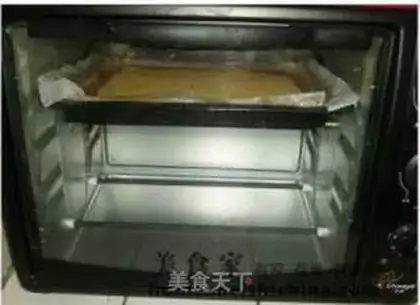
21
Put it into the top layer of the oven and heat it for 2-3 minutes. Be sure to watch. In less than 2 minutes, I will burn the sides in a blink of an eye.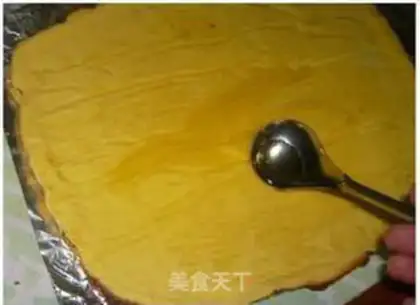
22
Turn upside down and tear off the oilpaper (spray some water on the oilpaper to make it easier to tear), and apply jam (I applied honey).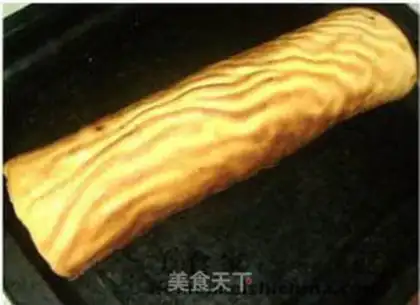
23
Put the cake body on top, roll it up, and OK to finish.Tiger skin cake Make Tips
It is best to trim the four sides of the cake evenly. I didn't, so the tiger skin is a bit short.