Yogurt cheese cake
By LeannBrakus
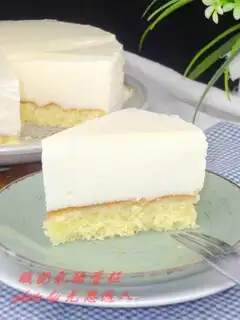
Ingredients: yogurt,egg white,fine sugar,qingshui,cream cheese,Sponge cake slices
Recipe Recommendations
Steps for Yogurt cheese cake
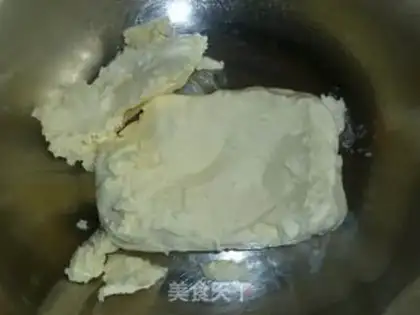
1
The cream cheese is softened slightly and divided into small pieces.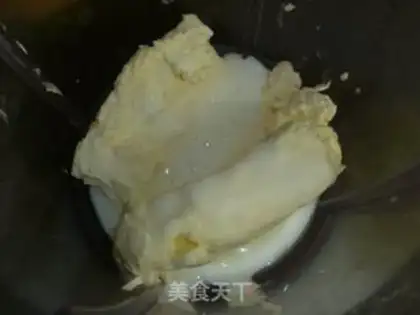
2
Put in the cooking machine and add the yogurt.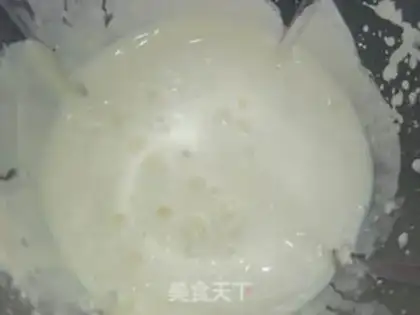
3
Stir until a uniform paste.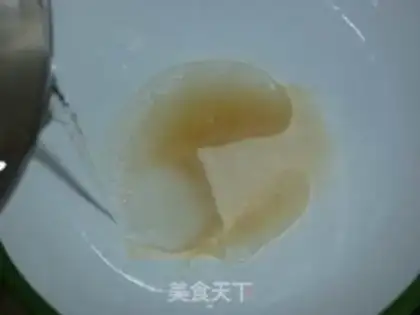
4
The fish glue powder (1) in the material is boiled with appropriate amount of cold white and stirred well to soak.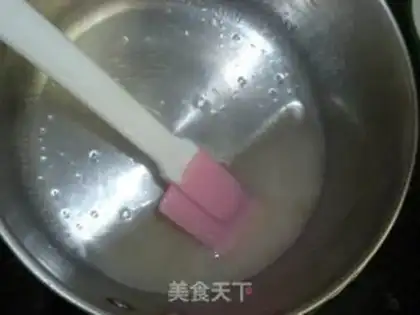
5
Heat on low heat for a while until the soaked fish gelatin powder melts.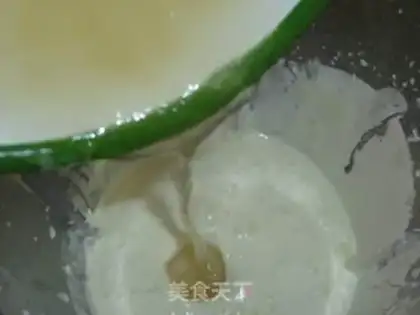
6
Pour into the yogurt and cheese paste from step 3, and turn on the cooking machine again.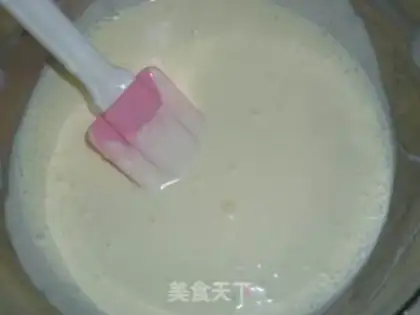
7
Beat until a uniform paste, which is relatively thin.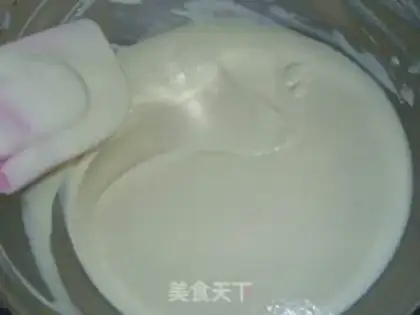
8
Put it in the refrigerator and refrigerate for about 5 minutes, and it is best to stir twice during this period to form a thick, streaked paste that will not easily disappear. Pay attention to the time and don't freeze it for too long and it will not be used until it completely solidifies.
9
Beat the fine granulated sugar into powdered sugar.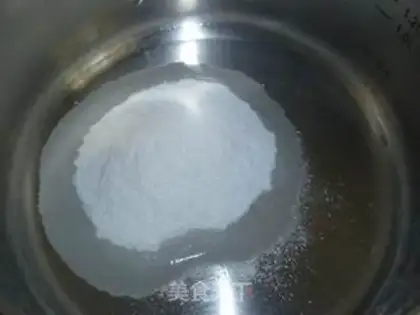
10
Mix the powdered sugar with 30g of water.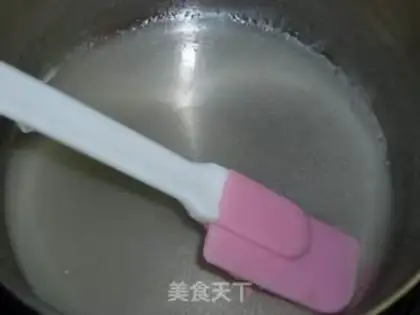
11
Heat on low heat until it boils slightly, then turn off the heat for later use.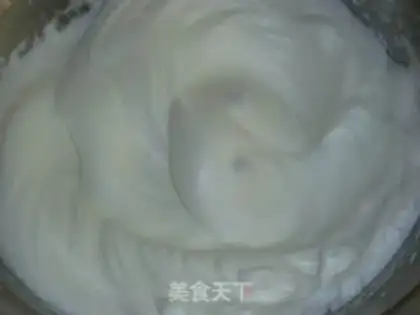
12
Beat the two egg whites until they are firm and frothy (inverted container will not slip off).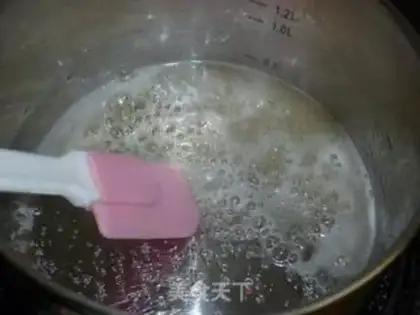
13
Fire again and heat the sugar water until it boils. If you have a thermometer, it is best to use a thermometer to measure it to reach 120 degrees. But I tried to make things easier, so I figured it had been boiling for a while and the sugar water began to turn yellow, so I turned off the fire.
14
Slowly pour boiling sugar water into the hard foaming egg white. Beat one side with an electric eggbeater at high speed.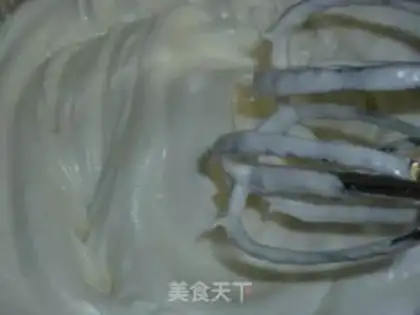
15
After pouring the sugar water and stirring well, the egg whites are very delicate and have a soft feeling. This is Italian meringue, which is more stable than simply beaten egg whites.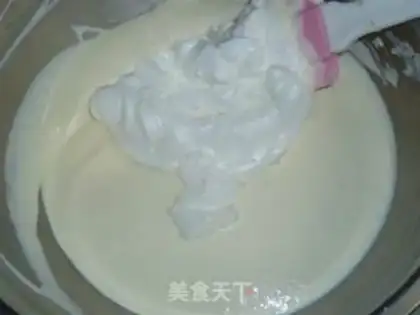
16
At this time, take out the yogurt and cheese paste, cut and mix well with the prepared meringue cream.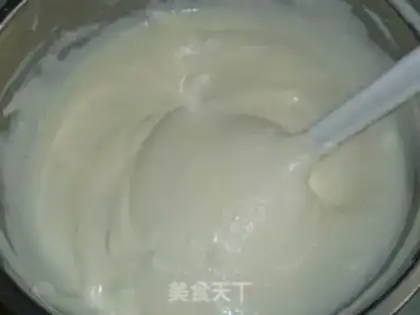
17
The cut and mixed paste has a certain consistency, but it can flow.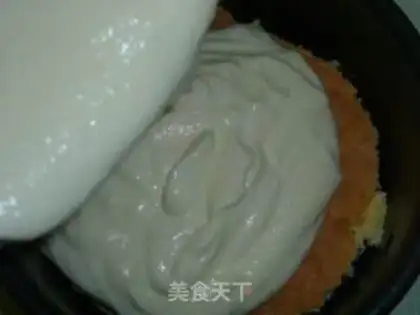
18
Pour the cut and mixed cheese layer into the mold with the cake slices laid, smooth the surface, and place it in the refrigerator for half an hour until the cheese layer is basically solidified.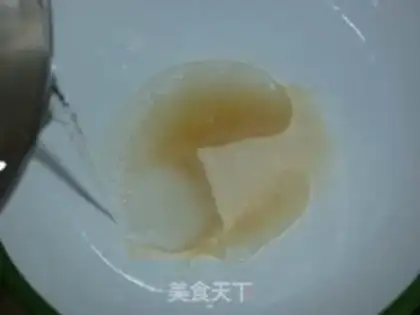
19
Soak the fish glue powder (2) in the material with a little cold white.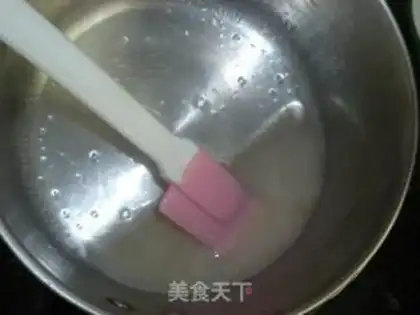
20
Similarly, heat on low heat for a while until the fish gelatin powder melts.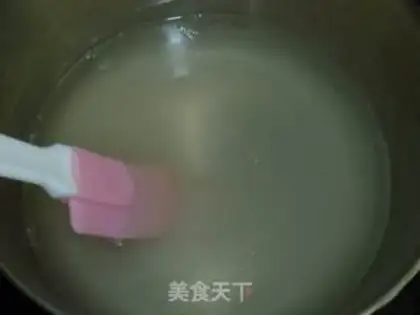
21
Pour in the sugar water from the can and heat for a while until the edge of the pan bubbles.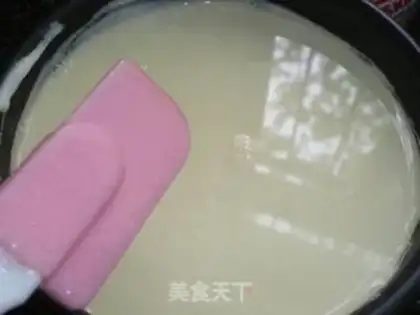
22
Stir until the temperature is about 10 degrees, pour the jelly water into the cake mold. The thickness is as thick as you prefer. Then place the cake and mold in the refrigerator and continue to refrigerate until the jelly layer is completely solidified, before removing and demoulding.Yogurt cheese cake Make Tips
1. I use the egg-dividing sponge for the bottom layer of the sponge cake. The material is 4 eggs, 50g of sugar (10g for egg yolk and 40g for egg white), and 60g of low powder. See here for details: blueberry cream cake roll http://home.meishichina.com/space-305800-do-blog-id-275197.html. Or you can use whole egg sponge cake to make the embryo. See here for details: Basic whole egg sponge cake http://home.meishichina.com/space-305800-do-blog-id-276076.html. 2. The amount of this yogurt layer and jelly layer is the amount of two 6-inch or one 8-inch round molds. 3. If you don't want to make Italian meringue, you can directly use yogurt and cream cheese and fish gelatin powder to make the cheese layer, but the taste will be stronger and less light and empty. If you want to make Italian meringue, be sure to grasp the time well. Don't wait until the yogurt paste solidifies before making the meringue. Then, the effort will be in vain. 4. You don't have to make a jelly layer if you don't want to, but I personally feel that there is a layer of cool jelly that tastes better ^_^Use the water in the can because I think it will still have a hint of yellow peach flavor. If you don't want to use it or don't have it, you can use sugar water. 5. When demoulding, use a hair dryer (hot air) to blow it around the edge of the cake mold to easily demoulding. After eight years, I was lazy, so I covered the cake mold with a warm hand, and it could also be removed well.