saqima
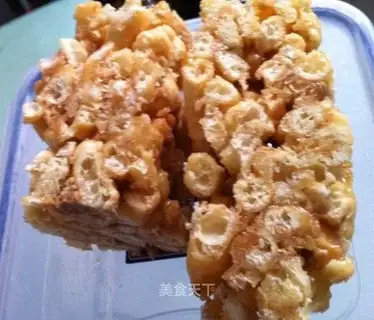
Ingredients: white sesame
Recipe Recommendations
- flour 200 grams
- eggs 145 grams
- baking powder 5 grams
- water 10 grams
- salad oil appropriate amount
- corn starch Appropriate amount (for anti-stick)
- white sesame 30 grams
- white sugar 160 grams
- maltose 100 grams
- sweetening
- fried
- an hour
- ordinary
Steps for saqima
1
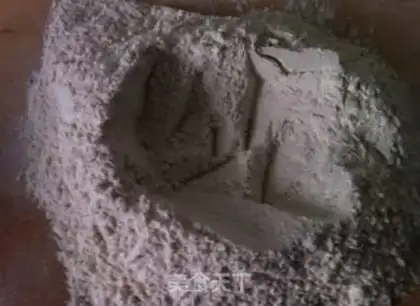
Mix and sieve the flour and baking powder, and make a flour pit on the chopping board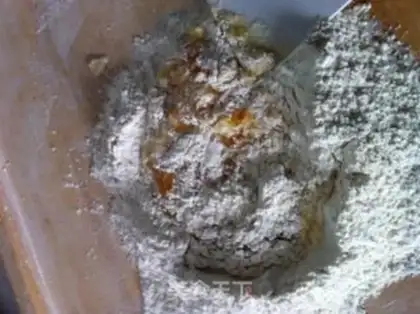
2
Beat the eggs and pour into the flour pit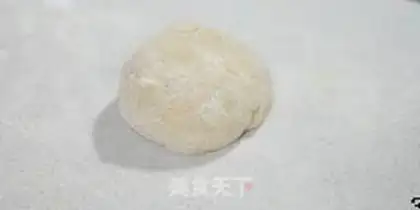
3
Knead evenly to make a moist dough. Add a little water as appropriate to make the dough very sticky and soft (you can use corn starch to prevent sticking). Let the dough sit and relax for 15 minutes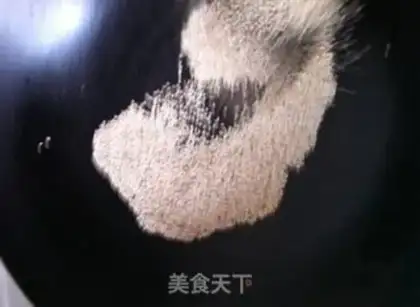
4
Use this time to stir-fry the sesame seeds until cooked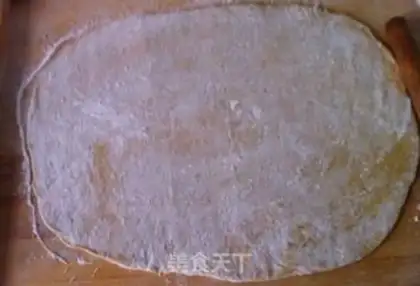
5
Sprinkle a little corn starch on the chopping board, and roll out the settled dough into a large dough sheet about 0.2CM thick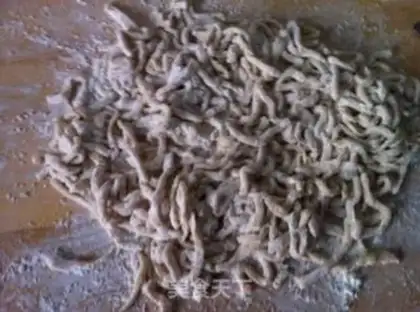
6
Cut the large patch into small patches. Then cut the small dough sheet into thin strips as shown in the picture (commonly known as blank strips). When cutting, be careful to sprinkle with some corn starch to prevent the cut strips from sticking together.
7
Pour salad oil into the pan and heat until the oil temperature is about 150℃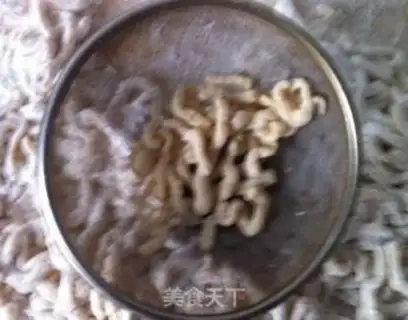
8
Place the billet into a sieve and sieve off excess corn starch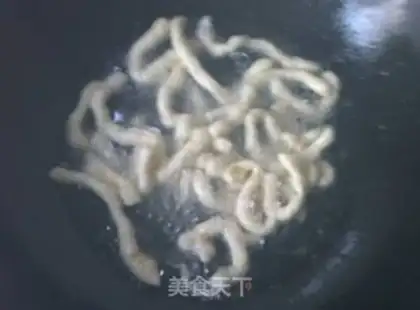
9
Pour into oil pan in time and fry until light golden yellow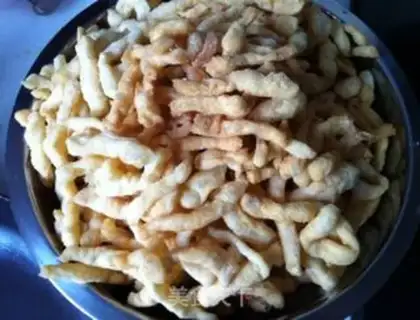
10
fried billet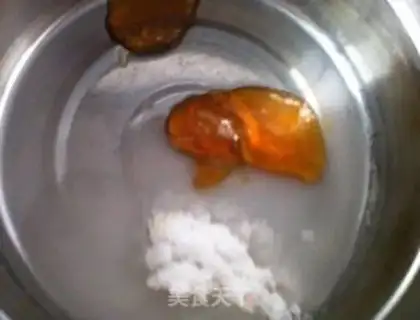
11
Start boiling syrup. Pour the fine sugar, water, and maltose into the pan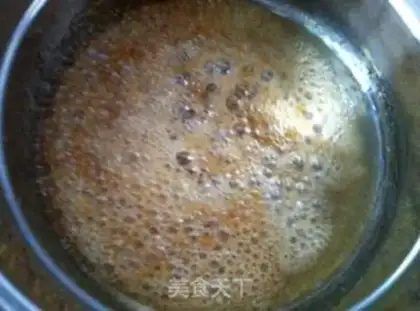
12
Heat over low heat until the fine sugar dissolves and the syrup has a thick foam. Continue to cook over low heat and cook the syrup to 115℃. If you don't have a syrup thermometer, dip your chopsticks in a little syrup. If the syrup can pull out thin lines, it means it's ready.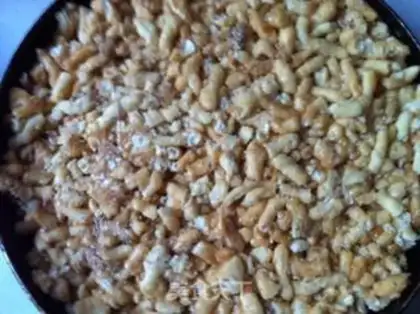
13
After the syrup is boiled, turn off the heat, put fried billet and stir-fried white sesame seeds into the syrup, mix well quickly while it is hot, and try to make each billet dipped in the syrup as much as possible. While warm, pour into a greased non-stick pan. After applying oil to your hands, directly compress the blank strip with your palm (operate while it is warm, it will become hard when it cools).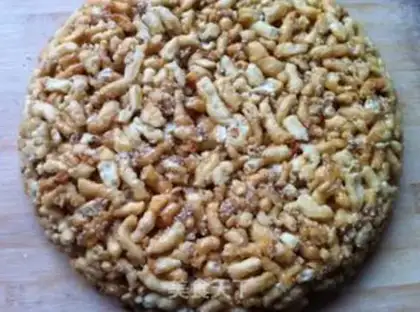
14
After Shaqima is completely cooled and bonded together, remove the mold and cut it into small pieces