Egg yolk crisp biscuits
By ZaneLebsack
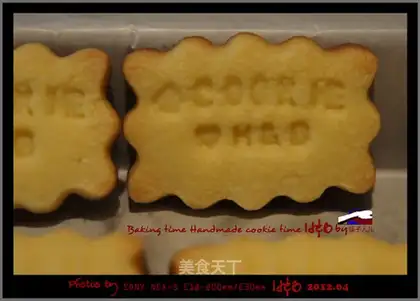
Ingredients: salt,butter,egg yolk,powdered sugar,qingshui,low powder,vanilla extract,sucrose
Recipe Recommendations
- milk fragrance
- baking
- an hour
- ordinary
Steps for Egg yolk crisp biscuits
1
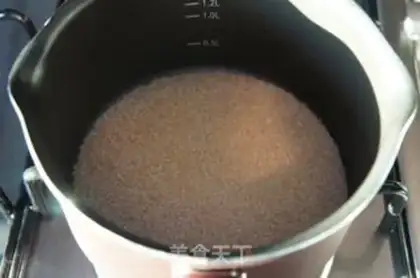
Put the sugar and a tablespoon of water into a non-stick pan, cook slowly over low heat, and stir with a small spoon while cooking.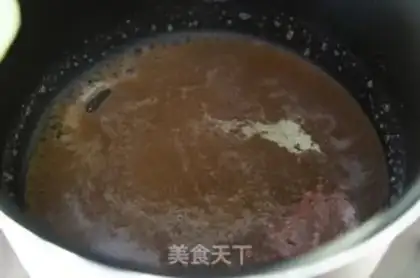
2
Turn off the heat when boiling.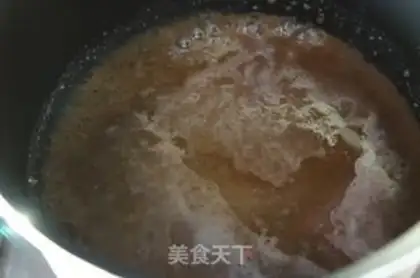
3
Then add another two tablespoons of water and slowly stir while adding.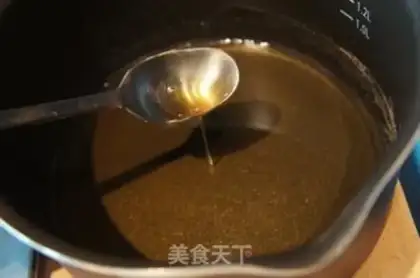
4
The boiled sugar slurry is thicker, so use a small spoon to pick it up and flow slowly.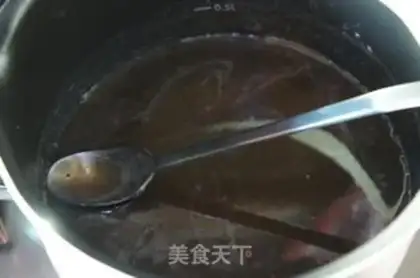
5
Allow the caramel juice to cool and set aside.
6
Add powdered sugar and low flour to mix well.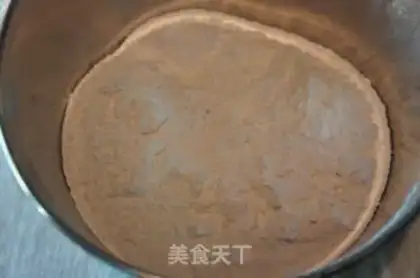
7
Sift together into a softened butter bowl.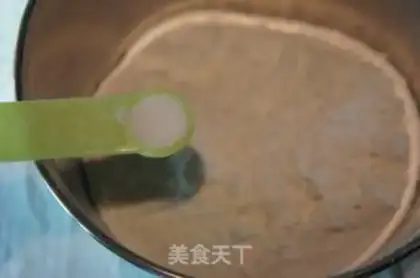
8
Add 1/2 teaspoon of salt.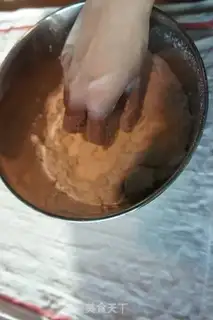
9
Rub evenly with your hands first.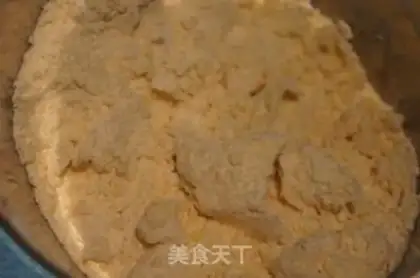
10
Knead until it is done like this: evenly wrap the flour in the butter.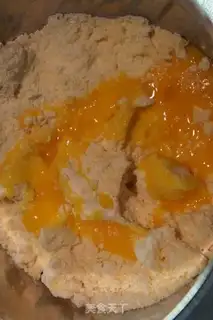
11
Then pour in the egg yolk liquid without stirring.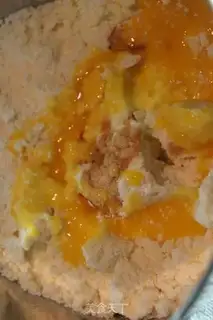
12
Add a few drops of vanilla essence.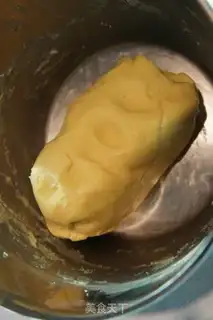
13
Knead the above ingredients together by hand into a smooth dough.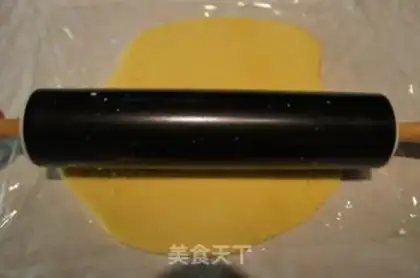
14
Roll out the dough into dough sheets with a thickness of about 3 centimeters.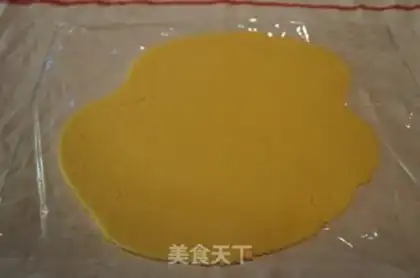
15
The surface of the dough sheet will be as smooth as possible, and the finished product will be more beautiful.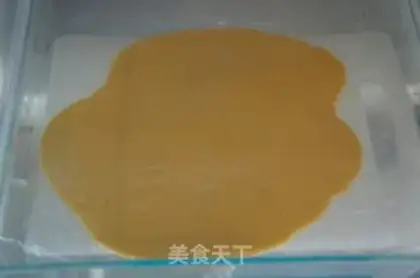
16
Put the dough pieces in the refrigerator and chill for about half an hour until the dough pieces are stiff.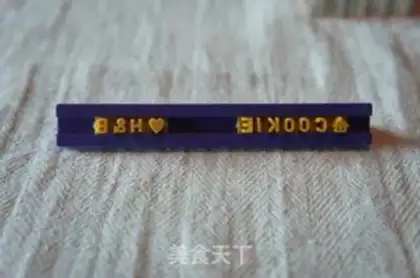
17
To prepare the mold, I used a rectangular stamp mold and this small mold that can print.
18
Stamp mold.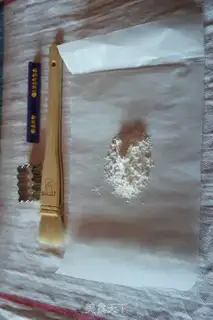
19
Also prepare some low powder and small brushes.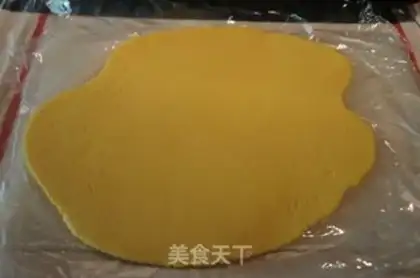
20
Take out the refrigerated dough sheet and warm it slightly to soften the surface of the dough sheet slightly.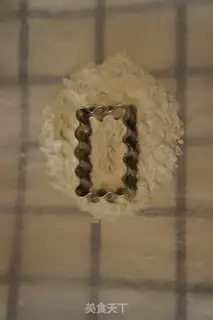
21
Dip the mold with flour first.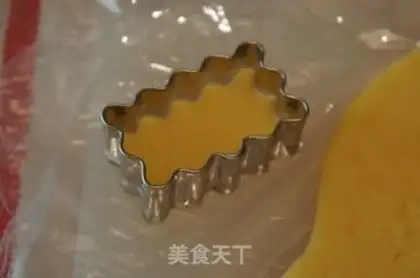
22
Engrave the stamp pattern on the large dough sheet.
23
All stamp patterns are engraved together first.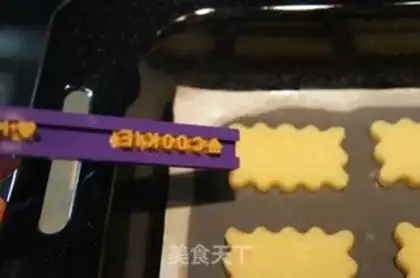
24
Then use the typeface to print the desired letters on the stamp pattern.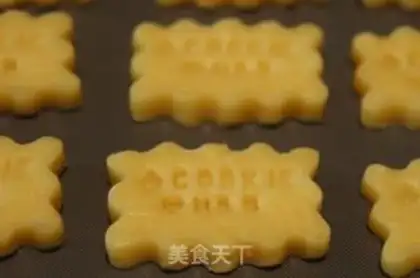
25
The action should be fast. The dough sheet softens extremely fast. If the action is slow, it will be difficult to print and affect the effect.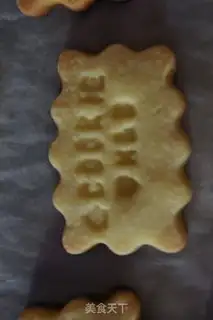
26
In the middle layer of the oven, at 190 degrees, for about 10 minutes.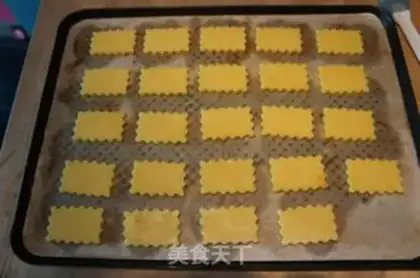
27
Those who apply caramel juice on the surface also use a mold to carve all the graphics first.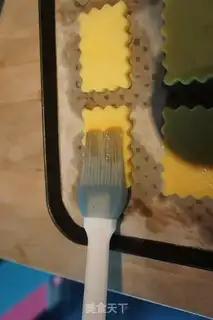
28
Brush the dough sheet with a small brush dipped in the cooled caramel juice.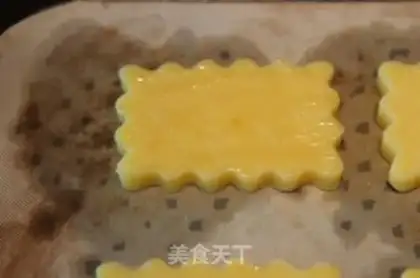
29
I have used both wool brushes and silicone brushes. It is normal for the surface to be uneven. When it is baked for a while, the caramel juice on the surface will naturally color evenly.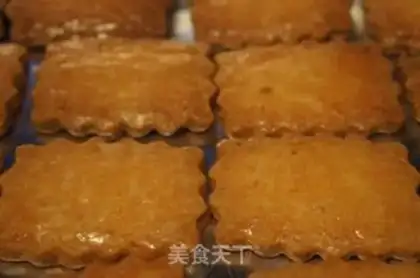
30
It is also the middle layer of the oven at 190 degrees for about 10 minutes. Because there is caramel juice on this surface, you don't have to pay too much attention to the coloring of the cookies. The color will look good if you bake it deeper, and it will taste better if you bake it for a longer time.