Milk toast
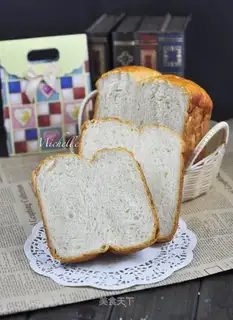
Ingredients: salt,milk,egg liquid,sugar,yeast,high powder,unsalted butter
Recipe Recommendations
- high powder 300 grams
- yeast 3 grams
- milk 150 grams
- egg liquid 40 grams
- sugar 50 grams
- salt 5 grams
- unsalted butter 30 grams
- sweetening
- baking
- several hours
- senior
Steps for Milk toast
1
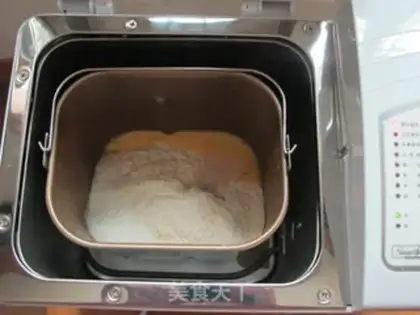
Put all ingredients (except milk and butter) into a bread bucket, taking care not to put yeast, salt or sugar together, but to each side. Turn on the "dough dough" function and stir for 1 minute first.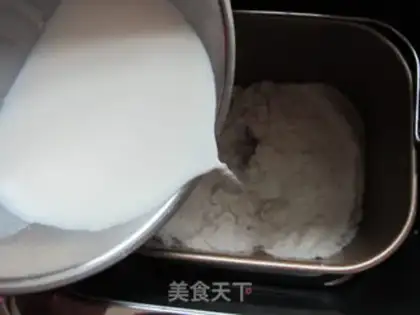
2
Open the lid and add the milk. I first added half of the amount. The flour was absorbed, and then add the other half. The original milk amount is 176. I didn't use that much, only about 150 grams. The specific amount depends on the water absorption of the flour you use.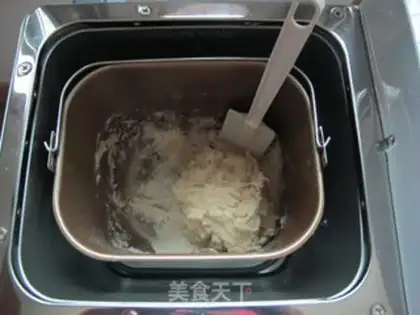
3
When you first start kneading, you should not walk away. You should observe carefully from the side and use a rubber spatula to gather all the flour around you from time to time, so that you can speed up the dough.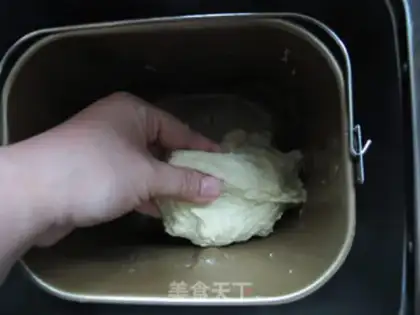
4
After a "dough mixing" process (a "dough mixing" process lasts for 15 minutes), the dough is basically formed. Grab the dough with your hands and test whether the moisture of the dough is suitable.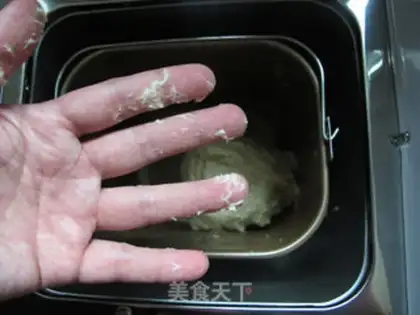
5
The dough is wet and sticky. After grasping, the hands are basically clean and a small amount of flour sticks to the hands, indicating that the dough humidity is appropriate.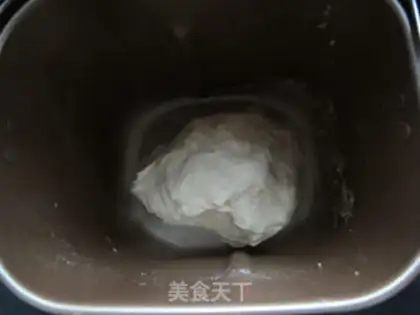
6
Put it back in the bread bucket and turn on the "dough dough" function again. At this time, you basically don't have to worry about it, let it knead slowly by itself! You can do your own thing until you hear it beeping to tell you that it has completed the task you asked it to do.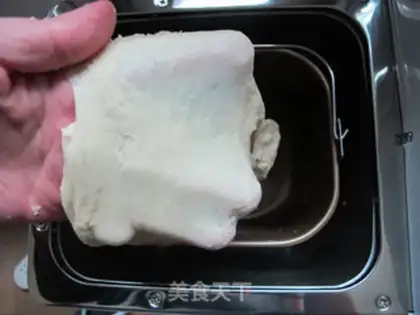
7
After completing the "dough mixing" process again, gently pulling the dough apart, and finding that the dough could barely stretch out of the film, indicating that it was already malleable.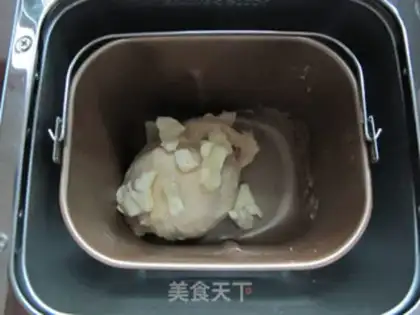
8
Add butter that has been softened at room temperature and cut into small pieces, and start the "dough mixing" process for the third time.
9
The third "dough kneading" process ended. It took a total of 45 minutes to knead the dough, and the surface of the dough was already very smooth.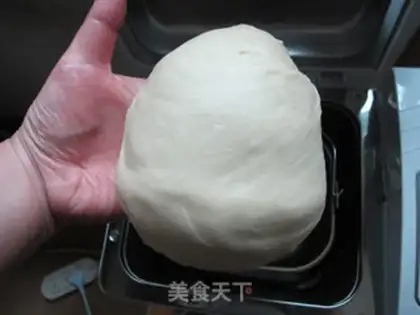
10
Take out the dough and spread it to both sides. The surface of the dough is very smooth, and it is basically kneaded in place.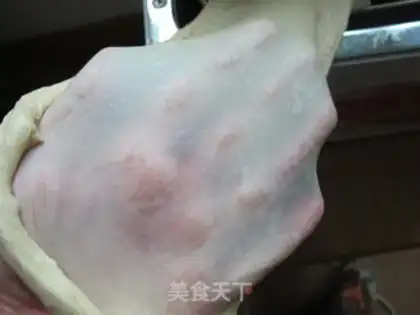
11
Let's take a look again! Isn't it a beautiful glove membrane?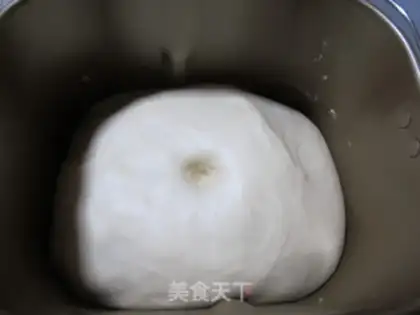
12
Shape the dough, put it back into the bread bucket, and carry out basic fermentation. Because the room temperature is now 20 degrees, I did not use the "fermentation" function of the bread machine, but only used room temperature for the first fermentation. I don't care if I take a long time. The fermentation will be slower for the first time, and the finished product will have better results! It took me about 2 hours to make the dough twice as big. Pob it with your finger, and the dough bounces slightly and no longer bounces.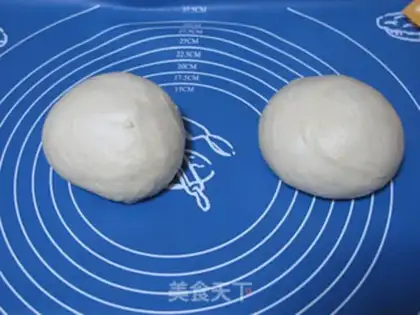
13
Press the dough flat and vent, divide it into two portions, and relax for 15 minutes.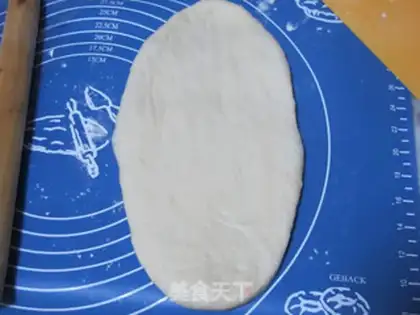
14
Roll out the relaxed dough.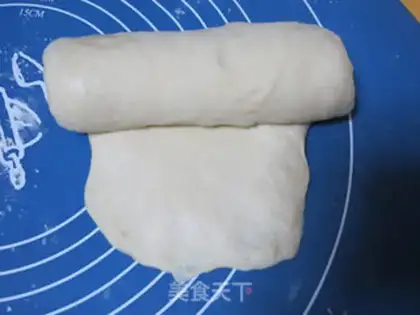
15
Roll it up again and seal the mouth.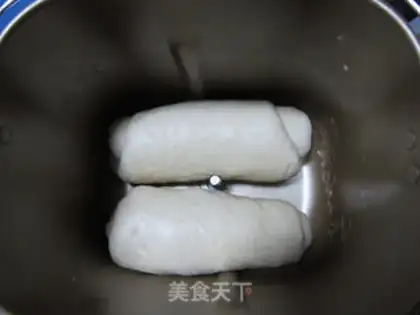
16
Remove the mixing knife, place the dough into the bread bucket, and ferment for a second time. Because the temperature of the second fermentation is higher than that of the first fermentation, it is best to be around 38 degrees. According to previous experience summary from Bayou, it is best to carry out secondary fermentation at the temperature of the bread machine.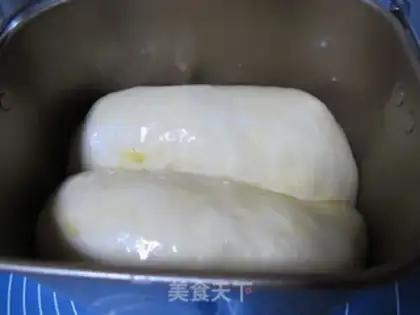
17
Fermentation the second time until the bread bucket is seven or eight minutes full, and brush the surface with egg liquid.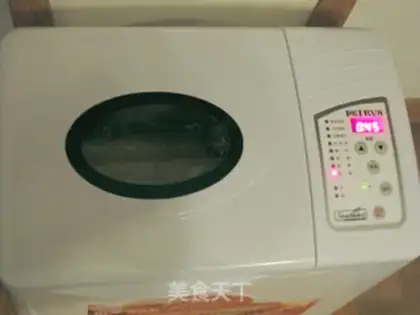
18
Put it into the bread maker again, cover it, and select the "Bake" function. The time is 45 minutes, and the color is "light".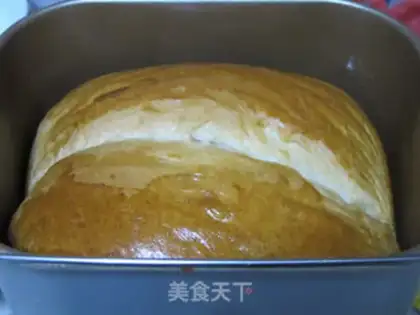
19
When baking bread, the surface temperature of the toaster is very high, so remember to prevent children from getting close to the toaster! The picture shows it freshly baked.Milk toast Make Tips
Production experience: 1. The first key is the issue of adding water. If there is less water, the dough will dry and the film will not be able to hold up. Therefore, the step of adding water must be carefully done without being too troublesome. No matter what machine you use, even if it is kneading by hand, you should spend more time and be careful in this step. If you add less water, you can add it slowly. If you add more, it will basically be countless times. So don't add all the water in the formula at once. You should add 2/3 or half first and start the first kneading process. The main task is to control the water volume problem. 2. Many friends asked why the film couldn't be opened. In fact, there are techniques to support the film. You can't be impatient. You have to take it slowly. The dough with moderate water and kneaded in place can easily open the film. As long as you follow the dough. Slow down the rule of stretching, and it is not so difficult to pull out the beautiful glove film. 3. Regarding fermentation, the current temperature in southern cities should be above 20 degrees, so it is recommended to ferment rice sprouts at room temperature or refrigerated for the first time. The optimal temperature for the first fermentation is between 25 and 28 degrees. At the current room temperature, although the room temperature has not reached 25 degrees, a slight extension of the fermentation time can allow the dough to ferment more fully and the finished product will have a better effect. It is better to use a bread machine for the second fermentation and final fermentation. 4. Baking problem. Many people are troubled by the "ugly appearance" of the bread baked by the toaster. In fact, Mi Ya personally believes that he can't compare with the takeout bread. It almost doesn't matter if he looks "beautiful in the heart". If you think it's ugly or not easy to post, cut it open and directly show its "beautiful in the heart"... Or, it's not bad to use the oven to ferment and bake in the end, and the toaster is more than enough to be a kneading dough! Regarding the baking time, I have tried baking the rice sprouts for one hour or 45 minutes. Yesterday, I also baked high-grade creamy toast and baked it for 40 minutes. The effect is also good. Next time, I will reduce it and try the 35-minute one. Haha... In fact, after baking for 40 minutes, the skin is no longer as hard and completely acceptable! 5. Regarding the preservation of finished products, many people have asked how to preserve baked bread. The suggestion for rice sprouts is to put them in fresh-keeping bags and store them in a sealed manner at room temperature. Given the current weather in Nanchang (the average temperature is around 14-25 degrees), they can be stored for three days. The rest is to eat hard…