Matcha egg yolk crisp
By StevieStokes
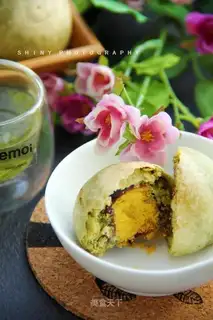
Ingredients: medium-gluten flour
Recipe Recommendations
- medium-gluten flour 120g 150g
- butter 60g 60g
- powdered sugar 30g
- warm water 60g
- matcha powder 10g
- red bean paste appropriate amount
- duck egg yolk the 12
- salty and sweet
- roast
- several hours
- ordinary
Steps for Matcha egg yolk crisp
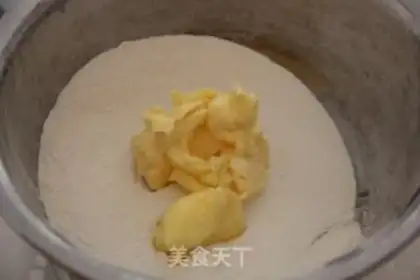
1
Add butter to flour and powdered sugar
2
Rub into crumbs
3
Add warm water and knead into a smooth dough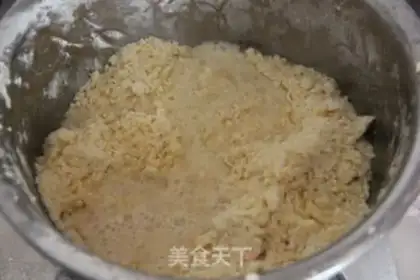
4
Making crispy: Add butter to flour and matcha powder and knead it into a smooth dough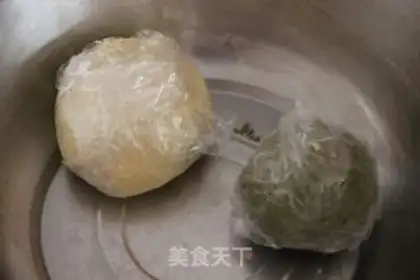
5
Wrap the mixed oil crust and crisp dough with plastic wrap and let stand for 30 minutes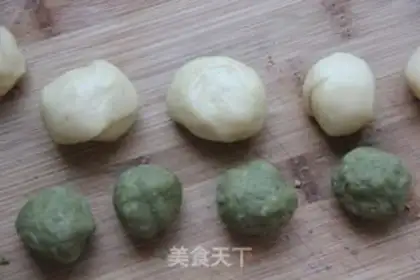
6
Divide the oil crust and pastry dough into small doses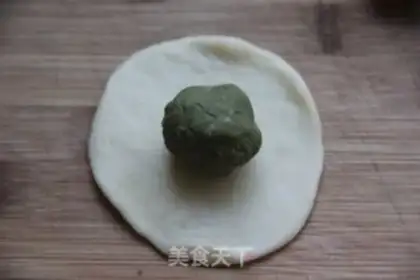
7
Kneak the oily dough round, flatten it, and wrap it in a crisp dough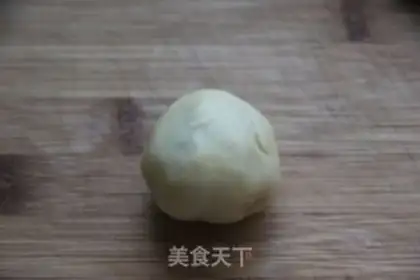
8
The leather bag is crisp, wrapped in a ball, with the mouth facing down and placed on the table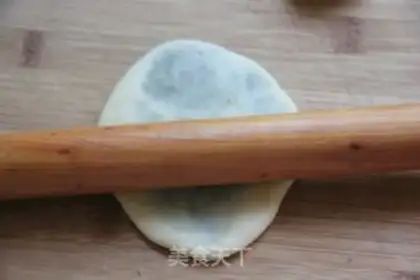
9
Take the oily meringue and roll it into a tongue shape
10
Roll it into a tube from bottom to top, close it down and relax for 20 minutes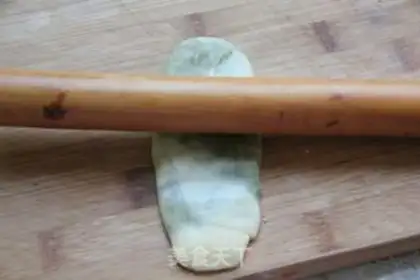
11
Roll out the relaxed dough into a long strip again and roll it up again from bottom to top
12
Close and relax for 20 minutes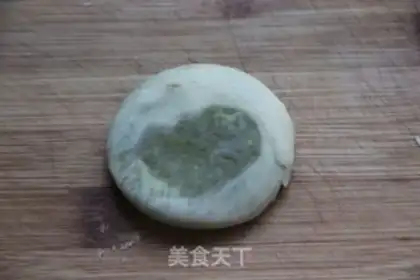
13
Stand upright and flatten it in a circle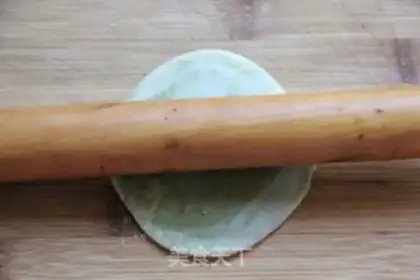
14
Roll it into a circle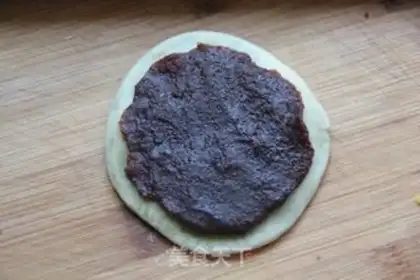
15
Take appropriate amount of red bean paste and spread it on the cake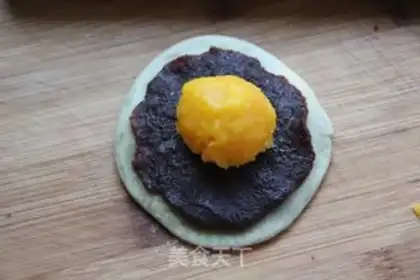
16
Add an egg yolk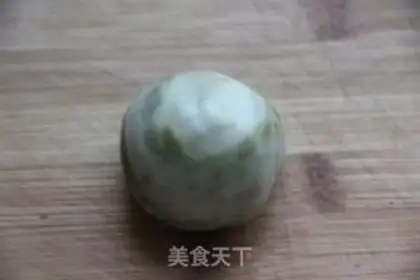
17
Seal and wrap it into a round ball shape, close the mouth downward, preheat the oven to 180 degrees, put on heat, and bake the middle layer for 30 minutes.Matcha egg yolk crisp Make Tips
Summary of failure: Let's learn from this ~1. The ratio of the pastry does not seem to be very good, and the surface is not smooth enough. You should add more butter next time. 2. The oil skin should be kneaded until the dough has gluten and the surface is smooth, because the dough has a certain gluten nature to cover the pastry. 3. During the production process, the meringue that is not being operated temporarily should be covered with plastic wrap to avoid drying the surface. 4. The longer you roll, the more turns you roll, and the more layers you will have. This time, due to the crispy, the rolling was not thin enough and the layers were not beautiful. 5. The relaxation before rolling should be sufficient.