Danish croissants
By VicentaLakin

Recipe Recommendations
- high-gluten flour 170 grams
- low-gluten flour 30 grams
- fine sugar 50 grams
- butter 20 grams
- milk powder 12 grams
- eggs 40 grams
- salt 3 grams
- dry yeast 5 grams
- water 88 grams
- milk fragrance
- baking
- several hours
- senior
Steps for Danish croissants
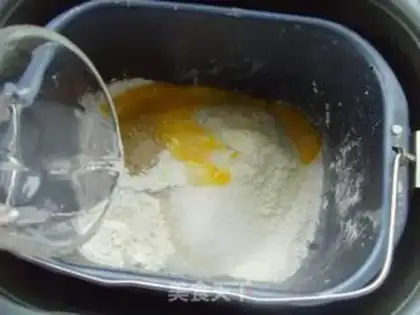
1
Weigh all ingredients and pour into the bread maker except butter.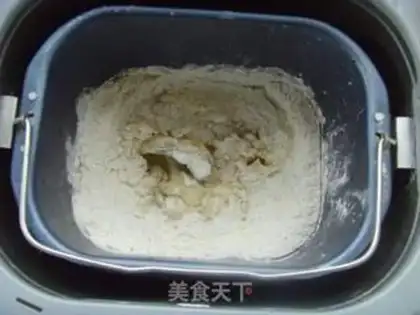
2
Select a hair work file and dough for 20 minutes.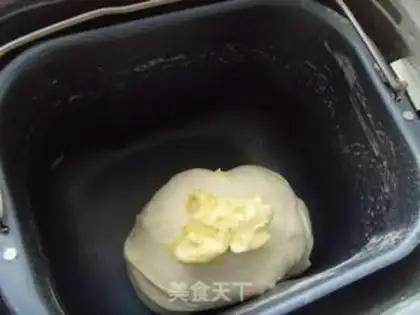
3
Add the butter in and continue kneading; when the bread machine completes the kneading process, check whether the dough has been kneaded until a film has been formed.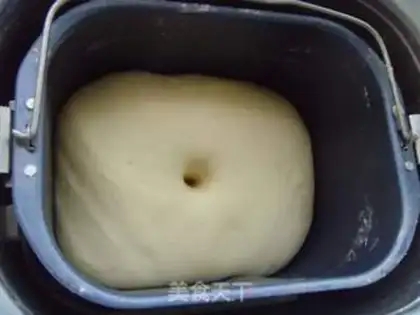
4
Fermentation until twice its original size for the first time, gently squeeze the dough with your hands to remove air bubbles, place it in the refrigerator refrigerator room and let sit and relax for 20 minutes; put the butter into a crisper bag, press it into thin slices with a rolling pin, and place it in the refrigerator refrigerator room. Refrigerate until firm.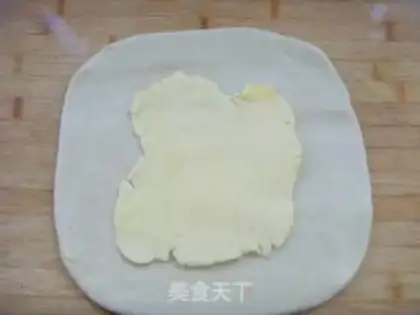
5
Remove the refrigerated dough and roll it into a rectangle, with a thin butter slice in the center.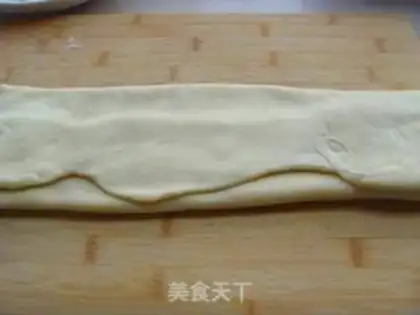
6
Fold the dough sheet at one end and cover it with the butter. Fold the dough on the other side again and squeeze the surrounding edges tightly.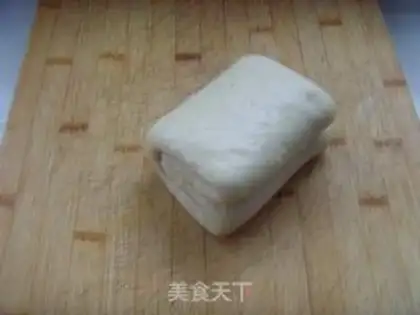
7
Rotate the folded dough sheet 90 degrees, place the dough sheet downward, roll it into a rectangle, and cover it in half.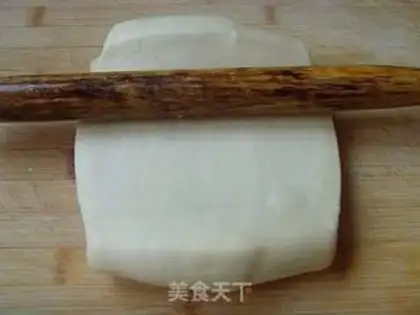
8
Use a rolling pin to roll the dough sheet towards the four corners and roll it into a regular rectangle. (If you find air bubbles wrapped in the dough sheet during rolling, use a toothpick to puncture it to let out the air)
9
Refrigerate in the refrigerator for 30 minutes, and repeat this three times.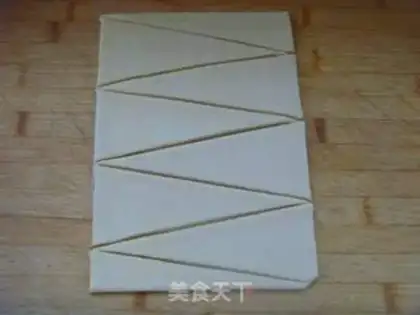
10
Roll the dough sheet into rectangular pieces with a thickness of about 1.3cm, and use a knife to cut into small isosceles triangles with a long bottom edge.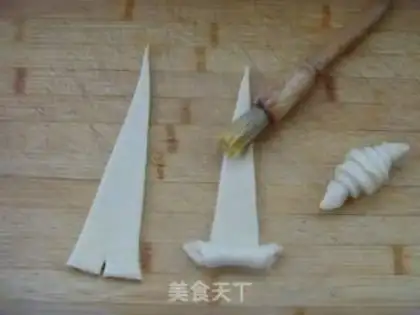
11
Take a small triangular dough sheet and make a cut at the midpoint of the bottom of the triangle; with both hands, hold the two corners, roll it up and brush a layer of whole egg liquid on the tip at the top, and then roll it completely.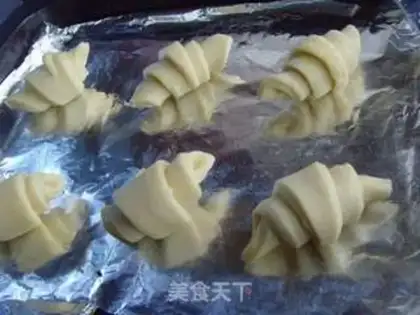
12
Roll it up and place it on a baking sheet. Make it final fermentation at a temperature of 30 degrees C and a humidity of 65%.
13
Remove it after fermentation, brush it with a layer of whole egg liquid on the surface, place it in a preheated 200-degree oven, and bake for about 10 minutes until the surface is golden yellow.Danish croissants Make Tips
1. Using butter to wrap the oil will make it more difficult to make, because it is very hard when it is cold and becomes very soft when the temperature rises slightly. But it allows you to make the most delicious crispy bread.
2. Danish dough is different from thousand-layer meringue. During the production process, Danish dough is in the process of continuous fermentation. The rolling and folding time should be controlled well to avoid excessive fermentation or insufficient fermentation.
3. The dough does not need to reach the expansion stage. Stir until smooth and gluten begins to produce. Because gluten is still produced during the rolling and folding process, if it is stirred too much, it will affect the quality of the finished product.
4. When shaping and cutting dough, be sure to use the sharpest blade to cut it. If the knife is too blunt, it will easily cause the various layers of meringue on the incision to stick together, affecting the crispy effect.
5. When brushing egg liquid, do not let the egg liquid flow to the cross section. It will also make the layers of meringue stick together.
6. If the baking temperature is too low, it will affect the layering and crispy of the bread. Too high, the dough sets too quickly, which will also affect the crispy and volume of the bread. 200 degrees is the best temperature. But if you find that the surface is easy to burn at this temperature, you can turn down the temperature after the dough has fully expanded.
2. Danish dough is different from thousand-layer meringue. During the production process, Danish dough is in the process of continuous fermentation. The rolling and folding time should be controlled well to avoid excessive fermentation or insufficient fermentation.
3. The dough does not need to reach the expansion stage. Stir until smooth and gluten begins to produce. Because gluten is still produced during the rolling and folding process, if it is stirred too much, it will affect the quality of the finished product.
4. When shaping and cutting dough, be sure to use the sharpest blade to cut it. If the knife is too blunt, it will easily cause the various layers of meringue on the incision to stick together, affecting the crispy effect.
5. When brushing egg liquid, do not let the egg liquid flow to the cross section. It will also make the layers of meringue stick together.
6. If the baking temperature is too low, it will affect the layering and crispy of the bread. Too high, the dough sets too quickly, which will also affect the crispy and volume of the bread. 200 degrees is the best temperature. But if you find that the surface is easy to burn at this temperature, you can turn down the temperature after the dough has fully expanded.