chive cheese bread
By MoseKshlerin

Since scallion pancakes are made with oil and taste delicious, if the bread is made too vegetarian, it will definitely not taste delicious. It will definitely be delicious when made with the basic dough of Danish bread. Just because we think so well, we say practice. Using scallions alone is too monotonous. Add some cheese and name it "Chive Cheese Bread". Everyone can remember this, but who has ever made bread with chives? Please raise your hand and give more guidance! Da Chao Shao is very polite!
Recipe Recommendations
- high-gluten flour 250 grams
- medium-gluten flour 100 grams
- fine sugar 40 grams
- salt 5 grams
- fresh milk 50 grams
- eggs 一枚50 grams
- butter 50 grams
- dry yeast 5 grams
- baking powder 1 grams
- ice water 100 grams
- chives 80 grams
- milk fragrance
- baking
- several hours
- ordinary
Steps for chive cheese bread

1
Mix flour, sugar, salt, yeast and baking powder well.
2
Add eggs, milk and cold water to mix.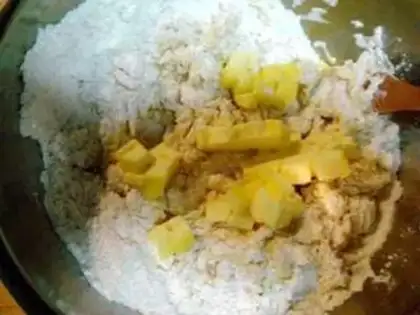
3
Chop 50 grams of butter and knead it into the dough.
4
Knead the dough into dough until smooth.
5
Wrap the kneaded dough in plastic wrap.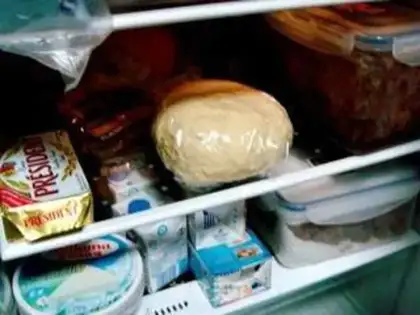
6
Put in the refrigerator and relax and ferment for 1 hour.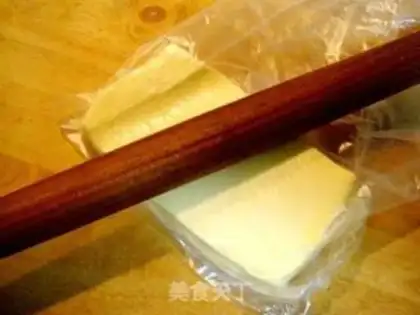
7
Put the oil wrapped in it into a fresh-keeping bag, arrange and press it into rectangular pieces with a rolling pin, and then roll it out flat with a rolling pin.
8
Place in the refrigerator and chill for half an hour.
9
Remove the relaxed and refrigerated dough from the refrigerator.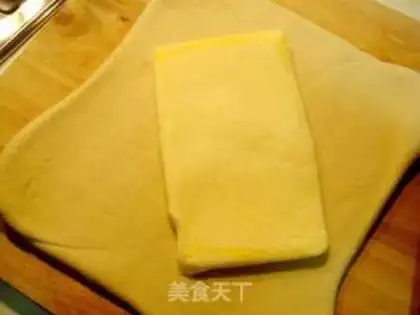
10
Use a rolling pin to roll into rectangular slices, then place the butter slices diagonally in the middle of the dough sheet.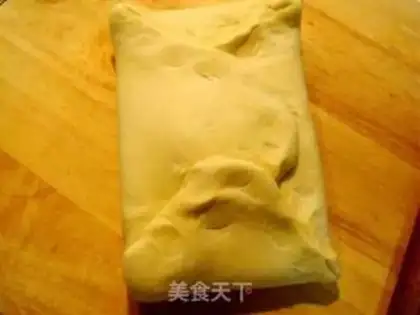
11
Fold the dough sheet back and forth, left and right, wrap it in oil, hold the corners firmly with your hands, turn the dough sheet and press it with a rolling pin to spread the dough sheet evenly, then roll it flat and fold it left and right.
12
Repeat folding, pressing and rolling three times in this way. This is called the French triple folding method.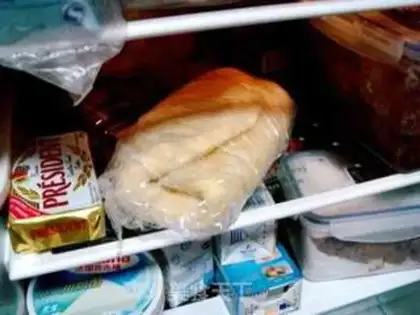
13
After stacking it three times, place the dough in the refrigerator and relax for half an hour. This process is repeated three times.
14
That is, stack three times and refrigerate for half an hour, stack three times and refrigerate for half an hour, finally take out, and roll out the folded dough into a large sheet 3 mm thick.
15
Cut the chives into shredded cubes with a knife.
16
Then spread a layer of cheese on the dough sheet.
17
Spread evenly with a layer of chives on the cheese-coated dough sheet.
18
Then use a knife to cut the dough sheet into long dough sheets 3 cm wide and 15 cm long.
19
Fold each dough sheet lengthwise into a long strip.
20
...
21
Roll up the folded dough sheets one by one.
22
Pan and place in paper cups.
23
Place the blank into a preheated oven, control the furnace temperature at 30-40 degrees, do the final fermentation, and bake after about 40 minutes.
24
Raise the furnace temperature to 190 degrees, bake for 15 minutes, and then the color is uniform.chive cheese bread Make Tips
1. Ensure the consistency of the dough and the roll-in butter match; otherwise, the butter will leak out before the third fold, resulting in a loss of layers.
2. For the cheese, spreadable cheese is best; make sure it is soft, otherwise it will be difficult to spread. Using shredded mozzarella cheese also tastes great—it gives a pizza-like flavor and is quite appetizing!
3. The purpose of slow cold fermentation is to achieve better layers and ensure the dough maintains a consistency matching the roll-in butter; however, the final fermentation is critical. Unlike other breads, this bread does not need to double in size. For the final proof, aim for an expansion of 1 to 1.5 times the original dough size, as it will expand further during baking.
4. When proofing in the oven, maintain a certain temperature and humidity. The simplest method is to place a tray of hot water underneath the baking sheet to keep it from drying out and help it rise faster. It is best to keep the temperature between 30-40 degrees.