On my son's twelfth birthday, he wanted to eat the cake made by his mother, but he said it was much better than the cake bought in the cake shop. After listening to my son's words, I felt very happy and spent two hours completing the work.
The taste was super great. My mother-in-law praised that the cake I made was perfect, and my father-in-law ate a quarter of it in one go.
It's just that my photography skills are too poor, and the photos during the production process are all false. The two finished photos were taken by my husband. I'll make up for it again if I have a chance.
(The material is suitable for an 8-inch cake mold)
Two-color birthday cake
By DaisyTromp
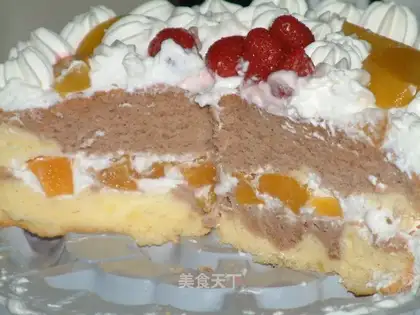
Recipe Recommendations
- eggs of 4
- milk 100 grams
- low-gluten flour 120 grams
- cocoa powder 5 grams
- light cream 300 grams
- baking powder 1/2 teaspoon
- cream of tartar 1/4 teaspoon
- salt a little
- salad oil 60 grams
- white granulated sugar 80 grams
Steps for Two-color birthday cake
1
Separate the egg whites and egg yolks. The container for protein should be oil-free and water-free.2
Whisk egg yolks with salt and stir with a manual whisk, add salad oil and stir well, add milk and stir well.3
Sift in the low-gluten flour and baking powder together, and stir well with a spatula.4
Divide the mixed egg yolk paste into two portions, sift into cocoa powder in one portion, and stir well.5
Add tartar powder to egg white and beat until rough foam. Add white sugar in 3 times, beat until dry and frothy, and distribute about 9 times.6
Divide the egg white into two portions. Take one portion, dig out one-third of the egg white and pour it into the egg yolk paste and mix well. Then pour all the mixed egg yolk paste into the egg white, stir well, and pour into the mold.7
Use the same method to mix another portion of egg white with the cocoa egg yolk paste and pour into the mold. Shake it a few times to expel air bubbles and make the surface smoother.8
Preheat oven to 170°, penultimate layer, 55 minutes. After coloring, cover with tinfoil and reduce the temperature to 150° C.9
Bake out of the oven and upside down, cool slightly and then remove the mold.10
Whisk the light cream quickly with sugar until set but soft and easy to spread. Refrigerate if not used immediately.11
Remove the cake, cut it horizontally into two pieces, and apply a layer of soft cream to the cut surface (apply both pieces). Add appropriate amount of diced yellow peaches, and then close the two slices of cake.12
Spread cream around and on top of the cake and scrape it flat with a scraper.13
Continue to beat the remaining light cream until it is harder, put it into the decoration nozzle, squeeze out your favorite pattern on the cake, and then decorate it with yellow peach slices and strawberries.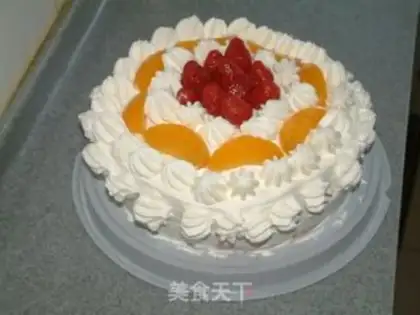
14
Take a look at the finished product. The flowers are not very beautiful, but they taste very good.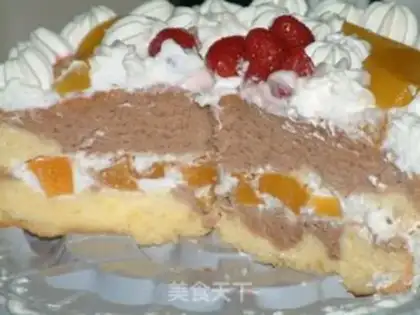
15
Cut it open and take a look.16
Continue to beat the remaining light cream until it is harder, put it into the decoration nozzle, squeeze out your favorite pattern on the cake, and then decorate it with yellow peach slices and strawberries.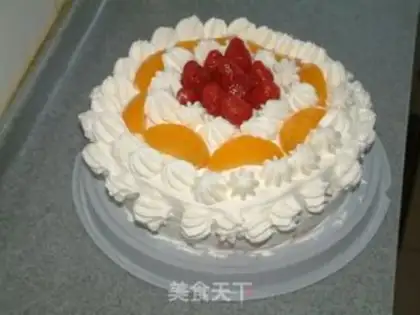
17
Take a look at the finished product. The flowers are not very beautiful, but they taste very good.18
Cut it open and take a look.19
1. When whisking egg whites, turn the eggbeater in the basin to ensure that they are whisked evenly on all sides. After 3 -5 minutes, the egg whites have lines and are snow-white and smooth. When curled up, they are elastic and stand upright but slightly curved at the end, making them moist. foaming. At this time, turn down at low speed and continue beating for about half a minute until the lines are more obvious. Raise the egg beating head and the tail is in a firm triangular shape. It is a dry foam, and it is distributed about 9 times. This is the best state for beating the egg white cake. 2. The baking temperature and time are adjusted according to the conditions of your own oven. 3. Although the light cream is slightly softer than the fresh cream after being beaten, it is soft and fragrant in the mouth.Two-color birthday cake Make Tips
1. When beating egg whites, move the whisk in circles in the bowl to ensure it is beaten evenly on all sides. After 3-5 minutes, the egg whites will show streaks and appear snowy white and smooth. When lifted, the peaks should be elastic and stand up but with slightly curved tips; this is the soft peak stage. At this point, switch to low speed and continue beating for about half a minute until the streaks are more distinct. Lift the mixer head, and the tip should form a firm triangle; this is the stiff peak stage (about 90% beaten), which is the best state for beating egg whites for a chiffon cake.
2. Adjust the baking temperature and time according to your specific oven.
3. Although whipped light cream is slightly softer than fresh cream, it is soft and delicate in the mouth with a light, fresh fragrance.