Bacon rolls
By VicentaLakin
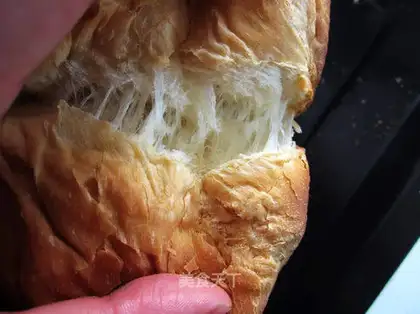
Recipe Recommendations
- salty and fresh
- roast
- several hours
- simple
Steps for Bacon rolls
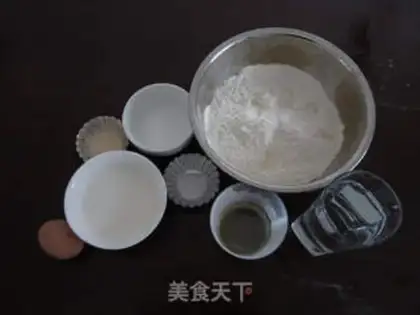
1
preparation materials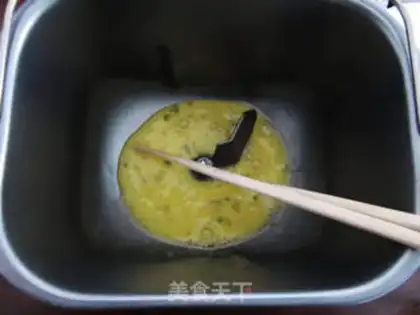
2
Take out the bread bucket, knock in an egg, stir well with chopsticks;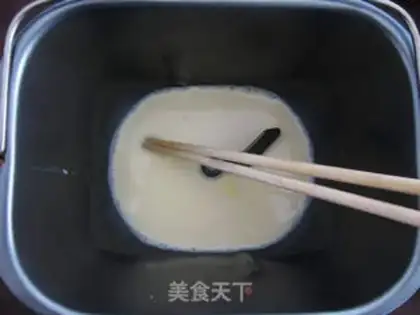
3
Pour in milk;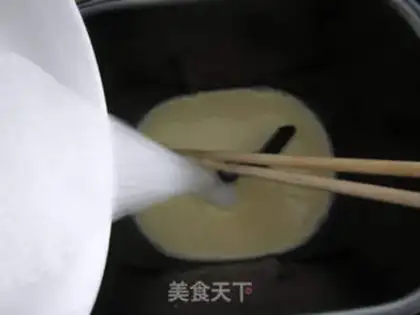
4
Add salt and sugar;
5
Pour in the flour, yeast, and finally add water (do not pour all the water into it at once, add 2/3 first);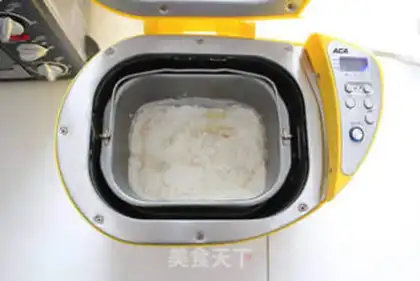
6
Power on the bread maker, open the lid of the bread maker, put the bread bucket in, and select the "dough mixing" program. At this time, the bread maker has already started working, leaving 1/3 of the water. Add it according to the hardness of the dough;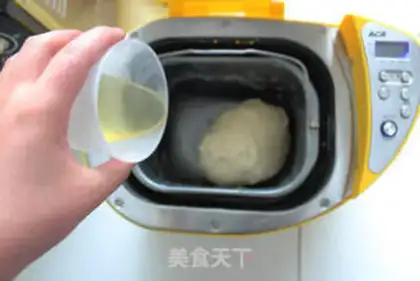
7
After a "dough mixing" process is over, pour in the salad oil, and be sure to cover the bread maker, otherwise the oil will splash everywhere;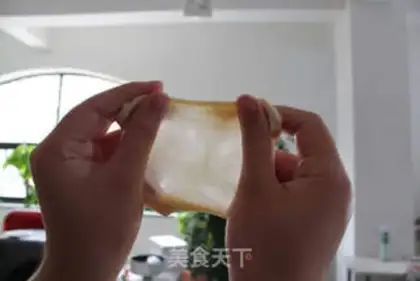
8
Then start the second "dough mixing" program until it is over. Take a small piece of dough and see if you can stretch out a small piece of film;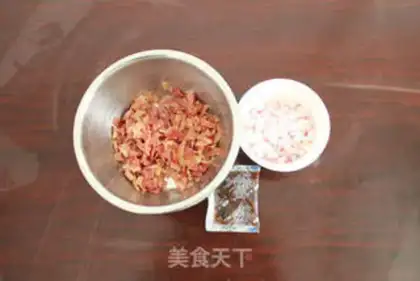
9
Remove the mixing leaves, round the dough, put it back into the bread bucket, start the "yogurt" program of the bread machine, cover it and start to rise. It takes about 1 hour. While we wait for fermentation, we prepare the filling, frying and chopping bacon and dicing onions;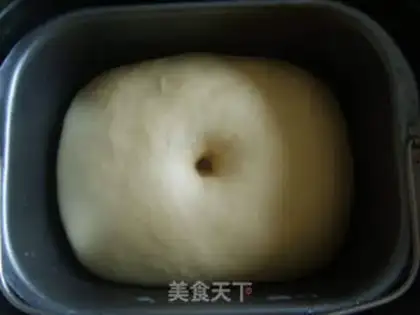
10
When the dough has fermented to twice its size, use your finger to poke a hole in it. If the hole does not retract or collapse, it means that the fermentation is in place;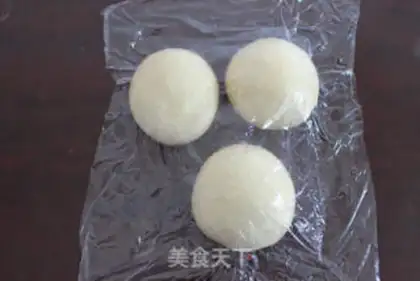
11
Remove the dough, exhaust it, divide it into 3 equal parts, round it in turn, cover the surface with plastic wrap, and wake for 15 minutes at room temperature;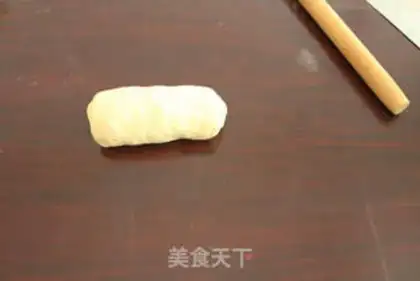
12
Take one of the small dough, roll it into a long strip, coat it with a layer of black pepper sauce, spread a layer of bacon, sprinkle with onions, then roll it up from top to bottom, tightening at the mouth;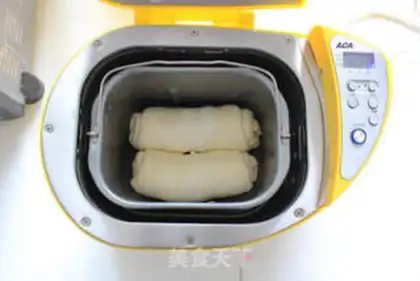
13
Put the rolled bread rolls into the bread bucket and arrange them well;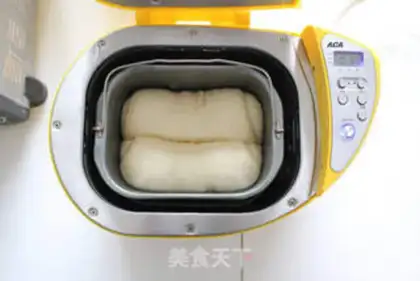
14
Turn on the "yogurt" function of the bread maker again until the roll is fermented to twice its size;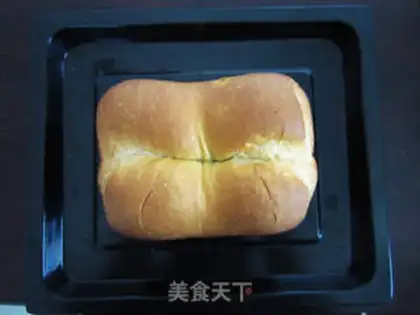
15
Turn on the "Baking" function of the bread machine and set the time for about 35 minutes. Through the observation window, you can see that the surface of the bread is slightly colored. Because the bread machine is cyclically heated by heating pipes around it, the surface of the bread is the last place to color. When the surface also has color, it means that the side and bottom of the bread have been well colored. Take out the bread and be careful to burn it;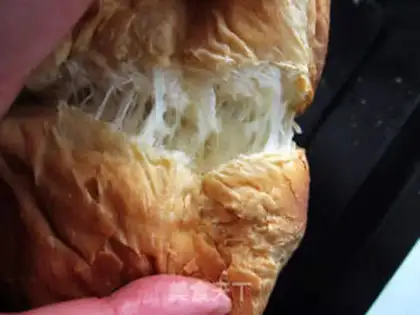
16
Break it open and take a look;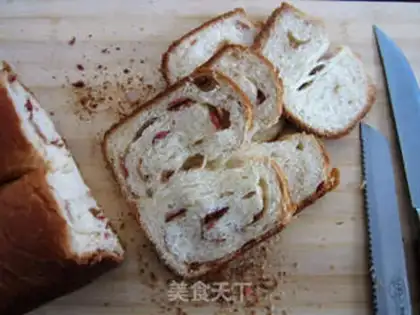
17
After cooling thoroughly, slice;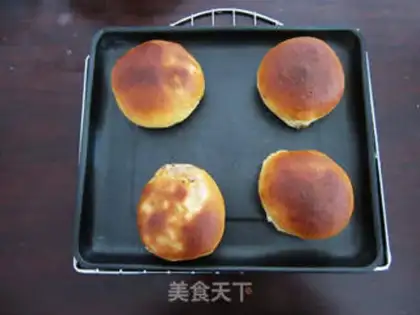
18
The big bread is made from two small pieces of dough, and I used the oven to make four small pieces of dough for the remaining one;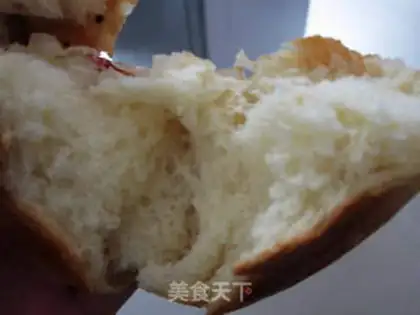
19
Break it open and take a look at the organization, kiss, try one: )