Brinot salty cheesecake
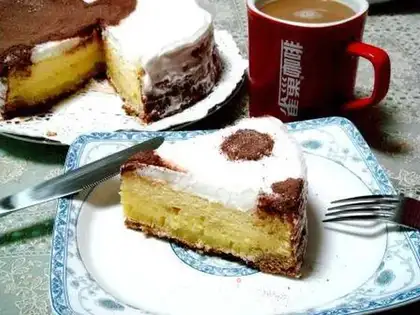
What to do with it today! After thinking about it, I haven't made a cake for a long time. Well, this is it, and I'll eliminate it by the way. Buri is a slightly salty cheese. People have never used it to make cakes. They usually eat it with toast for breakfast. In the past, I used it to make sweets. When making it, I mixed it with sugar. Hehe, it has a unique flavor. Fortunately, there wasn't much to eat. Baking cakes was enough for breakfast and refreshments. In order to expose this thing that no one else has ever used online, give it a name. Call it "Brino Salted Cheesecake". This cake is simple and easy to make. As long as you have an oven and egg beater in the home, you can make it without problem.
Recipe Recommendations
- milk fragrance
- baking
- several hours
- ordinary
Steps for Brinot salty cheesecake
1
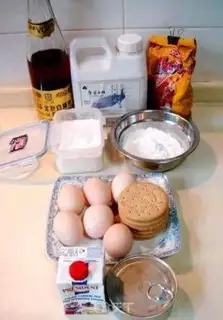
All ingredients.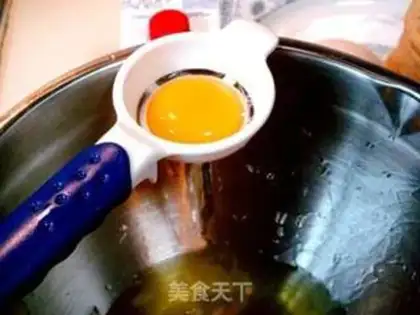
2
Use an egg separator to separate the egg white and egg yolk. You can also use your hands without an egg separator. Hehe, I can make do with everything I can when I go to Da Chao Shao. If there is anything I can make do with it, I can make do without it.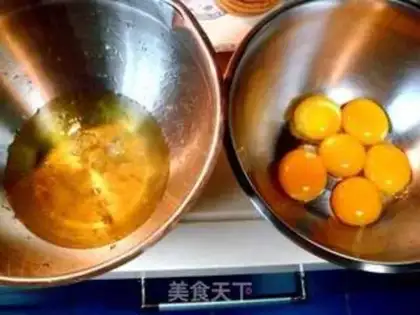
3
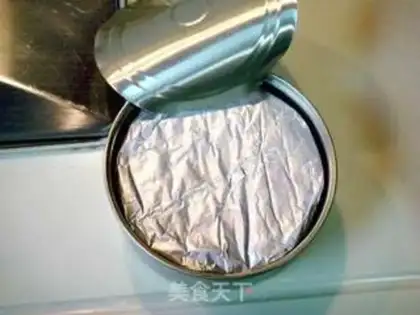
......
4
Remove the briino cheese from the jar.
5
Put it in the basin.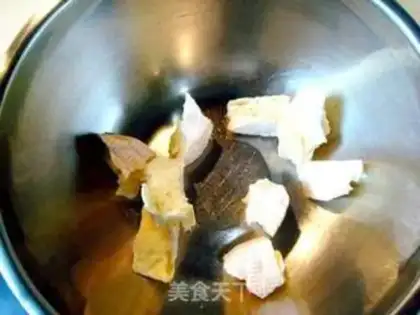
6
Break the cheese into pieces with your hands.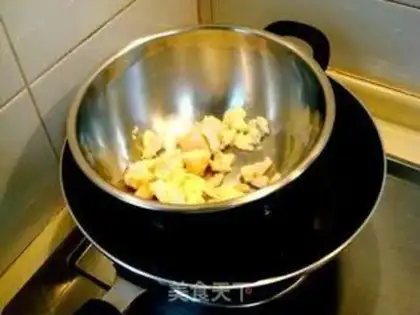
7
Then put the steel basin into a hot water pot and the insulating water melts.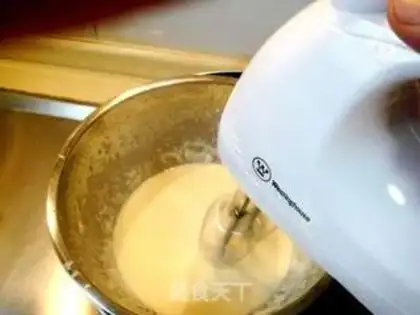
8
Add the cream to the cheese.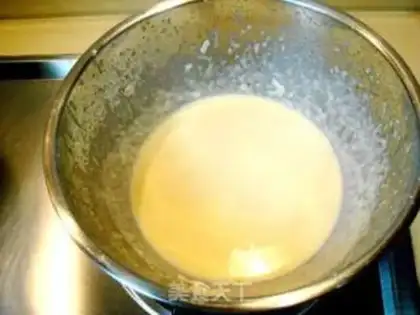
9
Beat with an egg beater at medium speed until completely melted and blended evenly.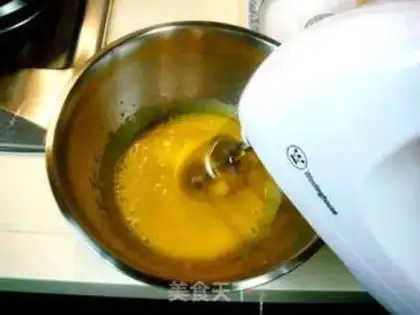
10
Beat the egg yolks with an egg beater.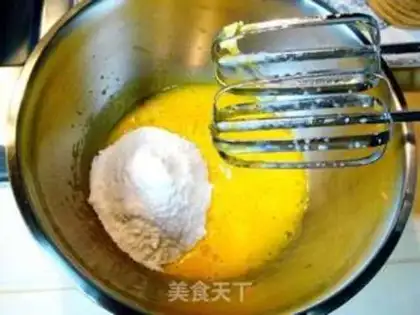
11
Then put half of the powdered sugar into the egg yolk paste and continue beating.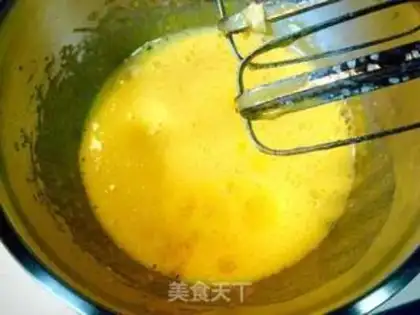
12
After beating egg yolks and powdered sugar evenly, add 2 grams of vanilla essence and beat well.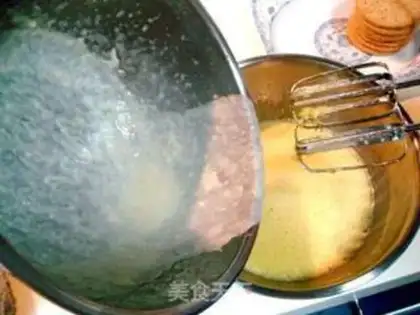
13
Then add the cheese cream mixture and stir well.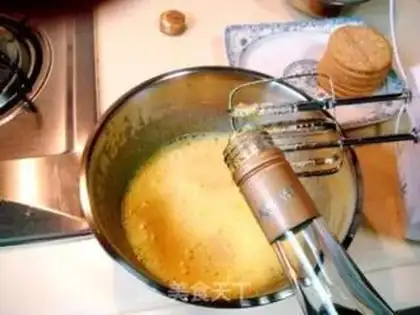
14
Add 2 tablespoons of brandy to the paste and stir well.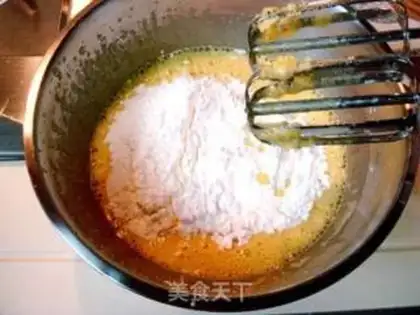
15
Sift in the corn starch.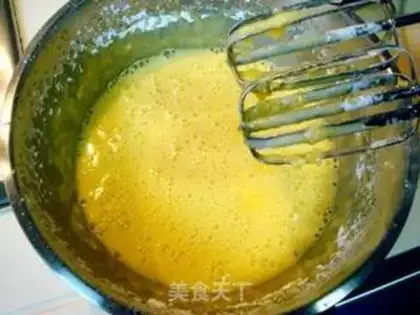
16
Use an egg beater to beat the egg yolk paste until well set aside.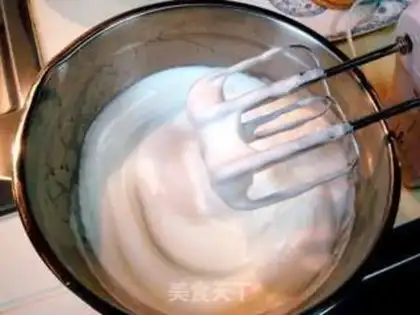
17
Wash the tip of the egg beater with hot water, add 1 gram of tartar powder or 2 drops of white vinegar to the egg white, and then start to beat the egg white. Slowly add the other half of the powdered sugar while stirring to blend it evenly. When beating the egg white, it should be slow to fast, with the highest medium speed. Beat until it is near to dry and frothy, and you don't have to beat it too dry.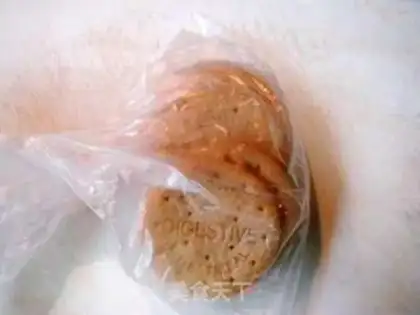
18
Place the digestive biscuits in a crisper bag.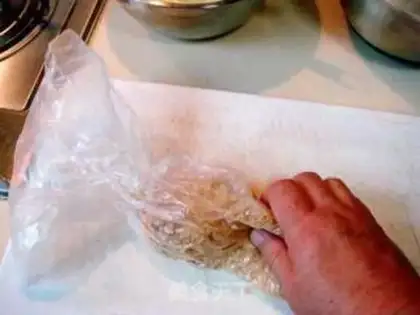
19
Break it with your hands.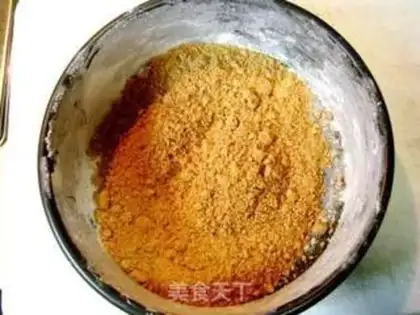
20
Spread some olive oil around the inside of the cake mold, then sprinkle with some dry flour and pour out. Spread the biscuit chips on the bottom of the mold, and press flat with your hand.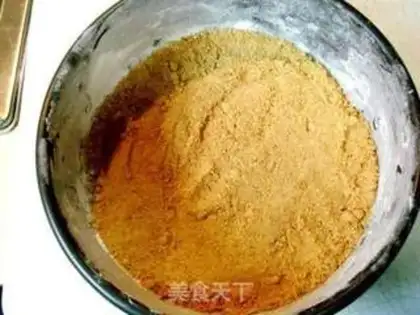
21
.......
22
Pour half a plate of water into the baking plate and preheat the oven with 180 degrees heat.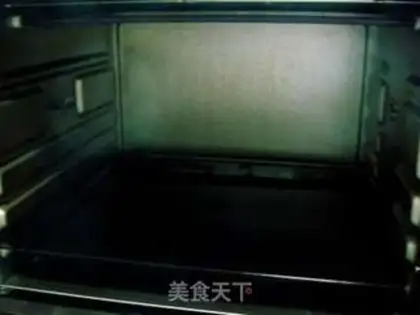
23
Then place the baking sheet into the lower shelf in the oven, close the door and preheat for 10 minutes.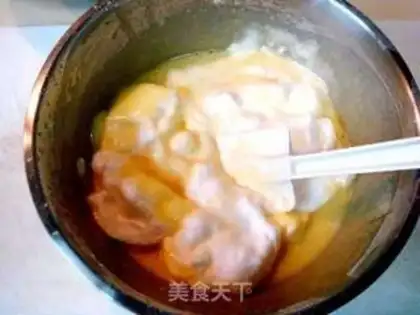
24
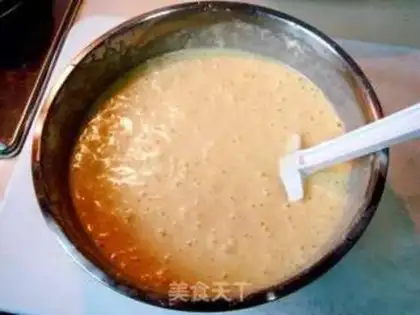
Add the beaten protein paste into the egg yolk batter in three times, mix well each time and add it for the second time. Since no flour is used in this batter, only starch is used, so there is no need to stir the gluten. You can stir it, but don't use too much force, otherwise the protein paste will foam too much, which will not be beautiful when baked. The cake will die and affect the taste.
25
........
26
Pour the blended cake paste into the mold.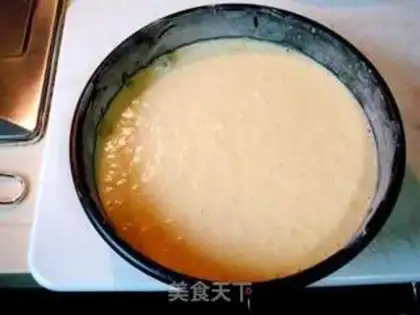
27
Use your hand to flatten the mold 20 centimeters away from the table surface or the ground, and let go of it and knock it flat two or three times to shake out large air bubbles, so that the baked cake will not have large air holes and will look beautiful.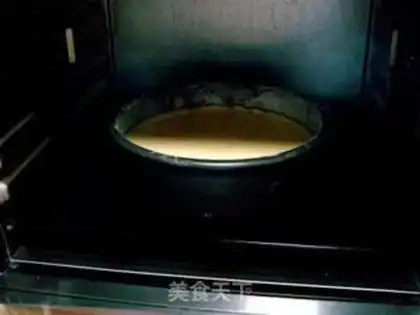
28
Put the mold into a baking pan with water in the oven and start baking. Bake at 180 degrees for 10-13 minutes, then turn off the heat and continue baking at 160 degrees for 40 minutes.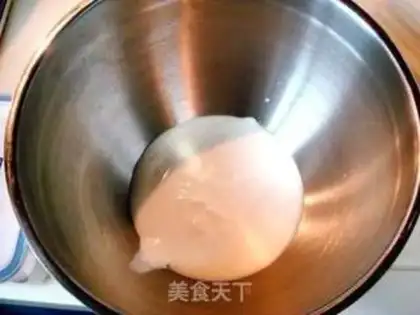
29
During cake baking, whisk the light cream.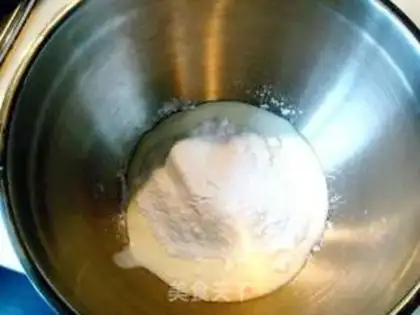
30
Add powdered sugar to the light cream.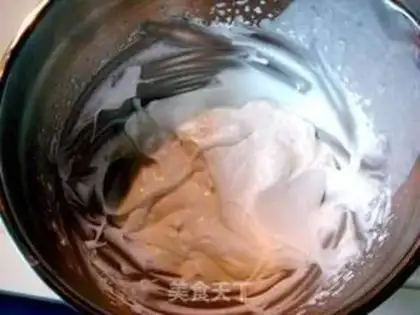
31
After whisking, place in the refrigerator for later use. Don't beat the cream too hard, beat until neutral.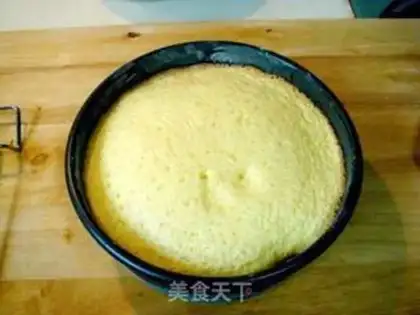
32
Remove the cake after baking.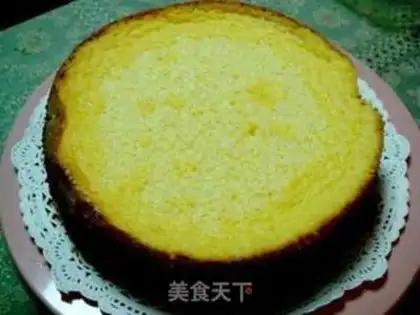
33
After cooling down a little, you can reverse the mold. After cooling, place it in the refrigerator and refrigerate it for 30 minutes. Then take it out, place it on the decorative turntable with decorative paper.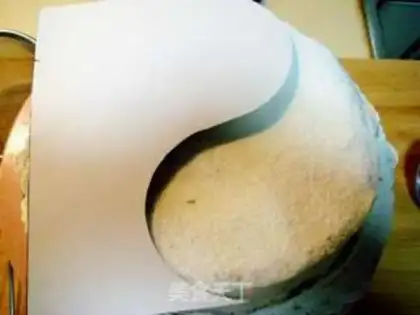
34
Spread a thin layer of whipped cream on the cake blank. Sift a thin layer of sugar on the smeared cream with a flour sieve. After that, cover half with a homemade double-ring S-shaped white board paper.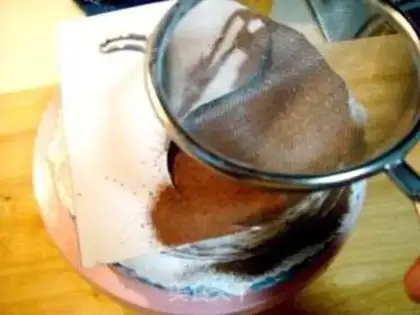
35
Use a flour sieve and place a thin layer of cocoa powder on the other half of the sieve.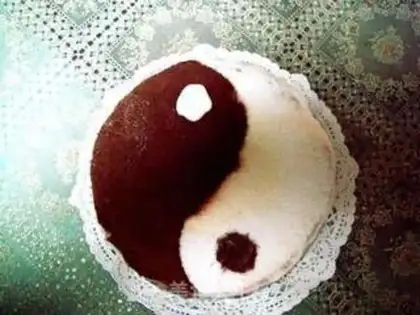
36
Then use a two-color contrast point to the eyes, remove the cardboard Tai Chi pattern to reveal, and the cake making is completed. Hehe, that's hard to say! I'm so tired that my fingers are swollen from knocking, haha!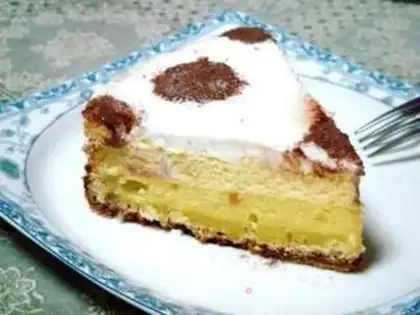
37
Cut a piece after the demonstration, how about it? Reward yourself first, haha! Be clumsy and don't apply too round. Who asked you to use less butter? I miscalculated the number, make do! The taste is great! If you don't try one piece, it will be gone in a while. This is called getting the moon first!Brinot salty cheesecake Make Tips
Features of this cake: smooth and soft, aromatic, moderately sweet, and unique in flavor. Tips: 1. This type of cheese is slightly grainy and takes time to beat; if you are not used to using it, you can substitute it with other brands of mild or savory cheese. 2. Make sure to beat all ingredients evenly during the process before proceeding to the next step. 3. For cheesecake, it is not necessary to use cake flour; using cornstarch directly works fine and results in a more delicate texture, or you can use half flour and half starch. 4. Before pouring the cheesecake batter into the mold, it is best to use a base material such as digestive biscuits, walnut-free shortbread cookies, or chocolate biscuits. If you do not wish to use a base, ensure the bottom of the mold is greased and dusted with flour, otherwise it will be difficult to unmold. You can also make a two-tone version with matcha powder for a more beautiful appearance: take a portion of the batter, mix in the matcha powder, pour it into the oven to set, then add the remaining batter and bake. 5. When making cheese or cheesecake, it is best to use the water bath method to control the heat; this prevents burning. Otherwise, a burnt outside and raw inside will ruin your efforts and waste ingredients. Additionally, this type of cake requires a long baking time, so be patient; rushing may result in undercooking. To check for doneness, use the toothpick test method described above.