Electric rice cooker cake
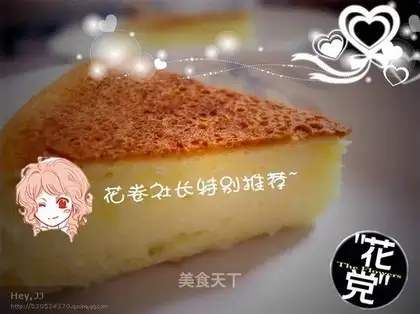
Are you still struggling about wanting to eat cake but not having an oven? The food club today launched a new delicacy-the rice cooker version of cake, allowing you to make cakes without an oven ~!
Recipe Recommendations
Steps for Electric rice cooker cake
1
Separate the egg yolks and egg whites (eggs can be chilled in the freezer to facilitate separation).2
Pour the egg white into an oil-free and water-free container.3
Add 20 grams of white sugar to egg yolks and stir.4
Add the oil in portions, add the milk and stir.5
Pour in the sifted flour (flour + baking powder + salt).6
Stir well.7
Take out the frozen egg white and add a few drops of white vinegar (balance acid and base), beat the egg white at low speed until it is foamed (just like soap bubbles), add 20g of sugar and beat until it is small, and then add 20 g of sugar and beat until it is dry. Foaming (that is, the egg white is like cream, pulled up straight, short, and shiny) Students without an electric egg beater will have to work harder.8
Stir the beaten egg white and egg yolk paste from top to bottom with a spatula (use the egg white immediately after beating, add in times, stir gently and mix well, do not let the beaten egg white foam).9
Apply oil to the bottom of an electric rice cooker, press the rice button, and preheat the pan.10
After preheating, pour in the batter and shake the inner liner of the rice cooker a few times to make the cake come out without too many holes.11
Press the rice button, and it jumps back to the heat preservation state in two or three minutes. We ignore it and cover the air outlet with a wet towel. Press the rice button after 5 minutes, press it again after 10 minutes, and then insert it with a toothpick after 10 minutes. If there is nothing stuck to the toothpick, it means it is cooked. If there is something stuck to the toothpick, press the rice button again until there is nothing stuck to the toothpick (Due to the different power levels of rice cookers, there is no specific time here, so you must master it yourself!).12
After taking it out, turn it upside down to cool, remove the mold, cut and enjoy ~! (The cake must be turned upside down, otherwise it will collapse.)