Coco roll
By VicentaLakin
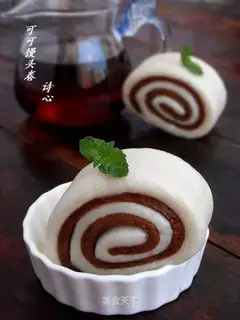
I'm a sweeter person, and I've always liked chocolate. Although cocoa powder is far from chocolate, I also love the special taste. A little bitter, a little fragrance, and its unique taste. Coco powder is used as a roll, not only in colour, but also in style。
Recipe Recommendations
- flour 350 grams
- white sugar 40 grams
- yeast 3 grams
- cocoa powder 5 grams
- warm water appropriate amount
- sweetening
- skills
- an hour
- ordinary
Steps for Coco roll
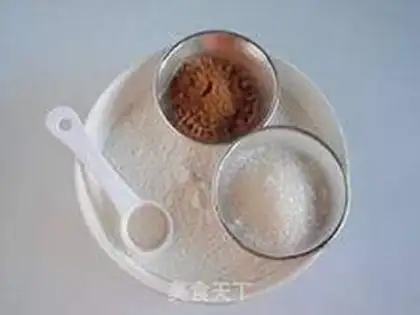
1
Raw materials. The amount of sugar is determined by its preferences, but more and less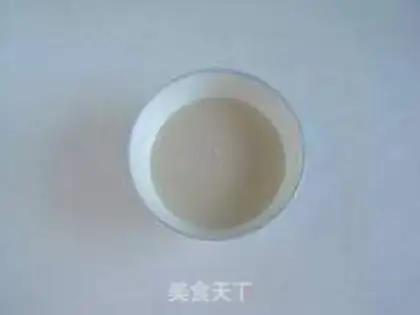
2
Take half a bowl of warm water and add yeast sequestering for a moment, until the yeast melts completely. (The amount of warm water must be within a certain amount of usable. In this way, if the mixing is not sufficient, additional water can be added. If you use too much water at a time, if it doesn't run out, it's the end of the yeast, which affects fermentation. Of course, an attempt could also be made to determine the amount of water to be used and then to measure the amount of water to be prepared. I'm used to it. It's about water, so I don't know. It's better this way. Don't worry about it when you don't have a name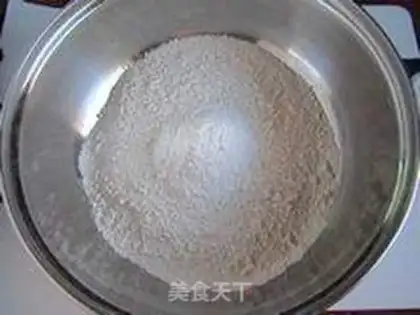
3
Take 200 grams of flour and add about 25 grams of sugar that has been sharpened into sugar powder。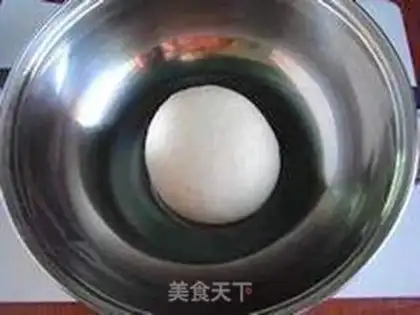
4
Add an appropriate amount of yeast water, and mix it with chopsticks into a swirl, and then rub it in a smooth tri-sand. ♪ The noodles must be smooth, it's the skin and tissue of the buns ♪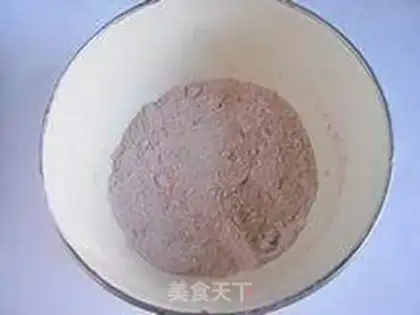
5
Another 150 grams of flour were mixed with the remaining sugar powder and cocoa powder。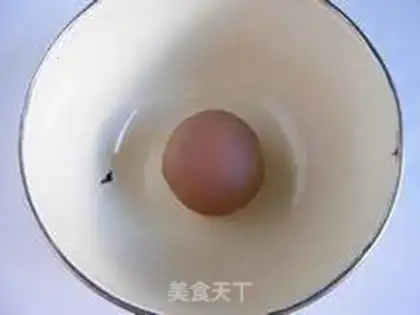
6
Add yeast to a smooth tri-faced group. (The first time I did this, I tried to rub the whole dough and then take some of it out for cocoa. I don't think it's easy to rub it in the flour. It's personal custom, so both approaches are desirable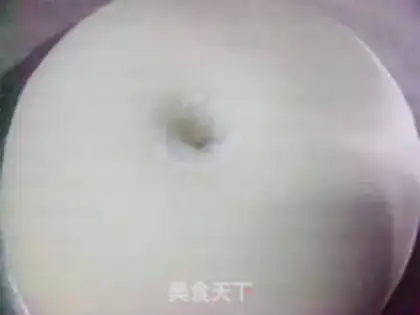
7
The fermentation of the coated pasta to the original 2 to 2.5 times larger. The fermented noodles, with their fingers paste dry powder, pierced a hole on it and the hole remained intact. To see the pierced hole more clearly, I am zooming in here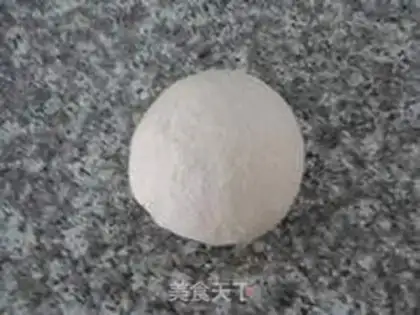
8
The fermented pasta takes out the exhaust and rubs it to the size of the original one。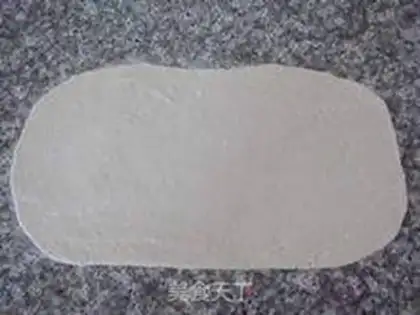
9
Put a little dry powder on the operating table and grow the squall. It's easier to rub the noodles into little strips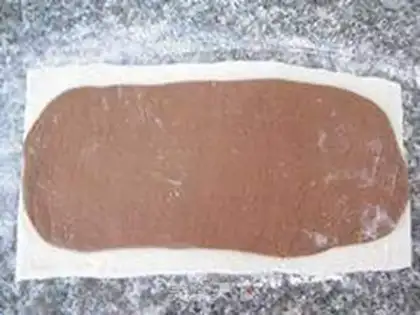
10
The same method is used to fix the cocoa noodles, which are then laid on white noodles. The white noodles are bigger in width, the cocoa noodles are smaller, so it's easier to curl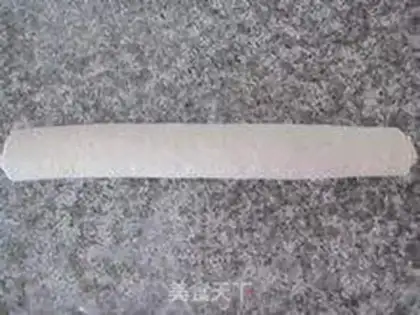
11
Roll up and down, roll up, and push down a little bit。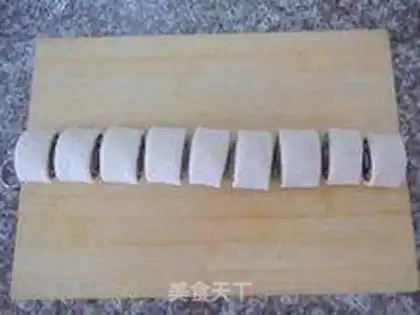
12
Move on to the board and split it into small buns with a knife. Because I can't cut a cork on marble, and I can't cut it down like a croquette, but I'm going to cut it down a little bit with a knife, and I'm going to cut it down a little bit, and I'm going to cut it down one by one, and I'm going to look at the position and cut it off before it's too big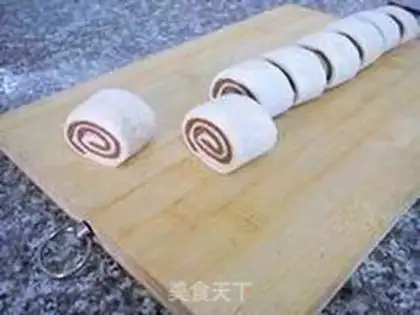
13
You have to clean your face so you can look pretty。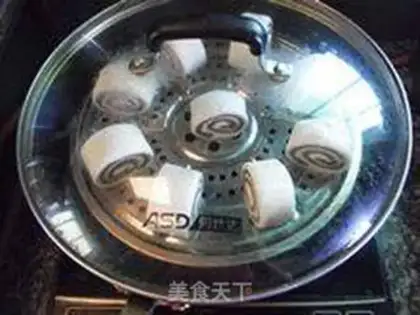
14
Cutted buns are placed on a steam shelf with a thin layer of oil and put into the pot for secondary fermentation. One and a half to two times the size of the embryo. This is when I put cold water in my pot, so that when it's fermented, I can fire directly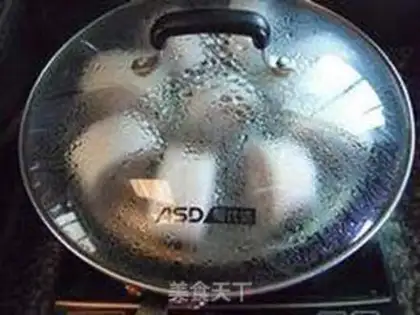
15
When the fermentation is complete, the fire boils the water in the pot and then turns to the fire evaporation for five minutes, shuts the fire down, and then opens it in three minutes, and when it opens, be careful not to let the water drop on the buns. Time is related to the size of the bun, not fixedCoco roll Make Tips
Poetic heart phrase:
1: For two-color steamed buns, the inner part can be slightly smaller so that it can be easily rolled. The amount doesn't need to be fixed, it's probably fine.
2: Regarding the coloring of cocoa powder, you can knead the dough first, then take a part out and slowly knead it into the dough. You can also just mix well with flour and knead it like I did.
3: When kneading the dough for the first time, you must knead it until it is smooth, which directly affects the skin and tissue of the steamed buns.
4: When cutting after rolling, it must be neat so that the cut surface can be beautiful.
5: The dough used to make steamed buns should be mixed hard so that the shape is more beautiful. If it's too soft, it will collapse.
6: When steaming steamed buns, steam them in cold water. After steaming, turn off the heat and simmer them for two or three minutes before boiling. Be careful when boiling and don't let water drop on the steamed buns.
1: For two-color steamed buns, the inner part can be slightly smaller so that it can be easily rolled. The amount doesn't need to be fixed, it's probably fine.
2: Regarding the coloring of cocoa powder, you can knead the dough first, then take a part out and slowly knead it into the dough. You can also just mix well with flour and knead it like I did.
3: When kneading the dough for the first time, you must knead it until it is smooth, which directly affects the skin and tissue of the steamed buns.
4: When cutting after rolling, it must be neat so that the cut surface can be beautiful.
5: The dough used to make steamed buns should be mixed hard so that the shape is more beautiful. If it's too soft, it will collapse.
6: When steaming steamed buns, steam them in cold water. After steaming, turn off the heat and simmer them for two or three minutes before boiling. Be careful when boiling and don't let water drop on the steamed buns.