Cows with twirls
By VicentaLakin
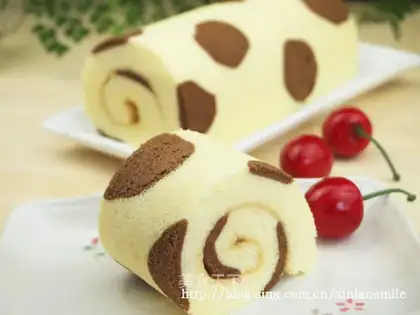
Recipe Recommendations
- eggs of 4
- low-gluten flour 80 grams
- fine sugar
- milk
- salad oil 50 grams
- cocoa powder
- salt 1 gram
- lemon juice 5 drops
- assorted jams 50 grams
- milk fragrance
- baking
- an hour
- simple
Steps for Cows with twirls
1
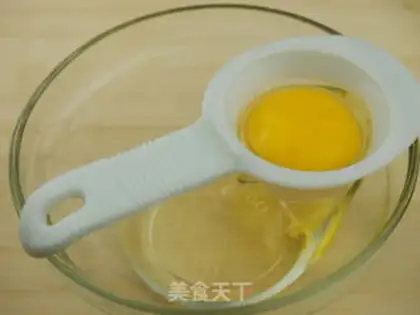
Separate proteins and yolk with an egg breaker (Figure 1) and be careful not to touch a thread of yolk with the egg split。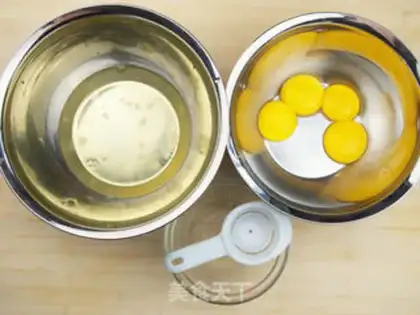
2
PROTEIN AND YOLK ARE POURED INTO THE EGG BASIN (FIGURE 2) TO ENSURE WATER AND OIL. THE POT OF PROTEIN IS A LITTLE BIGGER. THIS TIME, THE PROTEIN BASIN IS 20CM STAINLESS STEEL DEEP-DEEP, AND THE EGG YOLK BASIN 18CM。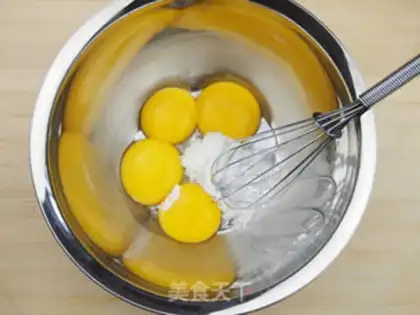
3
1 gram of salt in the egg yolk basin (figure 3). Salt makes sugar taste less sweet. Add 10 grams of fine sugar. It's even with a hand-beater。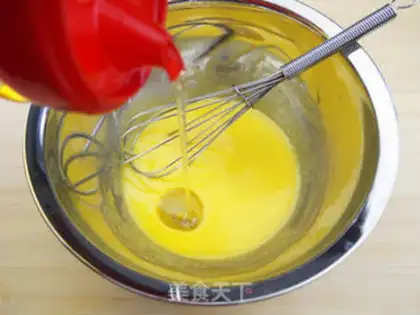
4
The 50-gram salad oil was added three times, and each addition was evenly mixed with a manual egg-beater (figure 4)。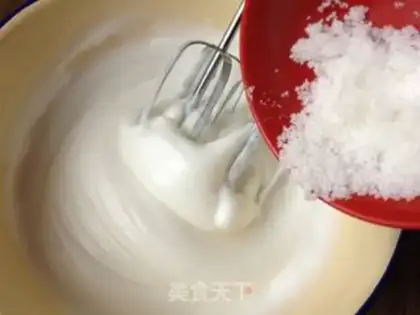
5
Sixty-five grams of pure milk were poured into the egg yolk basin (figure 5), and the mixing was even to oil and water integration。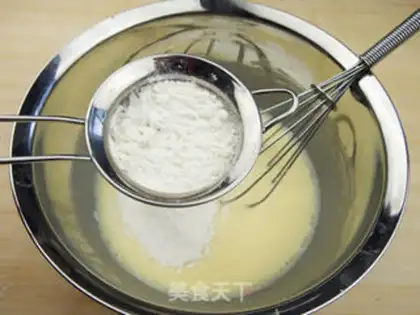
6
80 grams of low powder sift into the yolk basin (figure 6)。
7
Slurry paste is even to the point where no particles are present (figure 7)。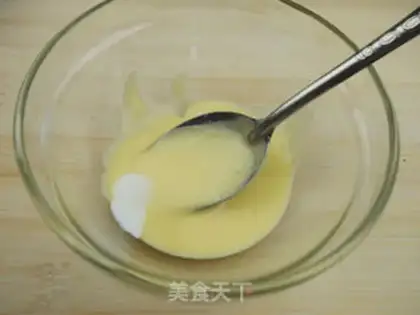
8
Take 28 grams of egg yolk with a spoon and add 2 grams of milk (figure 8), and cut it evenly with a small spoon。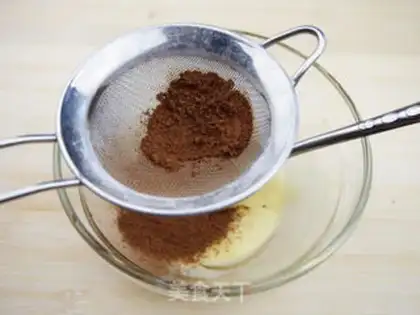
9
Sift 1/2 small spoons + 1/4 small spoons of cocoa into small bowls (figure 9), evenly mixed with small spoons。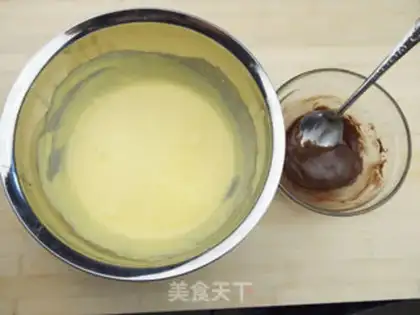
10
So we get two different colours of yolk paste, and we put them on the side side。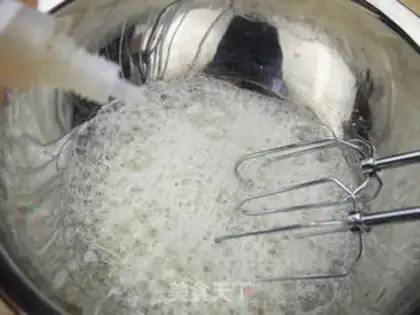
11
The protein was dispersed with an electric omelet, adding five drops of lemonade (figure 11)。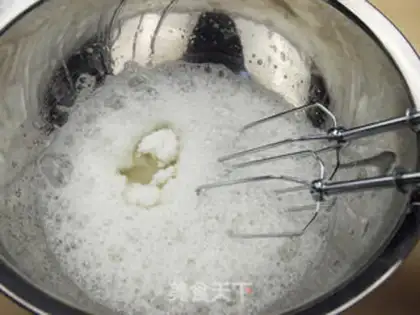
12
A THIRD (17 G) OF THE FINE SUGAR IN MATERIAL A IS ADDED TO THE FISH EYE BUBBLE SHOWN IN FIGURE 12。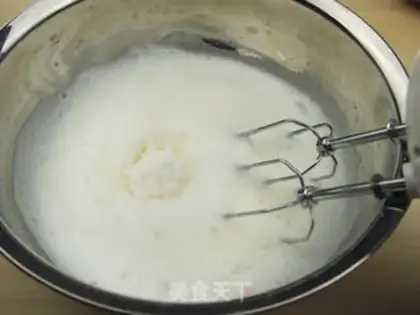
13
A third of the fine sugar (17 g) is added to the fine foam shown (figure 13) when the protein starts to become dense and double the volume。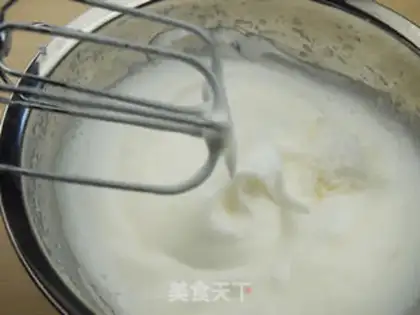
14
Continue to stir up the proteins to a thicker point, with the surface stripes, and add the remaining fine sugars (16 g) when the point of the protein is down (figure 14)。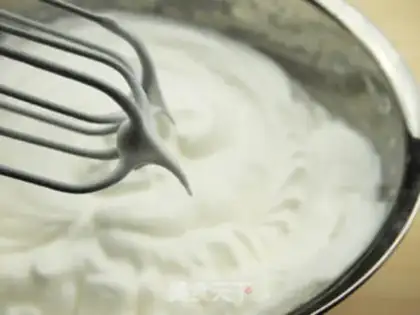
15
The continuation of the convulsion, with proteomic peaks on the egg-beater growing rather than standing (figure 15), indicates that it has reached the level of wet hair, that is, nine distributions. Make a twilight roll, the protein's on it。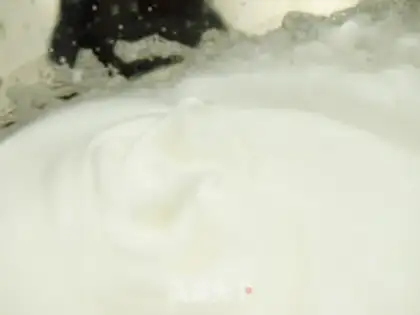
16
At this point, the protein is texture, but it is lighter and softer. Protein in the basin has a bent angle (figure 16)。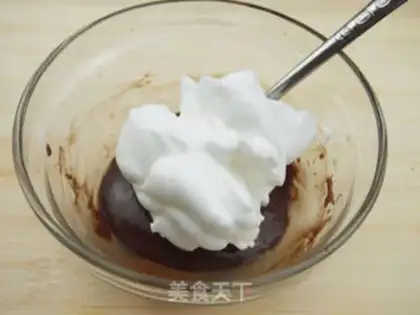
17
Some twice the amount of protein taken from cocoa yolk paste is in the bowl (figure 17)。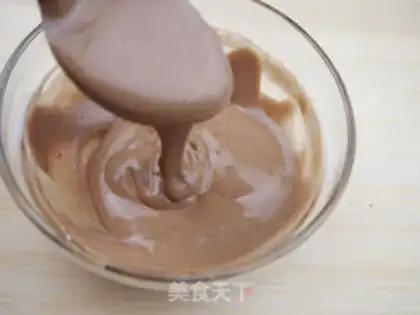
18
Scrambled and cut with small spoons until the protein is fully integrated with cocoa yolk paste (figure 18). The mixed paste presents a relatively thick, even, light coffee colour。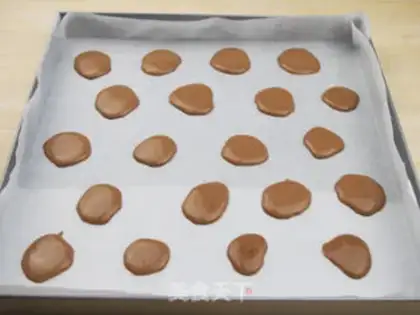
19
Oilpapers are laid inside the grill, with a spoon dripping cocoa yogurt onto the tarp (figure 19) and with no deliberate arrangement to drop irregular graphics. Put it in a pre-heated oven at 180°C, bake it for one minute, model it。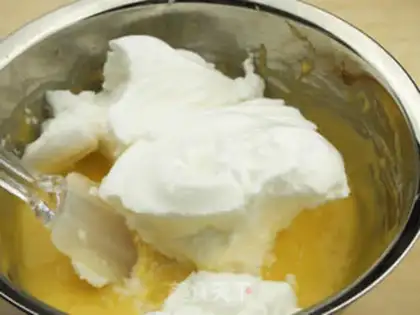
20
While roasting cocoa cakes, making original cakes quickly. One third of the distributed protein is taken to the original yolk paste (figure 20)。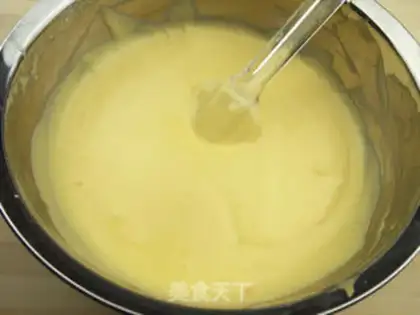
21
It's even with a rubber razor (Figure 21). Be careful to flip it up from the bottom, like screech, and don't circle it in order not to melt the protein. It can also be tangled。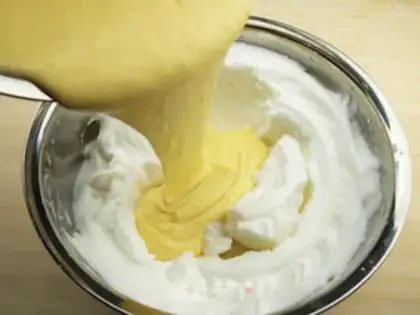
22
Pour mixed noodles into the protein basin (figure 22)。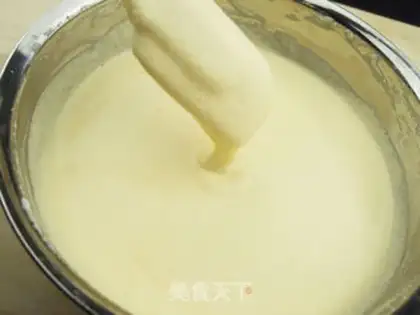
23
The same technique is used to flip and tow until the protein is fully integrated with the yolk paste (Figure 23), and the mixed paste is relatively thick and evenly yellow。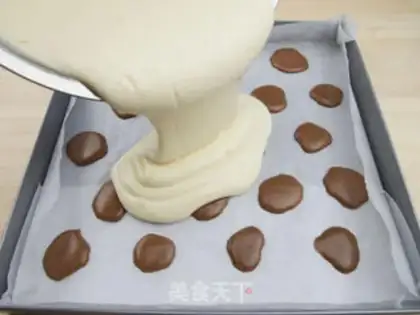
24
Sliced original cakes are poured down on the baked and stylish cocoa cakes (figure 24)。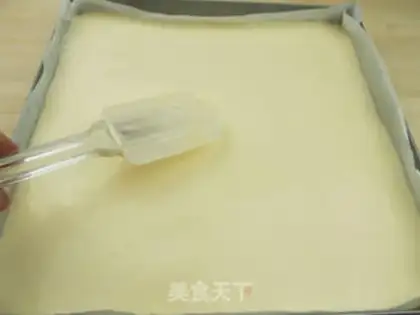
25
Scratch the cake with a rubber razor (figure 25)。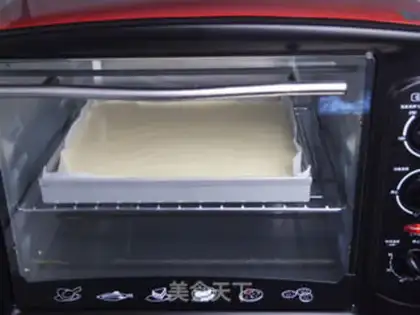
26
Hands on the grill, fall a few times, shake off the bubble. In the lower and preheated ovens (figure 26), 180 degrees for 21 minutes. If your oven is in three layers, put it in the middle. My oven is on four floors and I'm in the middle floor。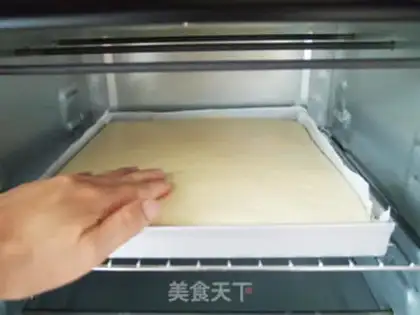
27
Light-cut cake skins, flexible, free of sticky hands (Figure 27), at which point the cake surface is shallowly yellow。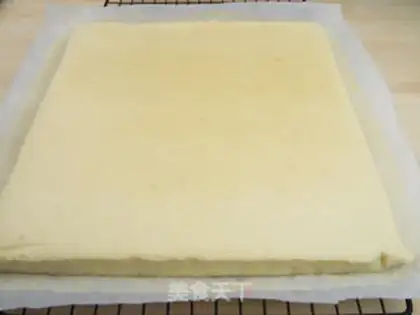
28
Take the oven out of the oven. Hands on both sides of the sheet, carrying the cake out of the oven, putting it on the cool web, and carefully stripping the paper around it (figure 28)。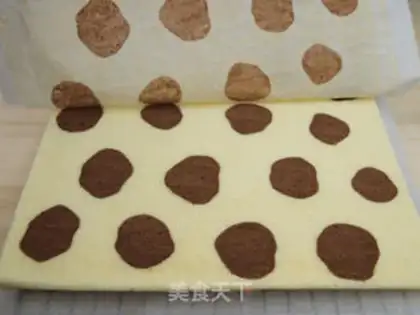
29
On another cold web, a piece of oil paper was placed, the cake was put upside down on the new one and the original one was removed (figure 29)。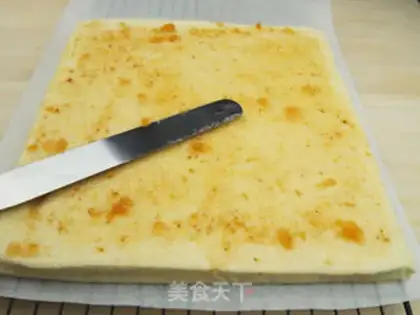
30
A new oilpaper was laid on the first cool net, and the cake that had been thrown out was once again on the new oilpaper. Now bake the yellow face up. If the jam is evenly painted on the face of the cake, one layer of the platinum can (Figure 30)。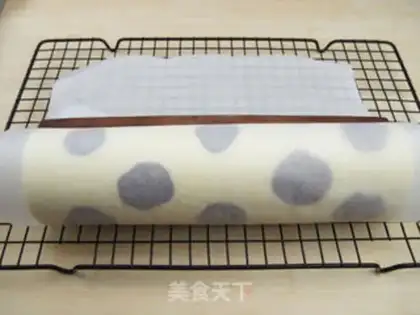
31
Rolling up the cake with a stick of crutches. The scepter rolls back, and the cake rolls forward. (b) A long and long-form (figure 31)。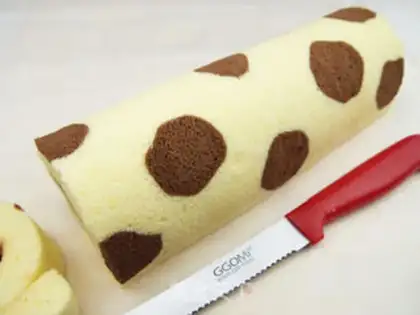
32
Ten minutes to open the oilpaper and then cut off two irregular parts after cooling (figure 32). Then cut into the thinth you like。Cows with twirls Make Tips
1. The movements of 20-23 should be skillful and fast, and try to complete them in one minute. If you can't finish it in one minute, you can cut and mix the original cake paste first, and then bake the cocoa cake paste when it is almost complete.
2. The surface of the baked cake has a light golden yellow color. If you tap with your fingers, a gravure will leave on the surface of the cake, which means that the cake is not cooked. If the surface of the cake breaks when tapping with your fingers, it means that it is overbaked and will break when rolled. Only by tapping with your fingers can the gravure left on the surface of the cake quickly bounce back and return to its original state, can it be said that the baking is just right. Because the temperatures of household ovens vary, naked eye observation and hand touch must be used to judge whether the cake is baked well. This step is very important.
2. The surface of the baked cake has a light golden yellow color. If you tap with your fingers, a gravure will leave on the surface of the cake, which means that the cake is not cooked. If the surface of the cake breaks when tapping with your fingers, it means that it is overbaked and will break when rolled. Only by tapping with your fingers can the gravure left on the surface of the cake quickly bounce back and return to its original state, can it be said that the baking is just right. Because the temperatures of household ovens vary, naked eye observation and hand touch must be used to judge whether the cake is baked well. This step is very important.