Milky cookies
By VicentaLakin

COOKIE COOKIES, FROM THE ENGLISH VERSION OF COOKIE, ARE TRANSLATED INTO CHINESE BY HONG KONG. IT'S DELICIOUS
Recipe Recommendations
- low-gluten flour 140 grams
- butter 120 grams
- fine sugar 30 grams
- powdered sugar 40 grams
- eggs 30 grams
- milk powder 20 grams
- milk 15 grams
- salt 1 gram
- milk fragrance
- roast
- three-quarters of an hour
- simple
Steps for Milky cookies
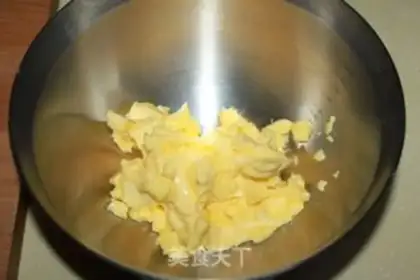
1
Cut the butter and soften the room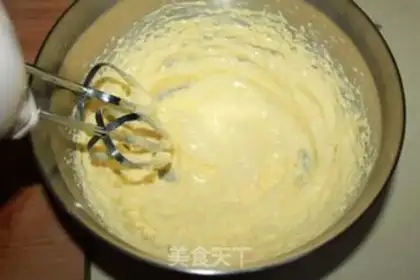
2
Hit the butter with an egg-beater, lighten it up, a little loose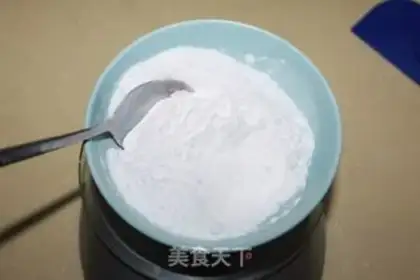
3
Combining fine sugar, sugar powder, salt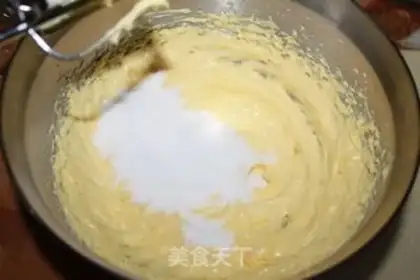
4
Adding a mixture of 3 to the distributed butter, each time to melt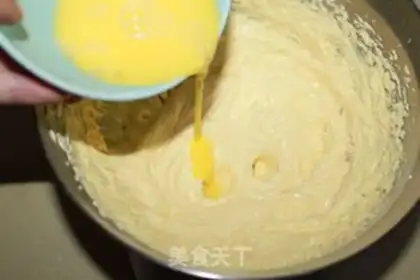
5
Add the whole egg fluid and mix it up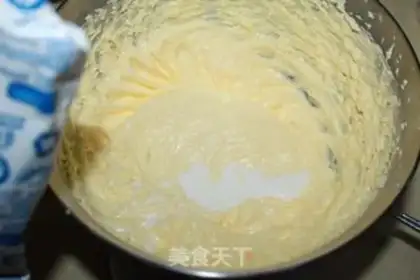
6
Add milk and mix it evenly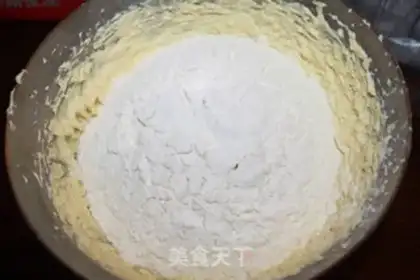
7
Combining low-banded flour with milk powder, sifting into butter and egg paste, evenly tumbling up from the bottom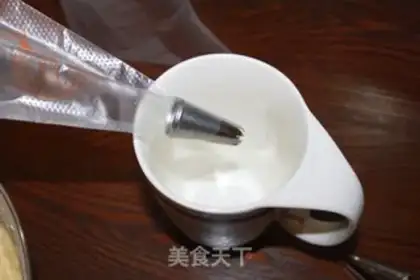
8
Cut a little mouth at the bottom of the bouquet and put it in the teeth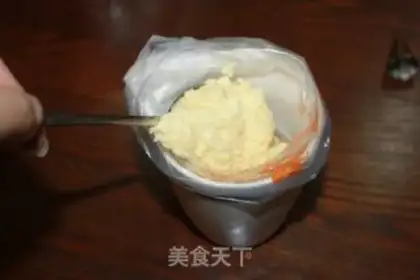
9
Put the bouquet in an open cup and add a smudged paste
10
Put a circle around the top of the bouquet on the index finger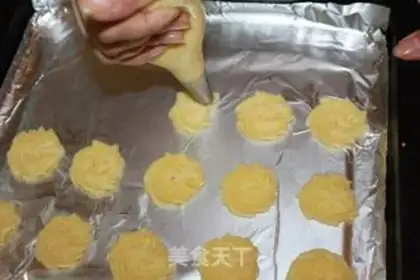
11
Squeeze cookies on a board of tin paper。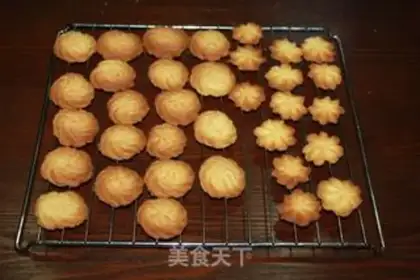
12
The oven is preheated at 160 degrees, 20 minutes or so, and it's fine until the edge of the cookie. Just take it out and hang it on the grillMilky cookies Make Tips
Tips: 1. When mixing the flour and the butter-egg mixture, simply fold gently. Over-mixing will cause the flour to develop gluten, affecting the texture. 2. Wrap the piping bag around your index finger once to prevent the batter from leaking out the top when piping. 3. Place the piping bag in a wide-mouthed cup to make it easy to fill with the batter. 4. You can choose piping tips of different shapes according to your preference to create cookies with different patterns. I used one piping tip to make two different styles of cookies: one style involves piping the batter in a circular motion, and the other involves keeping the piping tip still and squeezing the batter downwards. 5. Refrigerate the piped cookies for 10 minutes; the patterns will be more distinct after baking.