Hand-painted points
By VicentaLakin
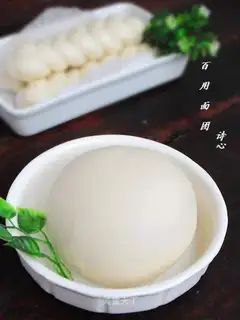
The buns, the buns, are the most common pasta in our lives. There is still a lot of detail that needs attention. It's got a lot to do with rubbing, hairing and steaming. I've been doing a little bit of pasta recently, and I've been getting a couple of copies of them, and in my comments I've been told by a lot of relatives that I didn't make the buns smooth enough, or that I fell, and I've been confused, and I've been asked what the problem is. To be honest, it is not clear in three words in the commentary. So I sorted out the details of the rubbing. As long as the noodles get a spot, it's not far away from making pretty buns. It's nice, it's beautiful, it's rough, it's rough. It's a picture of my fresh pasta, not a steamy bun. As can be seen from the figure, the facial skin is rather delicate. I usually mix up the flour and rubbed it for about 8 to 10 minutes. More attention (face, steam, etc.) is provided in the log。
Recipe Recommendations
- flour 300 grams
- warm water 150 grams
- yeast 3 grams
- salt 1/4 teaspoon
- white sugar appropriate amount
- sweetening
- skills
- ten minutes
- ordinary
Steps for Hand-painted points
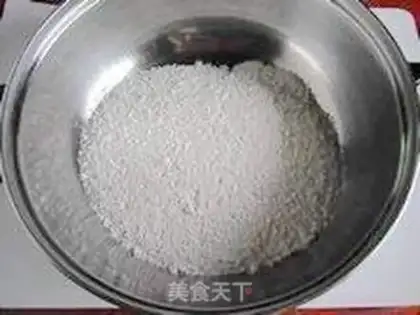
1
Flour in the basin。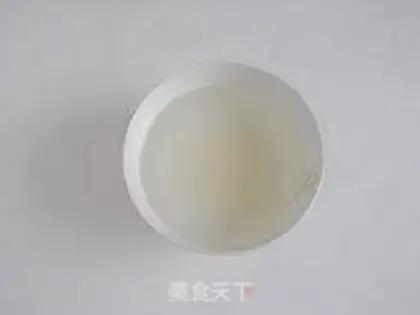
2
First, white sugar with a warm water (if not sugar, this step can be omitted)。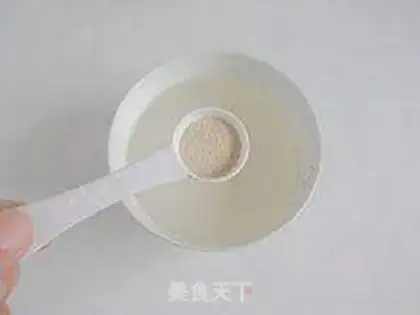
3
Add 3 grams of yeast.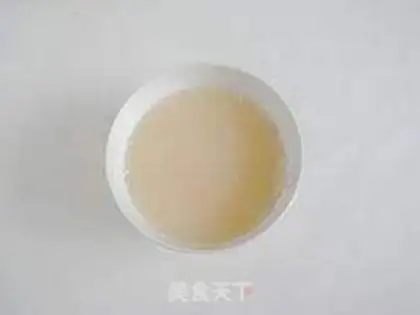
4
Still for a moment。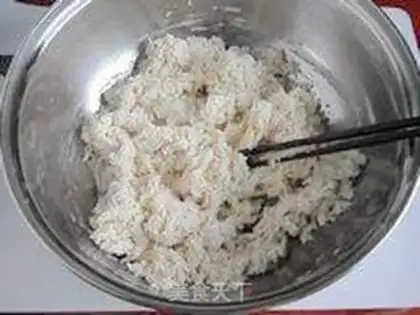
5
Add salt to the flour, then add yeast to the flour slowly, and mix it with chopsticks (if the yeast water is run out, if not enough, it can be warmed directly) and mix it into a bowl full of large and small crumbs, without dry flour, just as it is (see figure)。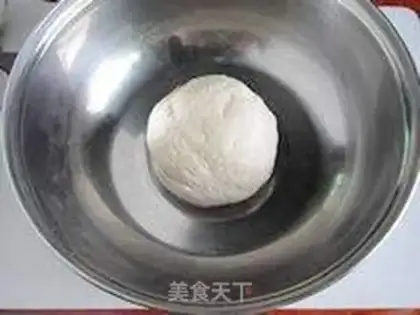
6
Scratch the face together into a preliminary face, which is rather rough at this time. (as shown)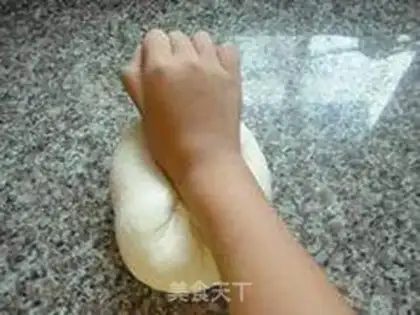
7
Move the dough to the operating table (because it must be easier to rub it in than in the jar) and use the wrist pressure to press it and push it forward。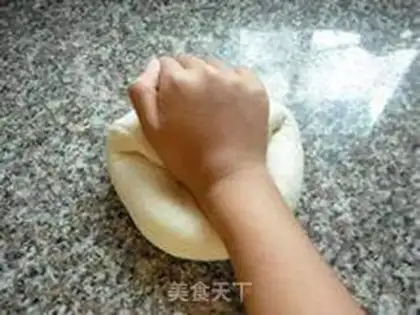
8
It was pulled back with four fingers and then pushed back with the wrist。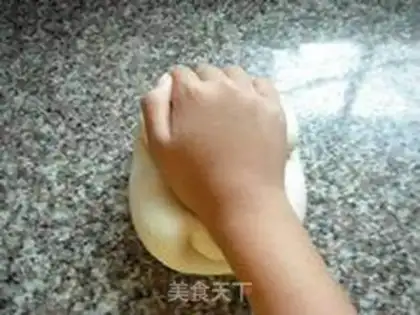
9
Scratch the back of the leg and then pull back with your finger。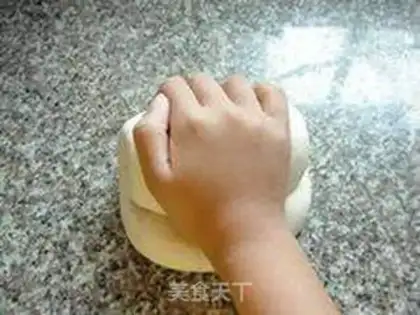
10
Pull the dough around this end。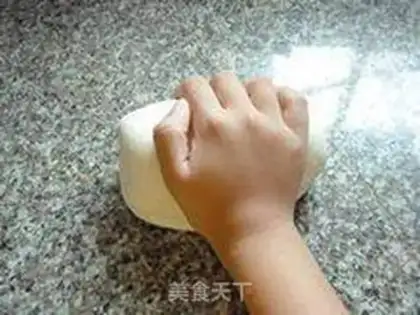
11
Keep rolling, pull back。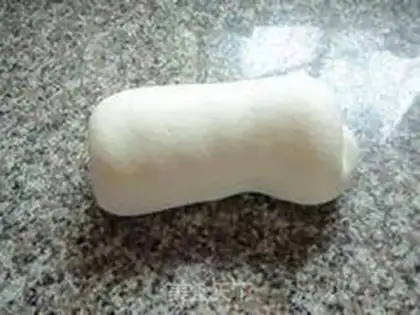
12
It's like a long strip。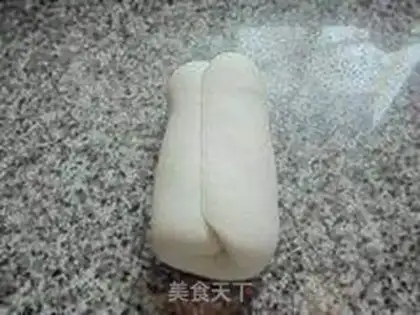
13
Change the noodles to straight。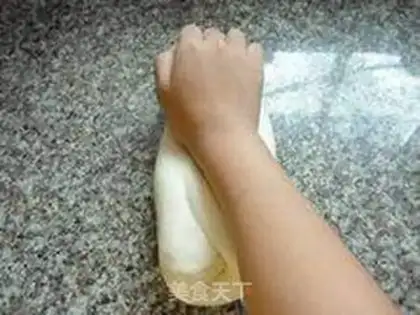
14
It started rubbing at the end of the body, pushing out the face with the wrist。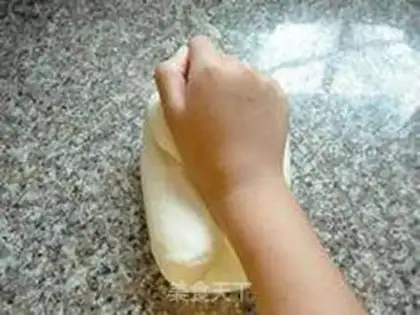
15
Go ahead and pull it back。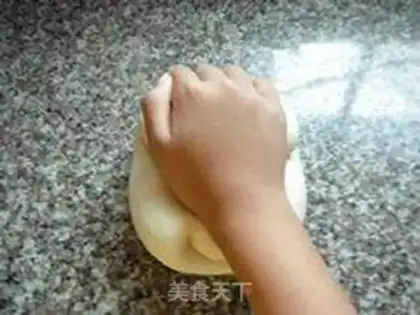
16
Pull it in the first half of the roll and go on。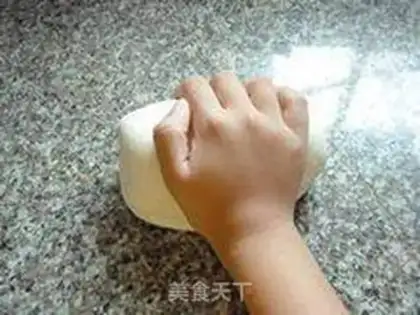
17
It's been so many times。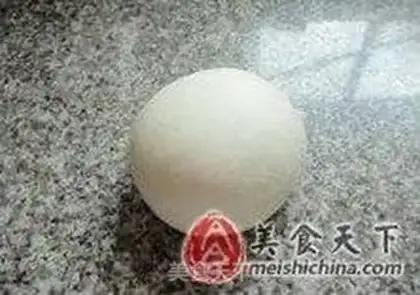
18
Until the noodles are smooth and thin. The whole process was like washing clothes on a washing board. It's a step-by-step thing, and it looks like it's fixed, and it's actually a series of moves。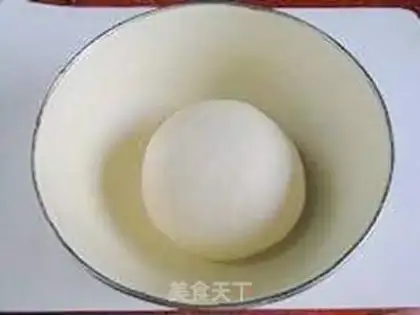
19
The rubbed noodles are placed in larger containers, covered with protective film。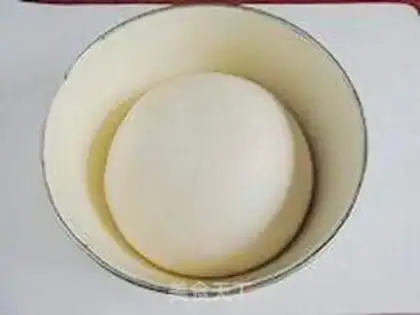
20
The fermentation is about twice the size of the original noodle, and the fermented noodle group has grown, but the surface is still smooth. If the surface looks like a lot of bubbles, soft, it must have fermented too much。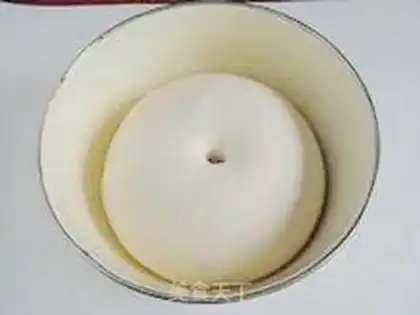
21
The fermented noodles put a small amount of dry powder on their fingers, poking a hole, with no wrinkles, no concussion, no collapse。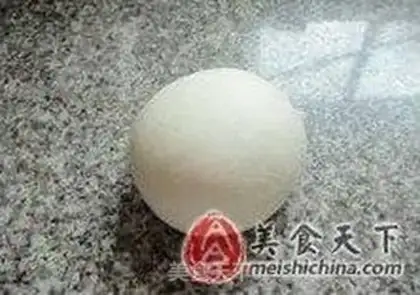
22
The fermented pasta takes out the exhaust and then rubs it back to the size of the original one. That's when the dough can start making buns。Hand-painted points Make Tips
Poetic heart phrase:
1: Compared with the dough used to make steamed buns, the dough used to make steamed buns should be harder, and the steamed buns should be softer.
2: Don't use the warm water used to soak the yeast as boiling water, as it will burn the yeast and prevent it from performing fermentation. Warm water is generally about 30 to 35 degrees. You can also use cold water directly in summer, but I prefer to use warm water to ferment slightly faster.
3: When placing the prepared steamed bun embryo on the steaming rack, leave an appropriate distance in the middle, because the steamed bun will become larger after fermentation and steaming. (Remember to brush a thin layer of oil on the steaming rack to prevent the steamed buns from sticking)
4: After steaming the steamed buns and turning off the heat, continue to simmer for about three minutes before opening the pan. Don't drip water on the steamed buns when lifting the lid.
5: I suggest that when you first learn to make steamed buns, it is best to make white-flour steamed buns without stuffing and shape. When you can make beautiful white-flour steamed buns, you can make other patterns of steamed buns, so that you can cope with all changes without changing.
6: Ordinary flour is generally divided into high flour, medium flour, and low flour. Medium flour is usually used to make steamed buns.(High flour is also okay)
1: Compared with the dough used to make steamed buns, the dough used to make steamed buns should be harder, and the steamed buns should be softer.
2: Don't use the warm water used to soak the yeast as boiling water, as it will burn the yeast and prevent it from performing fermentation. Warm water is generally about 30 to 35 degrees. You can also use cold water directly in summer, but I prefer to use warm water to ferment slightly faster.
3: When placing the prepared steamed bun embryo on the steaming rack, leave an appropriate distance in the middle, because the steamed bun will become larger after fermentation and steaming. (Remember to brush a thin layer of oil on the steaming rack to prevent the steamed buns from sticking)
4: After steaming the steamed buns and turning off the heat, continue to simmer for about three minutes before opening the pan. Don't drip water on the steamed buns when lifting the lid.
5: I suggest that when you first learn to make steamed buns, it is best to make white-flour steamed buns without stuffing and shape. When you can make beautiful white-flour steamed buns, you can make other patterns of steamed buns, so that you can cope with all changes without changing.
6: Ordinary flour is generally divided into high flour, medium flour, and low flour. Medium flour is usually used to make steamed buns.(High flour is also okay)