Not a very successful attempt, I have been busy recently ~ so it is a bit rough
If you do every step and decorate it carefully, it should be more beautiful
But there is no discount on delicious food
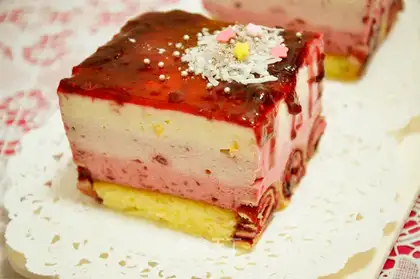
Although I am not very satisfied with the decoration, the color of the raspberry jam is very beautiful
Cake slices oven at 180 degrees and heat the middle layer for about 6 minutes
Sponge cake bottom oven at 180 degrees and heat the middle layer for about 20 minutes
Rainbow raspberry mousse
Recipe Recommendations
- eggs of 4
- low powder 100g
- milk 8g
- butter 25g
- cream cheese 100g
- animal whipped cream 160ml
- water 150ml
- gelatin tablets a
- vanilla extract 2 drops
- sugar 100g
- salad oil 8g
- fine sugar 75g
- lemon juice 6g
- sweetening
- baking
- a day
- ordinary
Steps for Rainbow raspberry mousse
1
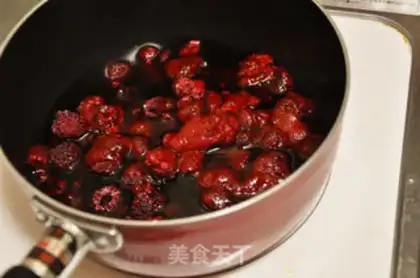
Make jam first. Sprinkle 300g of frozen raspberries with granulated sugar, let stand for 20-30 minutes, the granulated sugar melts, and the raspberries water out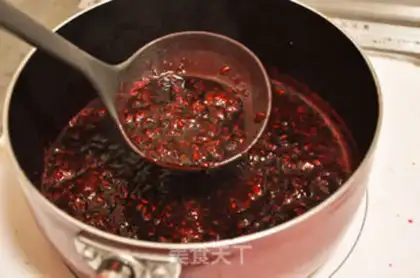
2
Add 150ml of water, bring to a boil over medium heat, turn to low heat and cook until thick. Add gelatine slices and cook for a while, turn off the heat, remove the foam and refrigerate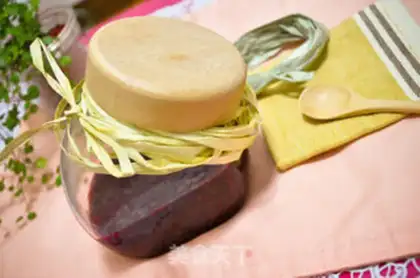
3
Raspberry jam is ready.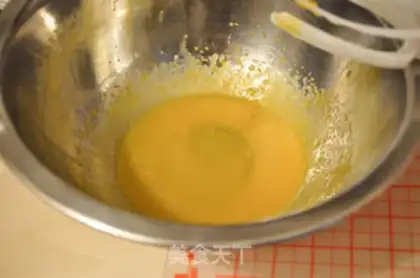
4
Start making cake rolls around the sides. Take the yolk of an egg, add 6g of sugar and beat until the color is white and the volume increases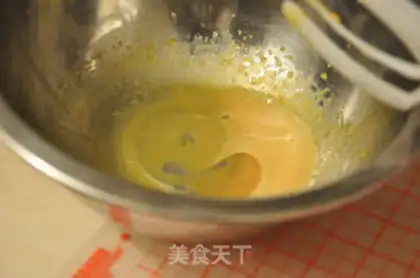
5
Add 8g of salad oil and beat well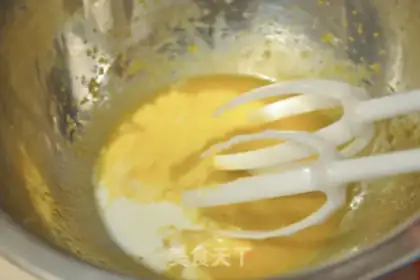
6
Add 8g of milk and beat well
7
Sieve in 17g of low powder and use a rubber spatula to stir evenly from the bottom up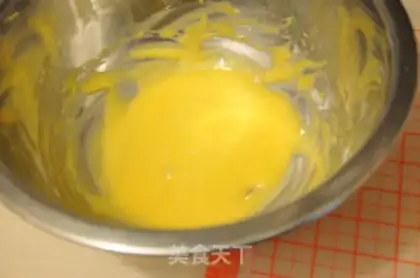
8
The state of egg yolk paste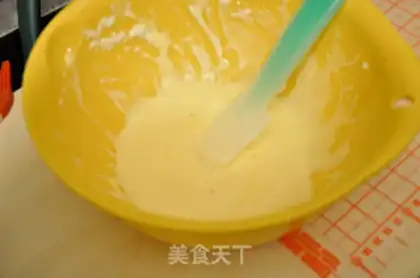
9
Add 12g of sugar to 1 egg white and beat until wet and frothy, add 8 g of egg yolk paste, and evenly use a spatula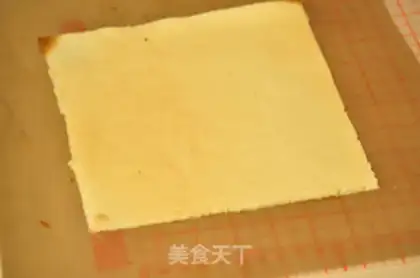
10
Preheat the middle layer of the oven at 180 degrees for 6 minutes (the cake slices are baked), cool slightly and cut evenly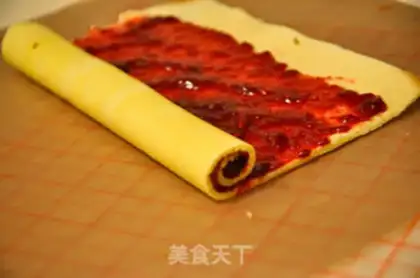
11
Spread with jam and roll up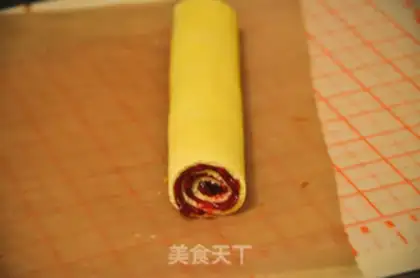
12
Wrap in oil paper and refrigerate in the refrigerator for more than half an hour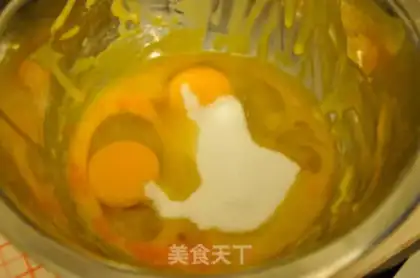
13
Next, make the sponge cake base. If you don't need to, just start from step 18 and add 75g of sugar to three eggs. Beat the whole egg until the lines do not disappear.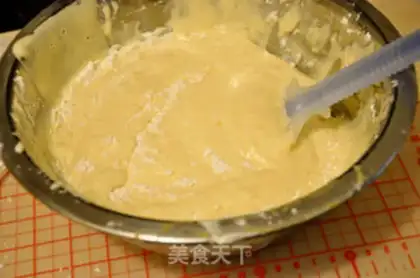
14
Sieve in 100g of low powder and stir evenly with a rubber spatula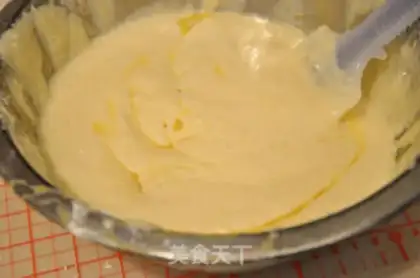
15
Add 25g of melted butter and continue to stir well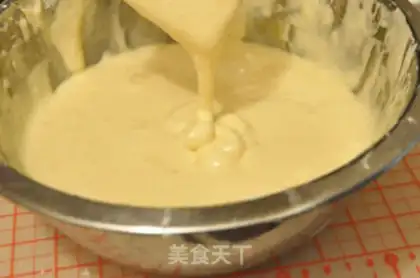
16
The cake paste is in this state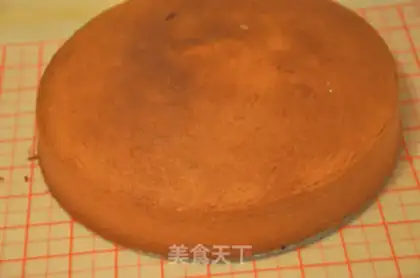
17
Put into the preheated oven and heat the middle layer to 180 degrees for about 20 minutes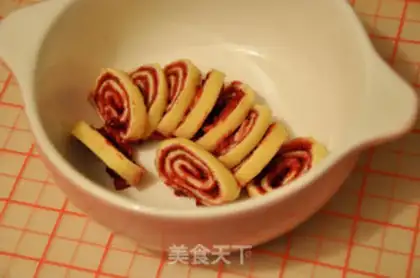
18
Slice the shaped cake evenly, and spread it with the cut sponge cake on the bottom edge and around the mold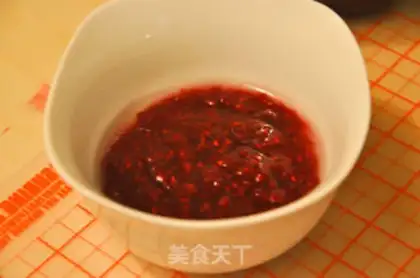
19
Start making mousse with 2 tablespoons of raspberry jam and 20g of water. Put 2.5 g of soft gelatine tablets in a heat-resistant container, put in the microwave at 500 W for 30 seconds, stir well and set aside.
20
60g cream Beat 15g of fine granulated sugar until the lines do not disappear. The light cream (before wet foaming) Add 18g of raspberry solution, and stir evenly with a spatula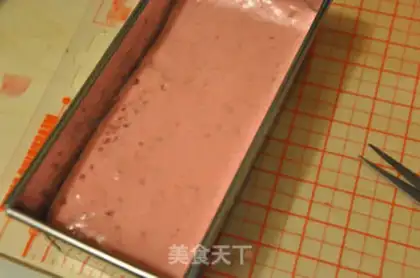
21
Lay it on the cake slices in the mold, which is the deepest layer of the rainbow, and put it into the freezer to shape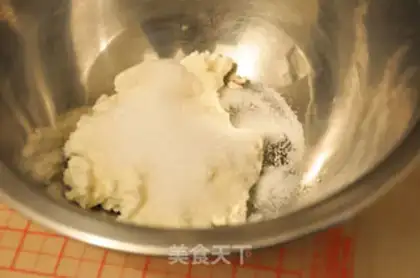
22
soften 100g of cream cheese, add 30g of sugar and beat until smooth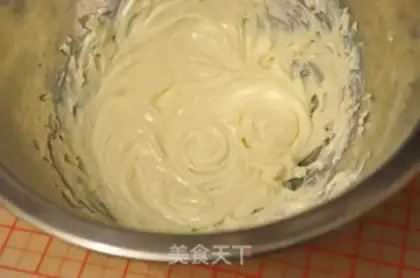
23
The state of the cream cheese. At this time, soak the remaining gelatine slices in 30ml of cold water to soften, heat in the microwave at 500w for 30 seconds and stir thoroughly to form a gelatine solution. Divide into two portions, add 1 tablespoon of raspberry jam to one portion and stir well.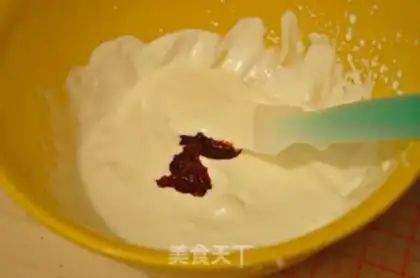
24
Beat 50g of light cream until the lines do not disappear (before wet foaming), add 23% of the gelatine solution mixed with jam, and stir evenly with a spatula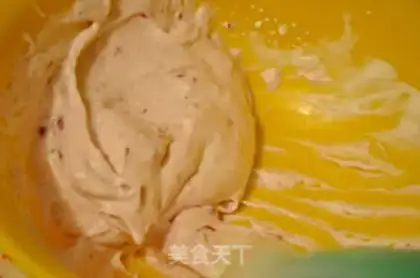
25
Add half of the cream cheese, stir well, and the pink mousse is ready. Spread on the shaped bottom layer, and continue to put it into the freezer to shape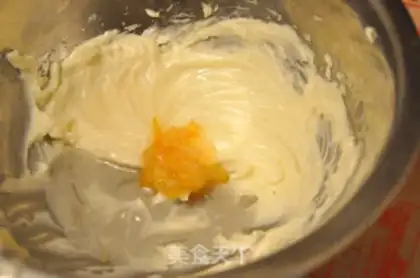
26
Next, make the top layer of mousse. Add 6g of lemon juice, 1 tablespoon of kumquat sauce, 2 drops of vanilla essence, and a pinch of salt to the remaining half of the cream cheese. Continue to beat evenly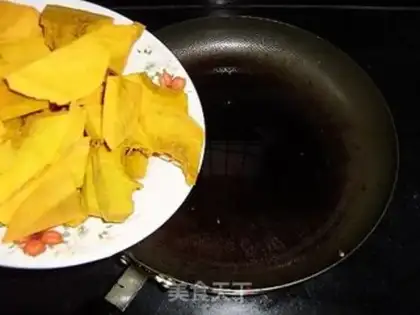
27
Take the remaining 50ml of light cream and beat until the lines do not disappear as before. Add 25% of the cream cheese paste and stir evenly.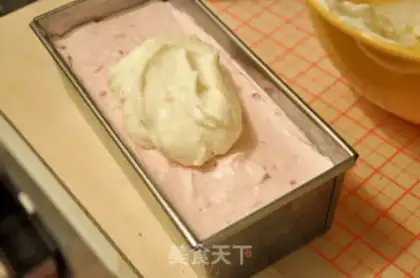
28
Smooth over the top layer of the solidified mousse, refrigerate overnight, carefully remove the mold, and remove the decorationRainbow raspberry mousse Make Tips
1. There are quite a few steps and the cycle is long; it took me two days to finish. I made the cake base and the first layer of mousse on the first day, and did the rest on the second day.
2. The jam was made beforehand; you can definitely use store-bought jam as a substitute. Any jam works, it will just result in different rainbow colors haha.
3. The jelly roll lining the sides must be thin to look good. I used only one egg for a 23cm square pan, though I spread the jam a bit thickly; spreading it thinner will look better when sliced.
3. The sponge cake base is optional; you can substitute it with something else or use a store-bought one.
4. You can whip all the heavy cream at once, but remember to refrigerate the leftover cream after using it for each mousse layer to prevent it from deflating.
5. The decoration is simple. I used 2 tablespoons of jam and 1.5g of gelatin sheets to make a gelatin solution, refrigerated it until thick, and poured it over the cake. Letting a little drip down the sides for decoration is entirely up to your preference haha.
6. You can see in the photo that kumquat jam was added to the top layer of cheese mousse. This step is very important to me because I think the cheese mousse tastes delicious with the kumquat jam added.