Olive oil onion cookies
By VicentaLakin

The aroma of olive oil is mixed with the fragrance of onions, a little salty taste for both men and women, and cookies can be healthy and delicious. Let's try this one too
Recipe Recommendations
- low-gluten flour 100 grams
- Dried chives 1/2 scoop
- water 45 grams
- olive oil
- salt 2 grams
- baking soda 1/8 spoon
Steps for Olive oil onion cookies

1
In the basin, low-strength powder, 20 grams of olive oil, dry onions, water, salt, and sour。
2
Mixed and even, rubbing into a smoother face. Cover it with wet cloth or a shampoo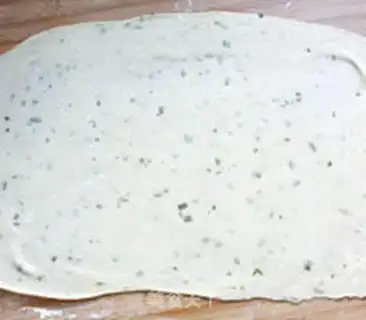
3
Some flour was cast on the board to make it sticky, and the face was turned on the board to expand the square。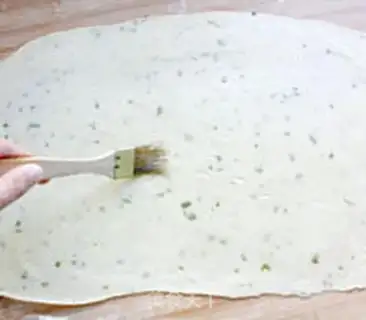
4
A small spoon of olive oil was poured over the face and the entire face was evenly painted with a brush。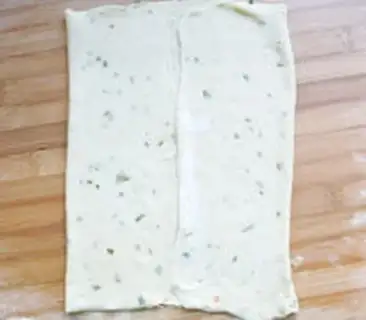
5
Turn both ends of the dough towards the middle。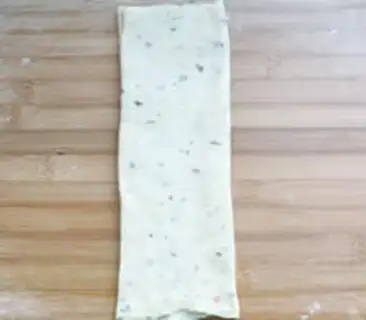
6
And fold, like folding covers。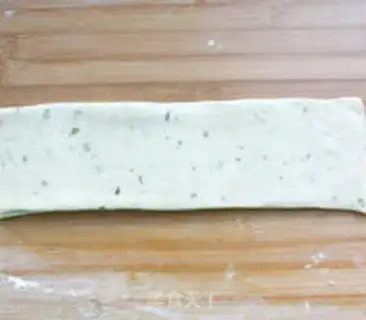
7
Turn the rectangular layer 90 degrees。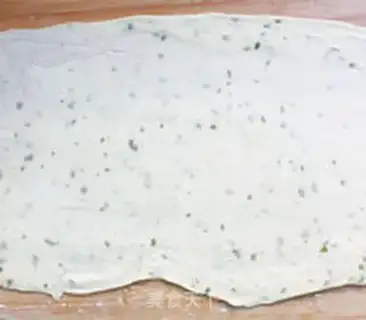
8
Once again, growing squares。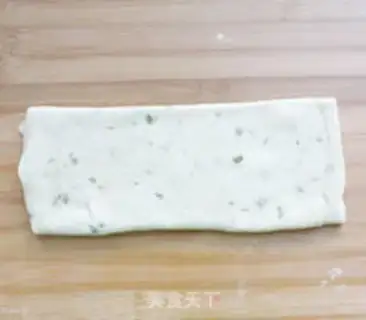
9
Repeat step 4-7。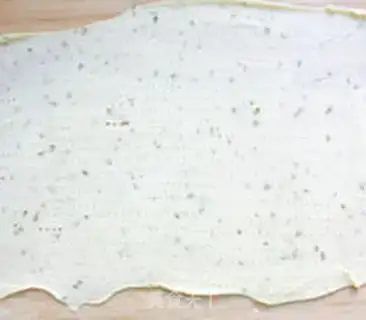
10
once again, it opens up the square, thick about 1.5 mm, and uses a fork to fork on the face。
11
They cut the face into several small rectangular shapes。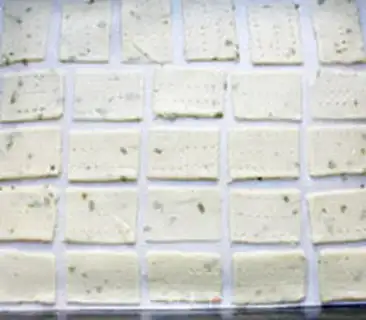
12
Put the sliced noodles in the grill and leave a gap between them. The 15-minute freezer is then placed in the middle of a preheated oven of 180°C, which is about 12 minutes baked, and can be turned into gold。Olive oil onion cookies Make Tips
1. When rolling the dough sheet, try to make it thin for better taste. Sprinkle some flour on the chopping board first to prevent sticking, so that the rolling is easier.
2. If you have a wheel knife and a ruler or a straight rolling pin, the cutting effect will be better than that of a mold.
3. When relaxing the dough sheet in step 12, you can preheat the oven a few minutes in advance based on experience, so that it can be baked immediately after relaxing. The entire baking time can be slightly adjusted according to the temper of your own oven.
2. If you have a wheel knife and a ruler or a straight rolling pin, the cutting effect will be better than that of a mold.
3. When relaxing the dough sheet in step 12, you can preheat the oven a few minutes in advance based on experience, so that it can be baked immediately after relaxing. The entire baking time can be slightly adjusted according to the temper of your own oven.