Bean bouquet bread
By VicentaLakin
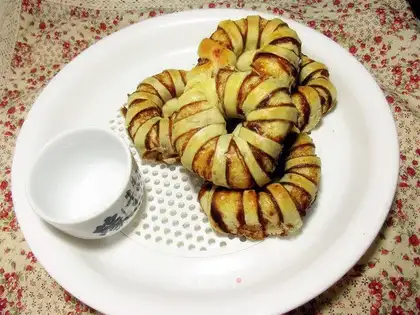
Last time I made a soybean latte, I thought I'd use it as soon as I could before it was too long. To be honest, I'd have to do it myself. I'd be lazy to buy the soybean soybean bread. It's sweet. I don't know what sweet stuff to put in there. If there's time, the soybean soybean sauce is made by myself and there's no additive. And it's a simple way to make a bean-sand-bread. It's a little late when I make bread. It's too late when I make bread. It's too late. It's ready. It's ready for dinner. It's ready to cook. It's a little short. It's a little short. It's a little rough, but it doesn't affect the softness of the bread. Next time, remember, it's good and healthy。
Recipe Recommendations
- high powder 300g
- baking powder 4g
- white sugar 15g
- salt 1g
- eggs one
- milk powder 12g
- bean paste appropriate amount
- water 230g
- sweetening
- baking
- several hours
- ordinary
Steps for Bean bouquet bread
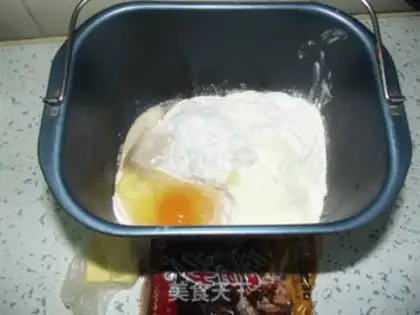
1
Put all the main materials except butter in the toaster for 20 minutes。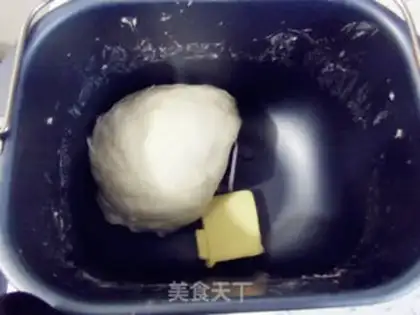
2
The addition of butter continued to mix for 20 minutes into a face that could pull out a slightly transparent film。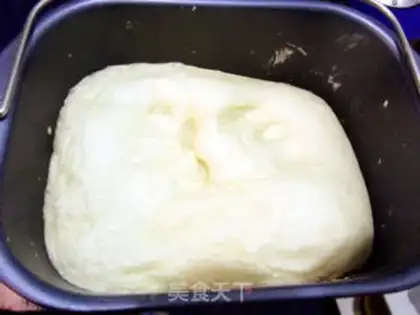
3
The bread machine fermented for one hour, and the gills were twice as big。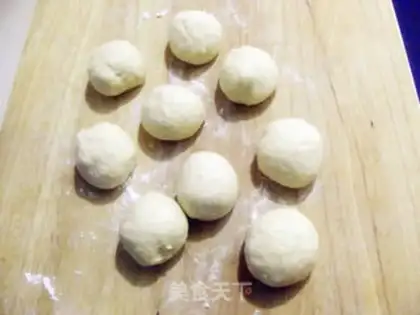
4
It is divided into nine equals, each with 10 minutes of laxity on the cover of the roll。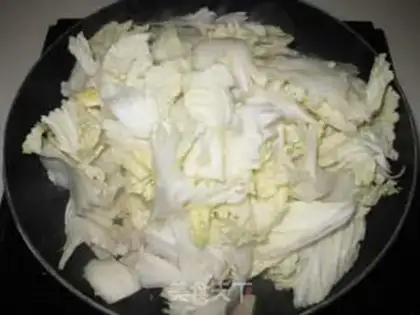
5
Quite a bit of twirling pasta, turning over, with a proper amount of red bean sand。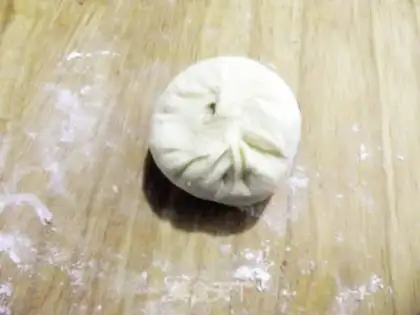
6
Wrap it in like a bag。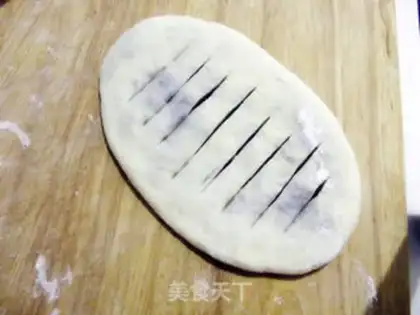
7
Press flat, roll back and grow round, cut a few blades across, and don't cut either side。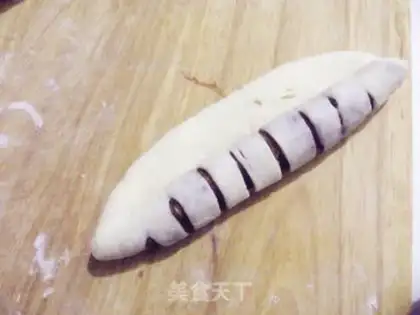
8
Turn the noodles over, face up, roll up along the long side。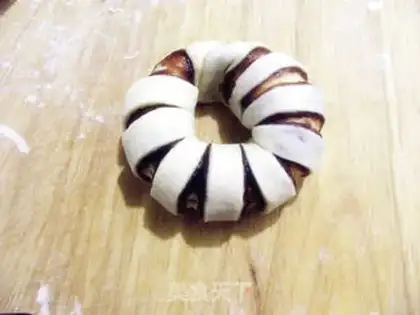
9
And then the rolled face is rounded. Hold on to both。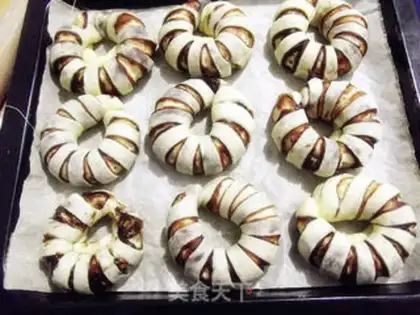
10
In turn, the code will be in the oven and the film will be fermented for another 15 minutes。
11
fermentation up to two times the surface of bread with a light coat of whole egg fluid。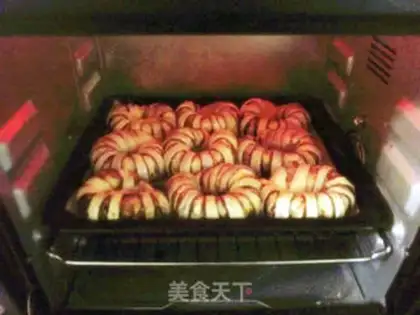
12
Send it to a preheated oven of 180 degrees, bake it for about 18 minutes, and the bread is painted with tin paper in time。
13
The finished chart。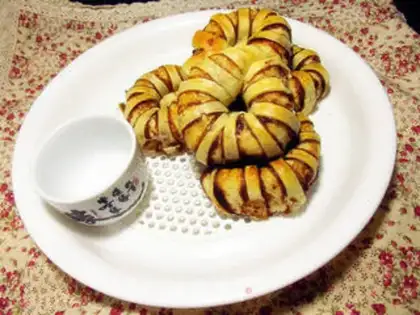
14
The finished chart。Bean bouquet bread Make Tips
1. Since oven temperatures vary, do not strictly adhere to the time; the bread is ready when it is golden brown. You can also increase or decrease the time to suit your preference. 2. Cover the bread with aluminum foil as soon as it starts to brown to prevent it from burning.