Grape souffle bread
By VicentaLakin
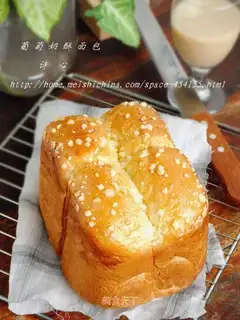
Since the time of baking, the family has been breaded daily, corn, oats, nuts, whole wheat, groceries... all shapes, all tastes. From flour to flour, then bread, it's a harvesting process, and as the dough rises, every air hole is filled with my joy, which expands slowly in this warm kitchen. The raisin bread is the bread that the baby likes, and he likes to tie the grapes in his hand, digs them into a hole, then comes to eat bread, and every time he eats this bread, it makes him feel special, sometimes counting a few. Souffles of skin, sweet and brittle, not only enrich the taste, but also make bread more beautiful。
Recipe Recommendations
- high powder 250 grams
- qingshui 120 grams
- salt 3 grams
- fine sugar 45 grams
- whole egg liquid 30 grams
- milk powder 15 grams
- dry yeast 1 teaspoon
- butter 30 grams
- milk crispy appropriate amount
- sweetening
- baking
- several hours
- senior
Steps for Grape souffle bread
1
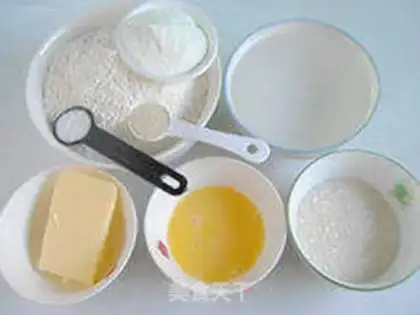
Flour raw materials。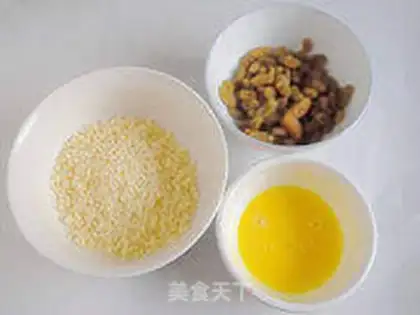
2
(d) Pumping and surface decorating raw materials。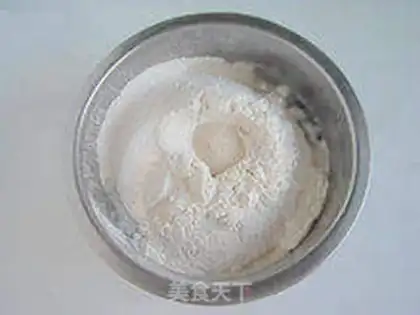
3
In addition to butter, pasta raw materials are placed in a larger basin in the order of liquids and powders, and the yeast is finally released on top of flour。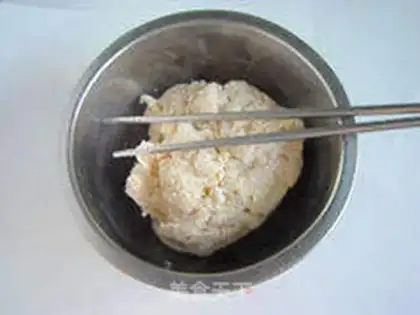
4
I used chopsticks to mix them into dry powder. The purpose of this is to save the bread machine and face time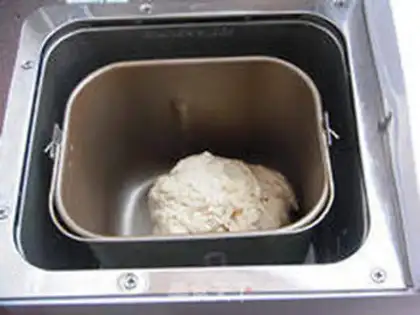
5
Put it in the toaster, start the face program. (1 face application for 15 minutes)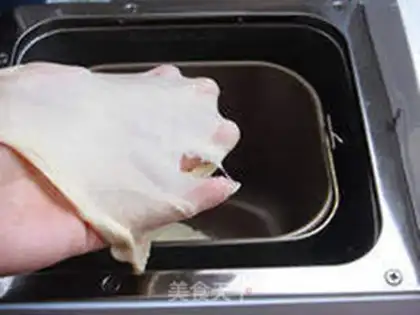
6
After the meta-program is completed, the bread opportunity is accompanied by a “sniffing” hint, which starts with a test of the lower band, when the thicker face is drawn. The noodles are in the expansion phase。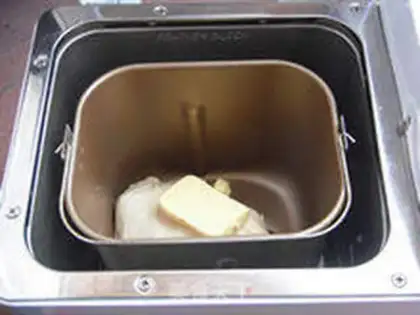
7
Add softened butter and re-start a face-to-face process. After completion of the meeting, the meeting will continue for five minutes and the proceedings will be closed manually。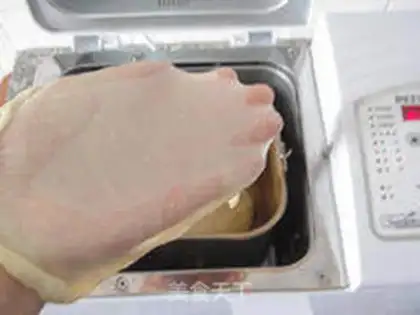
8
Taking a piece of pasta for testing, it pulls out a perfect “mute membrane”, which is now in full stage and can be used to make toast。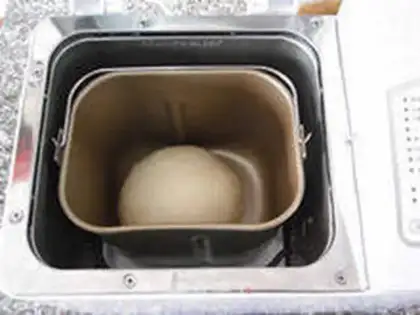
9
Roll the dough, put it in the bread can。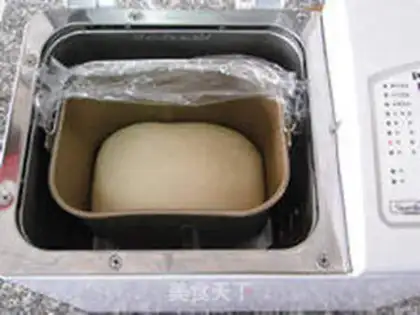
10
Cover the film, activate the maker's fermentation function and ferment the pasta to 2.5 times its original size。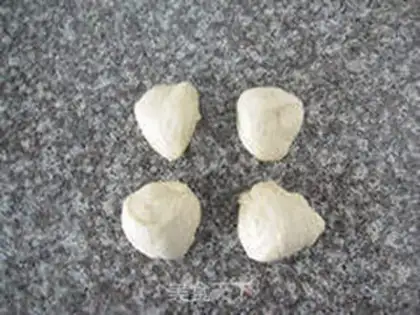
11
The fermented pasta takes out the exhaust and divides it into an average of four。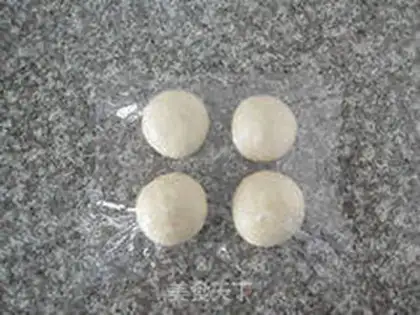
12
Round in turn, with 15 minutes of awakening in the middle of the protective film。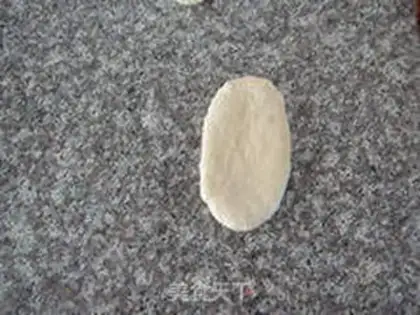
13
Take an ellipse。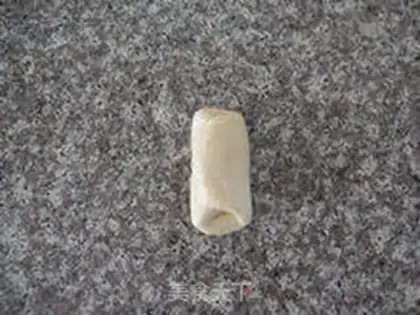
14
Start at any one end, make a three-fold discount, then set at 90 degrees. 'Cause it's gonna take a while. Put it straight
15
I'll roll four noodles in a row。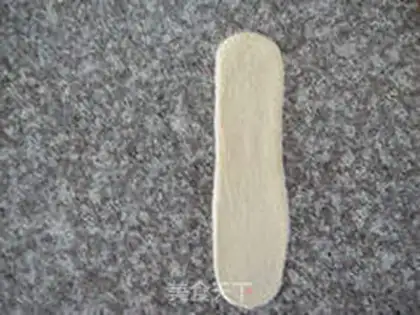
16
Start with the first well-doed noodles, and grow the strips while at the bottom. (The width of the noodles is half the length of the bread bucket)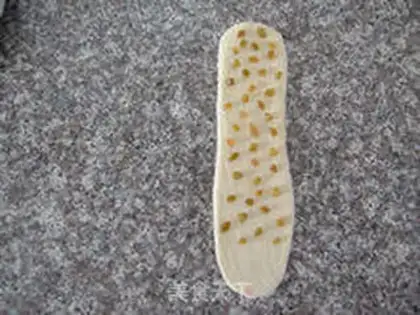
17
More evenly spread raisins. If the raisins are dry, immerse the water 15 minutes in advance and suck the water out of the kitchen paper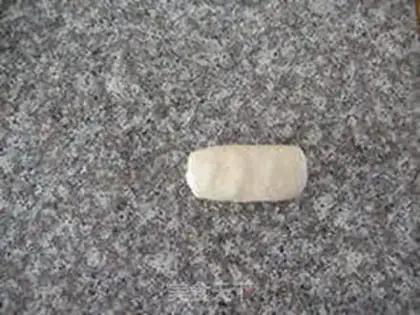
18
From top to bottom, from close rolls, four noodles in turn。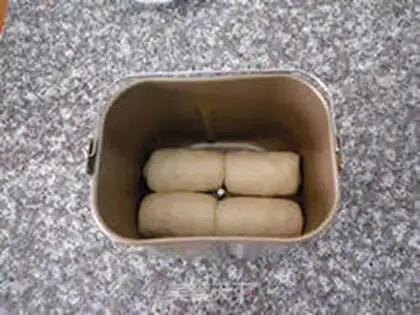
19
Put the four rolled noodles in the bread can。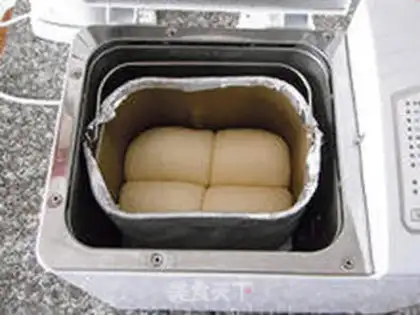
20
Cover the film, activate the fermentation function of the baker and ferment it to twice its original size, and then remove the bread bucket and put it back in a tin sheet. ♪ The sub-light of tin paper ♪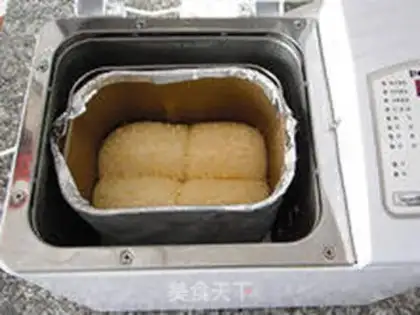
21
Brush a full egg fluid on the fermented noodles and then soufflé. (I took two egg fluids for a slightly heavier skin.)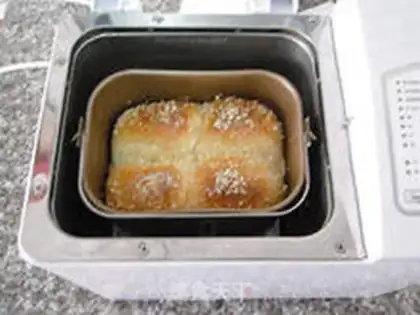
22
Commencing the bakery of the bakery, set at 35 minutes, with the colour selected 15 minutes to turn on the bakery, quickly remove the tin paper and continue to do so)Grape souffle bread Make Tips
Poetic Heart Notes: 1: When adding ingredients, avoid direct contact between salt and yeast to prevent the salt from killing the yeast and affecting fermentation. When using the bread machine's delay timer function, place the yeast on top of the flour to avoid contact with liquids and prevent premature fermentation. Additionally, although the amount of salt used is small, it must not be omitted; its role is significant as it strengthens the gluten structure of the dough and regulates fermentation. (When using salt and yeast, since the quantities are small, I personally find using measuring spoons to be more accurate. One teaspoon of salt equals 5 grams, and one teaspoon of yeast equals 3 grams.) 2: Before kneading, I like to add the ingredients to a large bowl and stir them with chopsticks until there is no dry flour left before putting them into the bread machine. This is to save the bread machine's kneading time. This way, the mixed dough will quickly wrap around the kneading blade once placed in the machine. Generally, kneading for 35 minutes will produce a "glove membrane," but since different bread machines have different power levels, if the dough does not reach the full development stage within this time, you will need to add appropriate kneading time. 3: Because the bread machine's heating elements are located on the walls, if the browning setting is selected as "light," the sides of the baked bread will be just right, but the surface will be paler. If the browning setting is "medium," the surface color will be perfect, but the sides will be a bit too dark. Therefore, when baking, you can wrap a layer of aluminum foil around the bread pan before starting the baking function, and then remove the foil after 15 minutes to continue baking. (Using foil here serves the same purpose as covering bread with foil after it has browned in an oven; it effectively prevents the bread from over-browning.) This way, the browning of both the sides and the surface of the bread will be just right. However, if you prefer the sides to be lighter, you can remove the foil after 20 minutes. Conversely, if you prefer the sides to be darker, you can appropriately shorten the time the foil is wrapped. Additionally, different loaf weights require different baking times, so adjustments should be made based on the specific situation.