Snow strawberry garden cake
By VicentaLakin
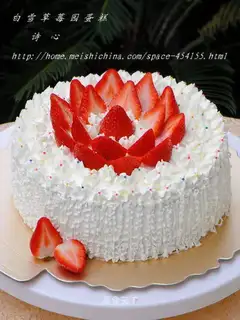
Today was a happy day, but today my first birthday cake was born. It's not perfect, but I'm satisfied. It's easier to decorate a cake, but it's a little bit of an atmosphere, and it's a little crafty to cover up the new-hand flower. If you're like me, and you're not very good at it, try it. When you eat, it's really delicious to put almonds in the cake trap。
Recipe Recommendations
- Qi Feng: Eggs of 4
- Qi Feng: Low-gluten flour 80 grams
- Qi Feng: Corn oil 40 grams
- Qi Feng: Milk 40 grams
- Qi Feng: Lemon juice few drops
- Qi Feng: White sugar 90 grams
- strawberry appropriate amount
- almond appropriate amount
- banana appropriate amount
- biscuits appropriate amount
- sugar beads appropriate amount
- coconut appropriate amount
- Nestle Light Cream 250ml
- fine sugar 20 grams
- sweetening
- skills
- half an hour
- senior
Steps for Snow strawberry garden cake
1
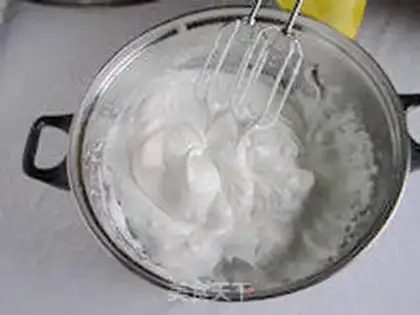
Egg protein, yolk, drop a few drops of lemon juice in the protein, and then add 60 grams of fine sugar three times to the hard hair bubble。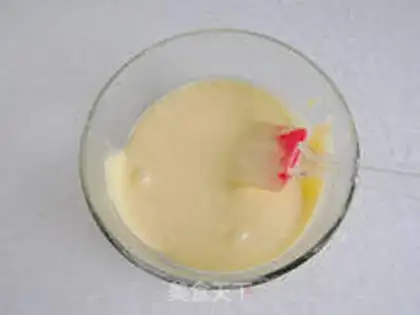
2
Add 30 grams of fine sugar to the yolk, mix it evenly, mix it evenly with corn oil and milk, then sift it into low powder, and mix it evenly with up-and-down hand-to-hands, into fine yolks。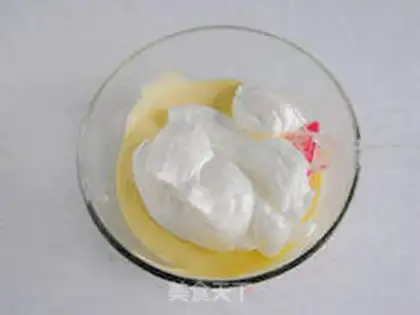
3
Take a third of the protein paste and put it in the yolk paste。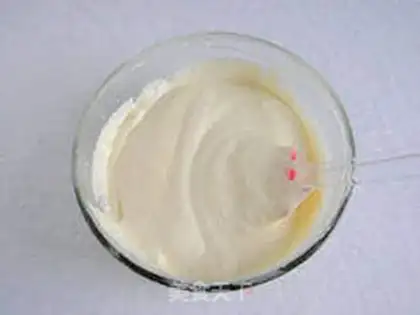
4
It's evenly mixed with a flip。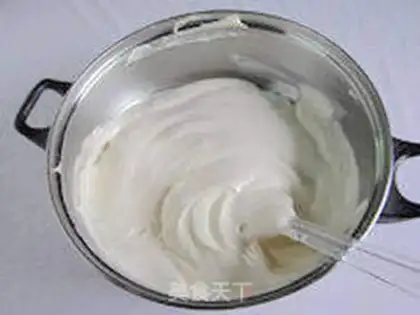
5
Put the mixed yolk paste back into the protein paste and turn it into a fine cake paste。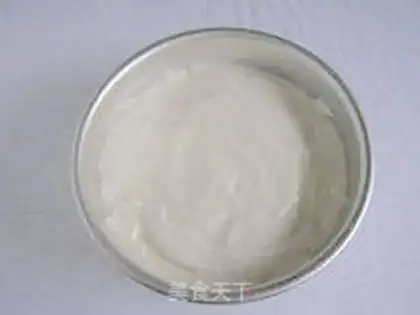
6
The mixed cake fell into the mold, scratched the surface a little bit, and raised his hands to shake it down and remove the bubble inside. Put it in a preheated oven, 180 degrees, 45 minutes. (Phone on top)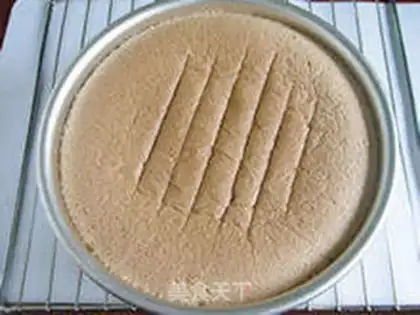
7
When the cake is baked, it can be made by taking out the upside and drying it on the grill。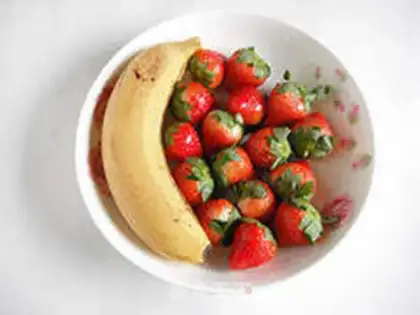
8
Get ready for the fruits: strawberry and bananas。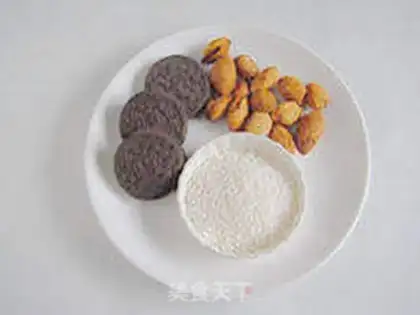
9
Prepare ingredients: almonds, cookies, coconuts。
10
The cream was pre-positioned into the freezer for 12 hours, and it was poured into a clean, oil-free container with 20 grams of sugar. A big bowl of ice water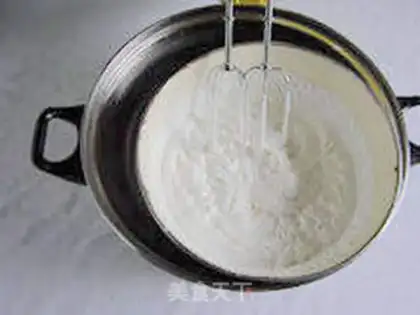
11
Send to rigid bubble status。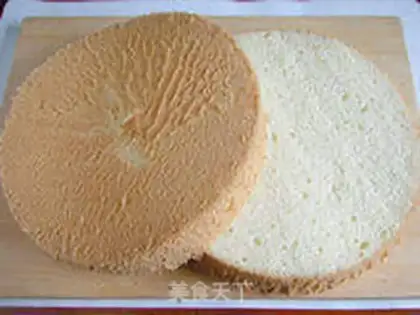
12
Split the cake in two。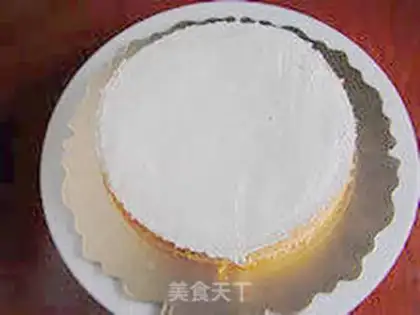
13
Take part of the cake, put it on the cake mat and put on a cream。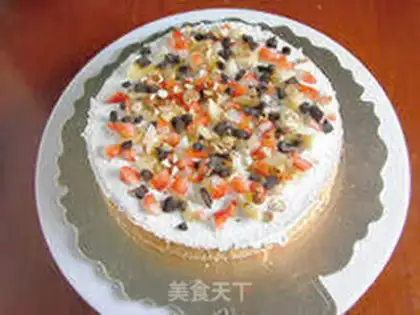
14
A proper amount of strawberries, bananas, almonds and cookies. "The almonds are especially delicious in the pile."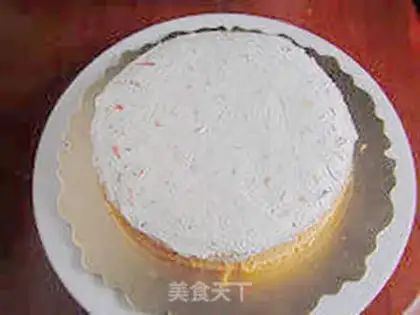
15
Continue to put a layer of cream on it and cover it up。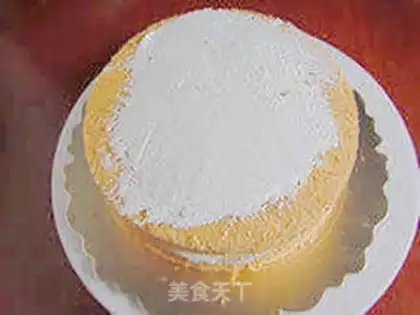
16
And cover the other half. It's not like it's done yet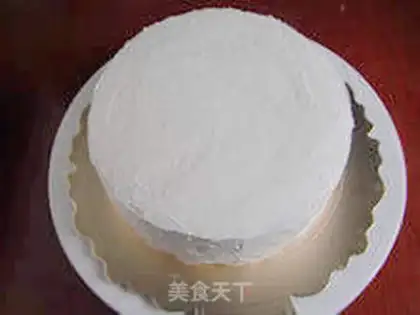
17
Scratch the edge and surface of the cake with cream。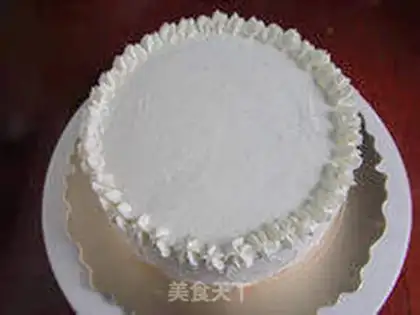
18
Take a portion of the cream and put it in the bag and squeeze it on the edge of the cake surface。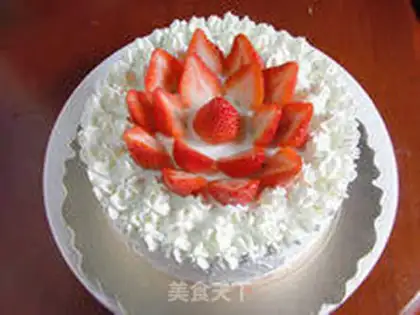
19
Then you're going to take a look at where you're going to put strawberries, and you're going to put the blanks on little flowers, and then you're going to put strawberries, so you can decorate the surface。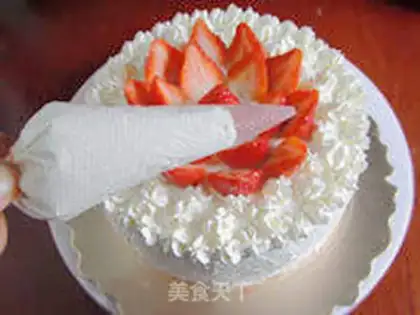
20
Because it was harder to level the edge, and because it was not flowering, and in order to make it more beautiful, I left some cream, put it in another bag, and cut off a little bit. (a little sip on it)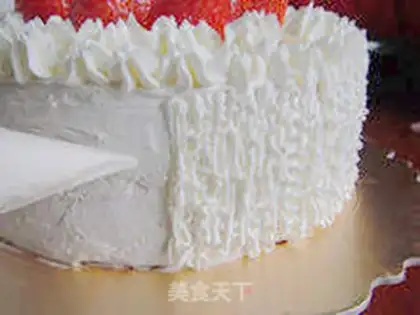
21
It looks pretty good when you pull the silk around the edge by the same method。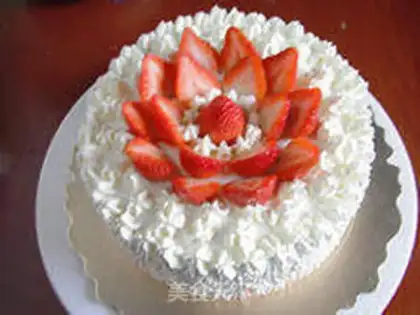
22
And then there was a little cream, and I didn't want to waste it, and I lit it on the middle of the strawberries. Finally, just a proper amount of beads. It's a simple flower cake, but it's also in the atmosphere。Snow strawberry garden cake Make Tips
Poetic Heart's Tips: 1: The filling and decoration ingredients can be mixed and matched according to your own preferences. 2: For my 8-inch cake, I used one 250ml bottle of heavy cream, which was just right. 3: When starting to pipe, plan the allocation carefully to avoid using too much cream at the beginning and not having enough later. 4: The heavy cream needs to be refrigerated for 12 hours before use, and it is easier to whip when set over an ice bath. I put the cream in the fridge before going to bed the night before, and also put a large bottle of water in the fridge. 5: When slicing the cake layers, if you are not experienced, you can first insert toothpicks at intervals around the perimeter at the same height; this serves as a guide when slicing to prevent it from being crooked. 6: If the cake is cut unevenly, make a mark after cutting, and when placing it back on, align it with the original position to avoid discovering the cake is unbalanced after the piping is done. 7: This mainly breaks down the piping techniques; for detailed steps on making the Chiffon cake, see the recipe or blog post "Detailed Explanation of Chiffon Cake".