This was a long time ago. I went to a friend's house and accidentally saw my friend's mother making snacks for us in the kitchen. Because I liked it, I chatted and watched with her. I saw it was very simple. I just boiled the noodles and oil, boiled the water, stirred it into a paste, and then put eggs and baked it into a blank. You can put anything in it. My aunt made three flavors that time, including cheese sauce, jam and peanut butter. The three are: slightly sweet, sweeter and sweet and salty.
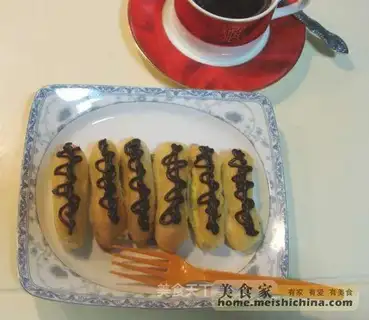
Later, I started making a few for her. She kissed me happily, dragged me into the living room and praised me in front of the guests, saying that I knew how to do it at a glance and did better than her. She also complained in public that her son couldn't do anything. My friend said that I would kiss up to his mother, which made everyone laugh. Everyone was very happy at that time. My aunt made a lot of western cakes. I also fried a few of my specialty China dishes. Everyone welcomed my dishes and my aunt's snacks. When they left, they took away all the western cakes made by my aunt. The following is the "Chocolate Milk Yellow Cheese Bar" that I have eaten and improved by myself.
Chocolate milk yellow cheese bar
By RafaelWalsh
Recipe Recommendations
- milk fragrance
- baking
- half an hour
- ordinary
Steps for Chocolate milk yellow cheese bar
1
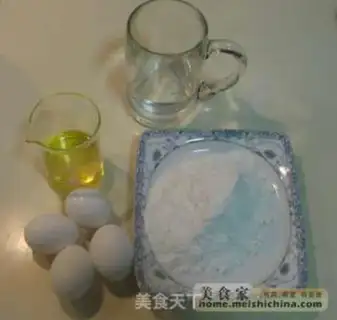
Preparation ingredients: Leather: 100 grams of flour, 50 grams of olive oil (peanut oil is also available), 4 eggs, and about 130 grams of water.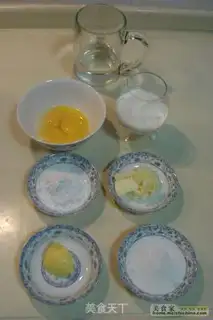
2
Filling: 3 egg yolks, 10 grams of butter, 30 grams of soft cheese, 80 grams of fresh milk, 40 grams of fine sugar, 30 grams of starch, appropriate amount of water.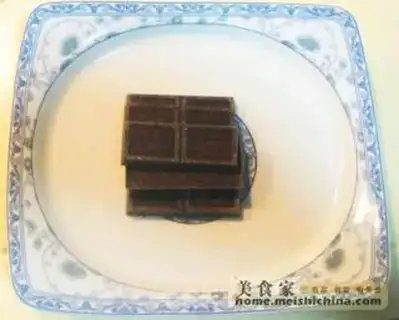
3
Decoration: 40 grams of pure chocolate.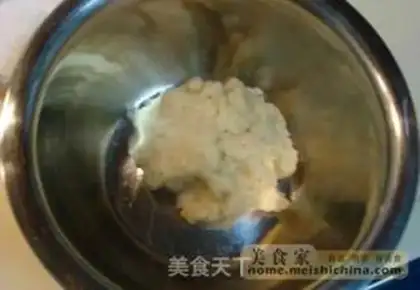
4
Preparation of skin: Put olive oil and 130 grams of water into a pan and boil, add 100 grams of flour, stir well, and cool.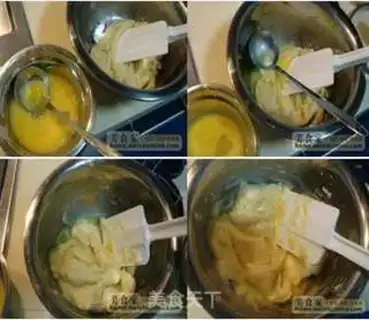
5
Filling processing: Add the eggs to the batter and mix well until the batter reaches the right hardness.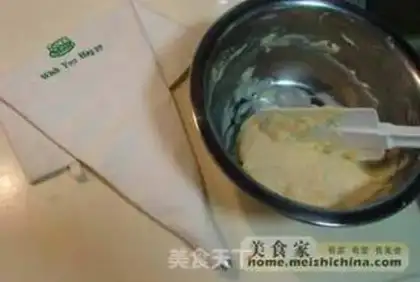
6
Put the batter into a decorative bag (sold in kitchen supplies stores in all cities).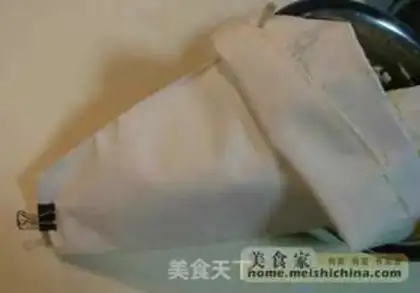
7
When filling the decorative bag, you must first clamp the mouth of the bag with a small clip, otherwise you will accidentally fill the edge agent and make a mess.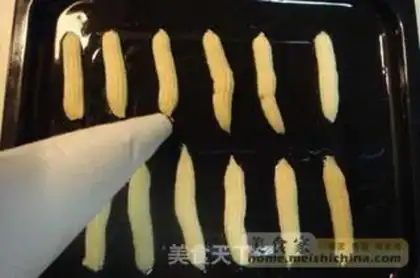
8
After filling, squeeze them into a baking sheet that has been greased in advance to form sticks, each stick is about two and a half inches long. You should grasp it well and try to evenly.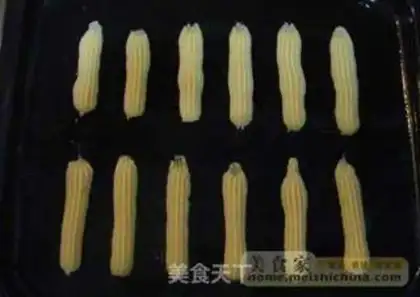
9
I didn't grasp the first set well and then adjusted it again, hehe! Styling is also a pleasure.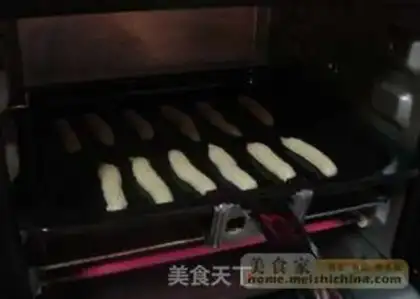
10
Preheat the furnace temperature at 230℃ for 5 minutes, then adjust the temperature to 200℃, and bake for about 20 to 25 minutes.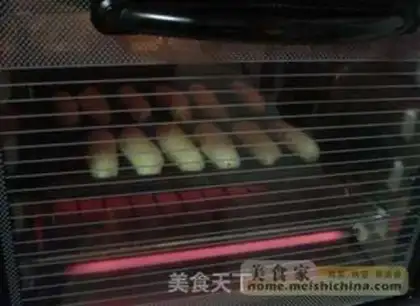
11
This depends on the oven conditions of each family. There is a slight error in ovens of various brands, but the error is not large.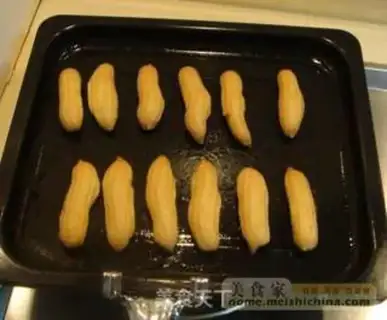
12
Just expand and turn golden.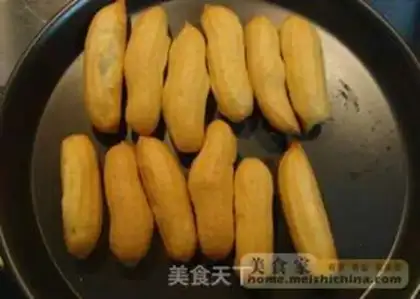
13
Remove and let cool for later use.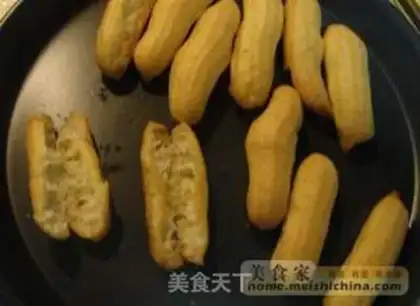
14
Cut the grilled "short stick" from the side with a knife, taking care not to cut off one side and cover it.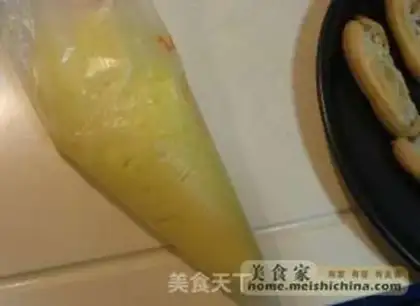
15
Pre-prepared milk yellow cheese filling.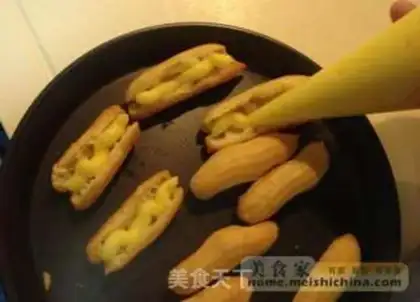
16
Then use a decorative bag to squeeze the pre-made milk yellow cheese filling inside, close it and stick it firmly, and squeeze chocolate on the outside to decorate it.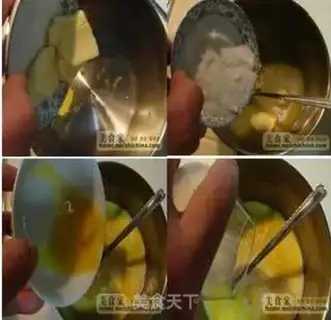
17
Put 3 egg yolks, 10 grams of butter, 30 grams of cheese, 80 grams of milk, 40 grams of sugar, and 30 grams of starch in a container. Stir the several ingredients well, then add a little water and stir well.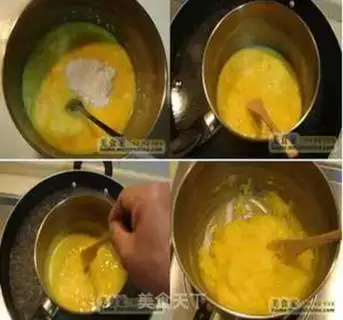
18
Boil a pot of boiling water, place the container in the boiling water, and stir with water. The thickness is suitable. As for the degree, as long as it can be put in a decoration bag and it is like jam, and the extrusion has a shape without effort. It's best, but don't be too thin! It is recommended to use disposable decorative bags. 100 pieces cost only 10 yuan. Hotel supplies are sold in all kitchen stores, which is both convenient and hygienic.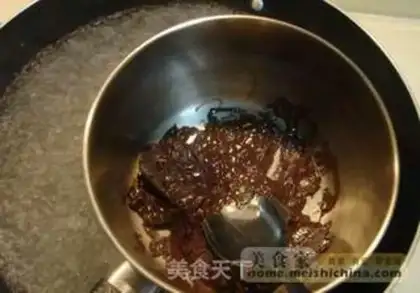
19
Processing of pure chocolate as an ornament: Put the chocolate in a small milk pot and melt it with stirring through water to remind you not to add water.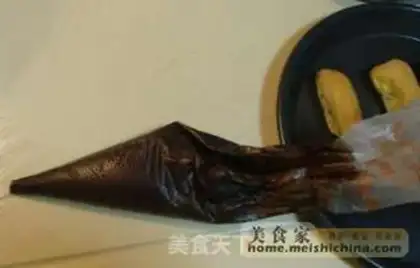
20
If it is too sticky, add less hard cream, that is, the kind with higher purity, and don't add more. About 10% will be OK. It not only adds flavor but also makes the chocolate solidify more slowly and easier to handle. I asked a foreigner about this, and it was right. Remember, don't add too much cream and don't waste good things. Also, don't add butter. There is a difference between butter and butter.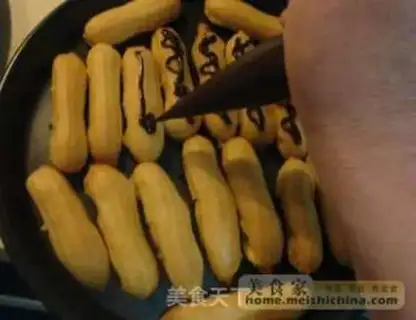
21
When the chocolate melts and puts it in the decoration bag, it must be cured in one breath, otherwise it will solidify. In summer, if you have a good shape, you can put it in the refrigerator to solidify for an hour. Chocolate generally doesn't like to melt after setting. If the room temperature is low in winter, it is best to prepare a towel soaked in hot water and wrung it out, and use it as backup for insulation. Whatever the pattern and shape you like, what I squeeze is a straight line, and it's blind, hehe! You can also apply other patterns, and then it is time for you to fully imagine and play.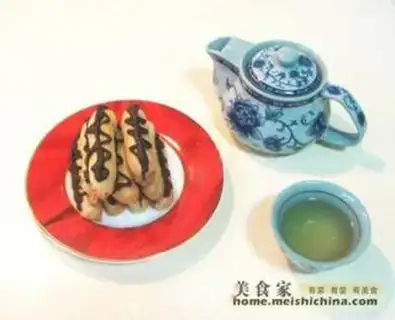
22
Check it out, what an inviting afternoon tea! Come and try one, it's absolutely great.