Basic chili cake
By VicentaLakin

an unremitting year and a half of the wind, which has collapsed countless times, wasted countless eggs and lost countless seconds of confidence. after reading countless posts and books, numerous experiments were carried out, which finally resulted in a similar twilight. for the two days that have finally been completed, it is hoped that the failings of tsing will learn from my experience to emerge from the shadow of failure. ~ for a clear and large picture of the state of protein bubbles at all stages, see the food diary at http://home.meishichina.com/space-76045-do-blog-id-420173.html, helping relatives to make fine and solid proteins is the basis for the success of tsingeecake. this formula is six inches of wind, and you want to make eight inches of cake, just double it. and it's a evangelical thing for a tx with only eight inches. although 6 inches of wind would appear to be a little short of the 8 inches of paste. but the tx, the thinner the face, the easier the cake is baked, the less time it takes, and the chances of success are two more floors。
Recipe Recommendations
- eggs of 2
- low-gluten flour 45G
- milk 30g
- corn oil 25g
- powdered sugar 25g
- cream of tartar
- sweetening
- roast
- an hour
- ordinary
Steps for Basic chili cake
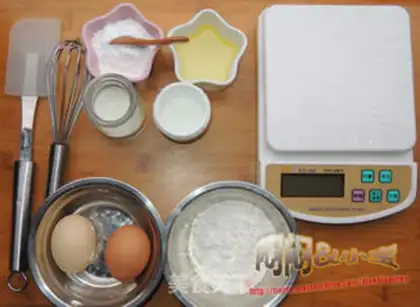
1
Material Photo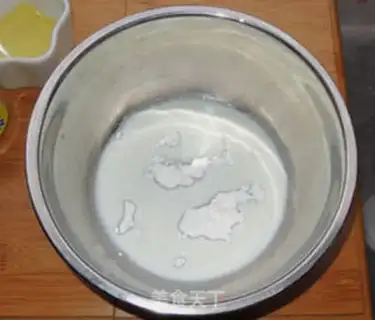
2
30g milk with 10 g sugar powder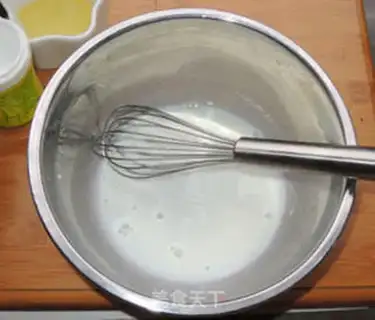
3
Waiting for the powder to dissolve completely and form an even liquid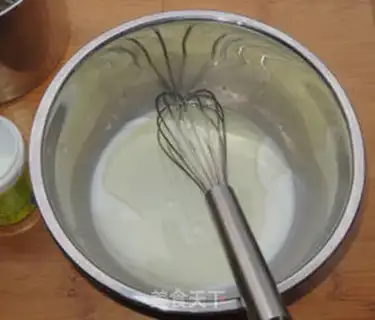
4
add 25 g corn oil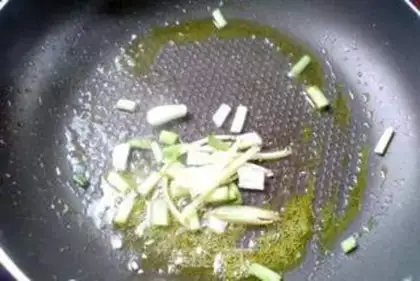
5
When the coil is tuned, the milk and corn oil form an even lotion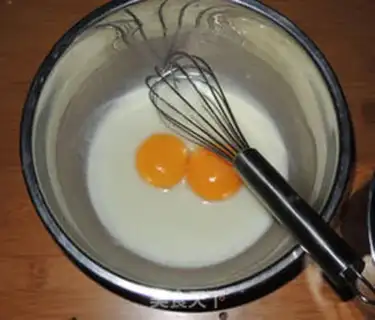
6
Add two yolks, and you'll be fine. You don't need a lot of bubbles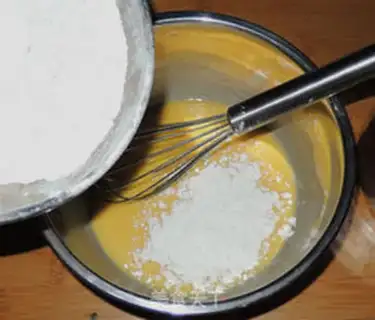
7
Add a small amount of flour (about 1/3) and draw a cross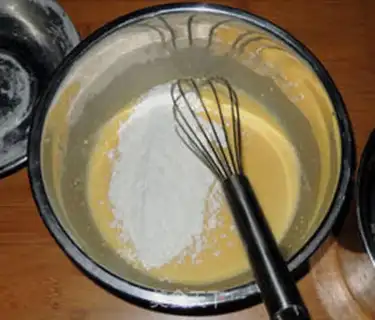
8
Plus the rest of the flour, the cross is evenly smoothed with yellow paste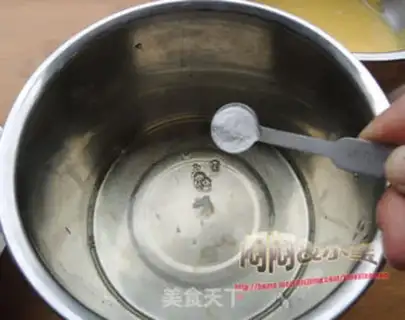
9
add small amounts of tower powder to the protein, and an egg-beater sets a low-speed loop. ps: if there is no turquoise, it can be replaced with a few drops of vinegar or a handful of salt. this is mainly to regulate the ph value of protein and to facilitate distribution。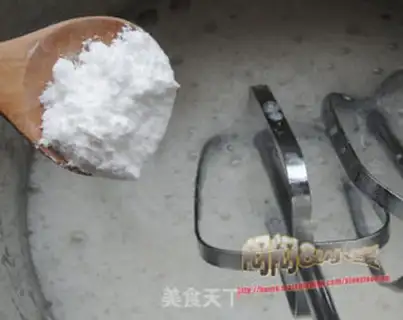
10
when punched in rough bubbles, a small spoonful of sugar (non-standard key) was added and the circulation continued in one set. in about 15 seconds, the second spoon of sugar will be added and the circulation will continue in one set. in about 15 seconds, the third spoon of sugar will be added and the circulation will continue in one set. about 15 seconds later, the fourth spoon of sugar (about one third of the 25 g sugar powder was left) was added, and a one-minute loop was continued in the first. ps: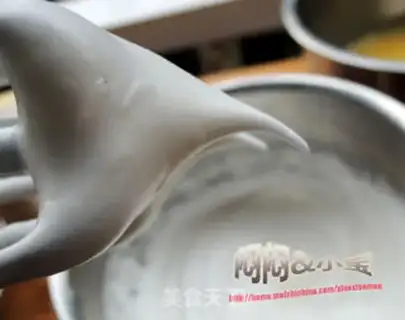
11
at the wet-haired bubble stage (long and bent angles), the remaining sugar continues to pass. ps: my distribution procedure is one minute in 1 — two minutes in 2 — and two minutes in 1 . it's a little slower, but the bubbles are very delicate, and the smaller the bubbles mix, the harder it gets。
12
(c) reaching the rigid bubble phase (short and hard angles) and stopping it. ps: shut up here and pull out the standard angles. in the same basin of proteins, the angles of different speeds are also different. in order to ensure that there is a more accurate test method, it is suggested that each time you pull a pointer, you do so as follows: when you turn off an egg-beater, you pull the egg vertically (not too fast), you get a more accurate angle。
13
Put a third of the protein in the yolk paste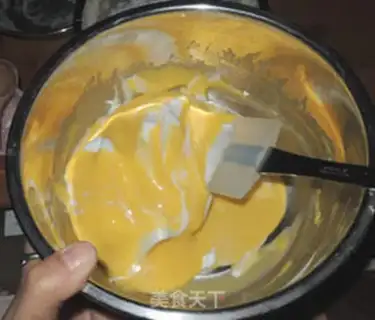
14
Slice it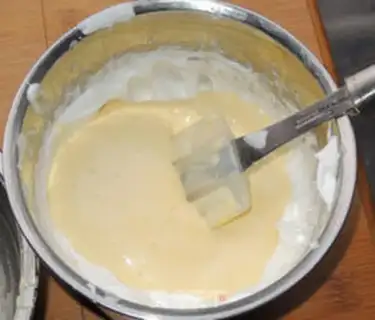
15
And then we'll put the mixed yolk paste back in the protein, and we'll cut it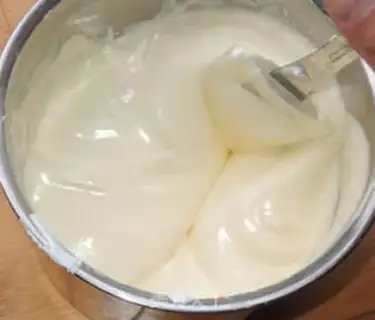
16
The mixed pasta is supposed to be thick and thin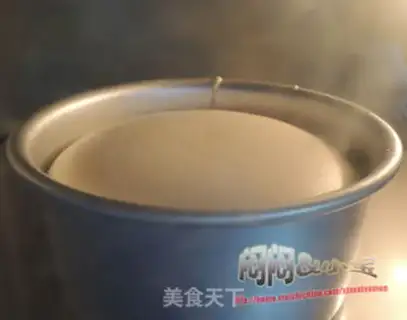
17
quick entry into the module, generating atmospheric bubbles, 130 degrees 55 minutes in the middle of the oven and 150 degrees 10 minutes. when the oven is out, the mold drops two or three times from a height of 10 cm (like an air bubble operation) and drops out of the freezer. ps: for different ovens, there may be a difference in the roasting time, and if the cakes that are baked at this time will collapse, please extend the roasting time by 130 degrees to find the most suitable way to bake themselves。Basic chili cake Make Tips
Chiffon cake sounds simple, but it is indeed a task that demands high standards for oven temperature, beating egg whites (dissolving sugar and the degree of beating), and mixing technique. If any single step is not executed well, it will result in the failure of the entire cake. Now, let's focus on these three factors:
1. Oven: The higher the internal height of the oven, the better the finished product. Since my oven has an internal height of 25.5cm, which is relatively low, the top surface easily burns under high heat. Moreover, the heating tubes are close to the food, so the actual baking temperature tends to be higher than the set temperature. Generally, ovens with an internal height over 30cm brown more evenly, the top surface is less likely to burn, and the temperature is more accurate.
Temperature Control: Different brands may use different technologies for temperature control. However, as far as I know, my oven's temperature control is achieved through a simple thermostat (there is no precise temperature sensor inside the oven). Consequently, after baking for a while, the oven temperature becomes 20-30 degrees higher than the set temperature, and I have observed that the bottom heat is more intense than the top heat.
This is the key issue behind my history of frustration: Chiffon cakes require a baking environment with high top heat and low bottom heat. If the bottom heat is too fierce, the cake will rise wildly and the surface will crack. However, it will collapse immediately after being taken out of the oven because the center cannot be fully baked.
The current solution is to place two baking sheets in the middle of the oven and bake at a low temperature, which has quite satisfactorily resolved the oven's inherent issues. Alternatively, you can use the water bath method by placing the pan on the bottom rack; I used this method to bake a yogurt chiffon cake. The air bubbles were fine and uniform, but the downside is that it is overall a bit moist, not as dry and fluffy.
2. Beating Egg Whites: This is absolutely a crucial step, as the quality of the beaten egg whites directly affects the quality of the cake. Why should sugar be added only after beating to coarse bubbles? Because adding sugar increases the viscosity of the egg whites, which is not conducive to beating. Therefore, beat at low speed until coarse bubbles form before adding sugar. It is best to add powdered sugar; if you really don't have powdered sugar, you can use fine granulated sugar or grind your own powdered sugar with a food processor (it must be ground finely).
Note: After each addition of sugar, you must beat at low speed until the powdered sugar (or fine granulated sugar) is completely dissolved before switching to medium speed and then high speed. Powdered sugar can dissolve completely after 15 seconds of low-speed beating, while fine granulated sugar requires about 30 seconds to 1 minute of low-speed beating to dissolve completely. As for the reason, my view is that the bubbles created by low-speed beating are finer. Beating at low speed after adding sugar is intended to create more fine and stable bubbles. If you beat at high speed from the beginning, adding sugar and beating will stabilize large bubbles, and finally