Homemade peanut sesame sugar
By VicentaLakin
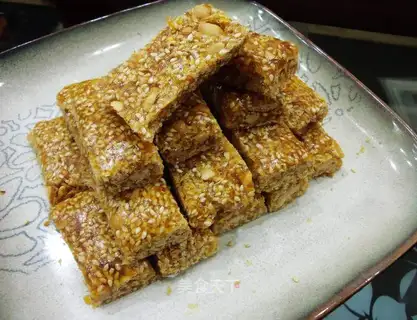
IT'LL BE NEW YEAR'S EVE IN THREE OR FOUR DAYS, AND EVERYONE'S COMING HOME. WE'RE ALSO VERY ACTIVE IN CLEANING UP OUR STOCKS. I WAS BORED LAST NIGHT, AND I GOT KNOCKED UP AGAIN. A PACK OF DRUNK PEANUTS - BOUGHT THE LAST TIME THE NET WAS DRY, THE PEANUTS OF SHANDONG WERE FULL AND BRITTLE. SOMETIMES THE CHICKENS ARE MADE AS INGREDIENTS, AND OCCASIONALLY THE LG EATS, FEARING THAT HE WILL BECOME TOO HOT TO TAKE OUT A SMALL PIECE OF IT AND THEN HIDES IT IN THE LOCKER AND FORGETS TO DESTROY IT. THERE'S A BAG OF WHITE SESAME, AND THERE'S A BAD THING THAT WE LIKE TO HAVE EVERYTHING IN THE KITCHEN, AND WE LIKE TO DO WHATEVER IT TAKES, FLIP AND COUGH AND COOK. THE RESULT OF THIS HABIT IS A LOT OF STUFF, AND THERE'S SOMETHING LEFT. THIS SESAME WAS BOUGHT ONLY ONCE FOR A SMALL AMOUNT OF OMELET, AND NOW LIE STILL. AND THERE'S A SMALL BAG OF SMELT. LOOK AT A RECENT COW ROLLER AND PEANUT SESAME SUGAR, AND TRY IT. AFTER ALL, WE'VE NEVER HAD DESSERT, WE'LL BUY IT WHEN WE'RE LITTLE, AND NOW WE'LL FIND OUT WHO'S BETTER. I DIDN'T KNOW THE PRODUCT WAS FINISHED, THE LG WAS SAVORY, OUR PEANUT SESAME WAS REAL, IT WAS ICE SUGAR, IT WASN'T AS GREASY AS WHITE SUGAR. IT'S EASY TO DO IT, TO PAINT IT, TO WATCH OUT FOR THE FIRE, EVEN IF IT'S MADE BY A ROOKIE, AND I DON'T THINK IT'S A FAILURE。
- sweetening
- skills
- three-quarters of an hour
- simple
Steps for Homemade peanut sesame sugar
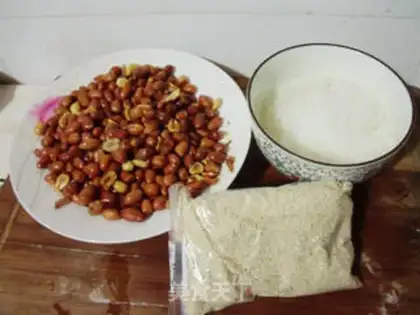
1
Raw materials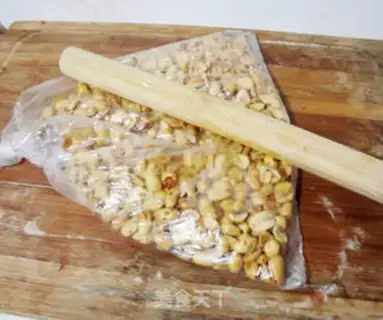
2
Remove peanuts from peanuts, put them in a bag and crush them with a cane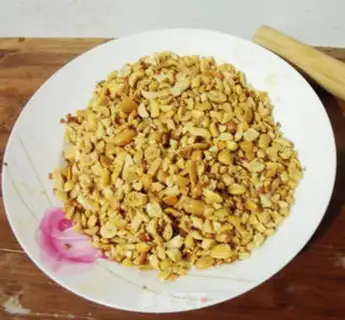
3
I've got peanuts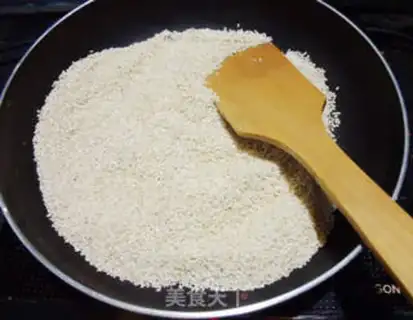
4
It's hot, it's hot, it's sesame, it's flipping with a little fire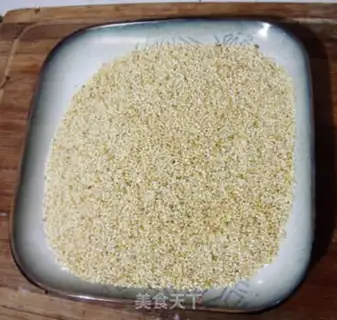
5
Good white sesame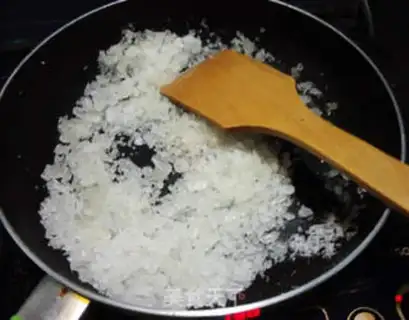
6
Sitting hot, putting in a little peanut oil, putting in a little bit of ice cream, a little fire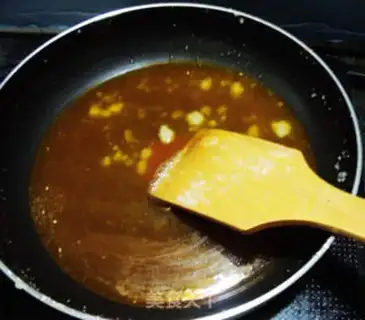
7
Scrambling the ice cream, turning it into thick syrup, and the color changes slowly to brown red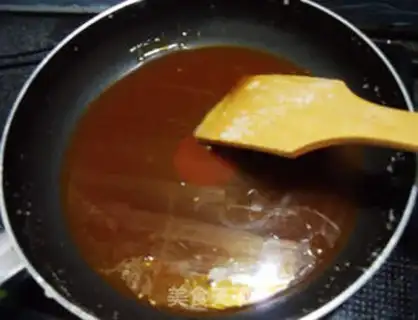
8
It's fried syrup. There's no white particles left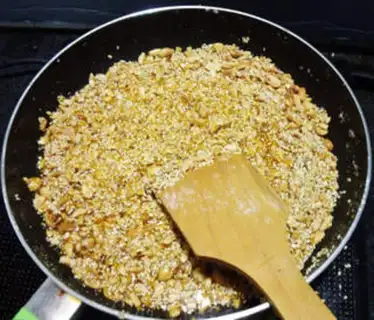
9
Quick into peanuts and super white sesame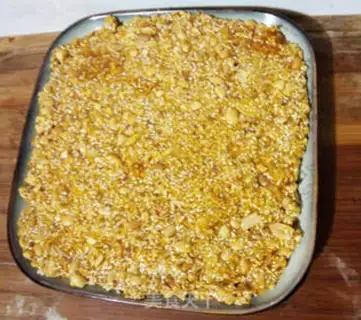
10
Take a flat-bed plate, put a layer of oil on the bottom, put in a mixed peanut sesame on the surface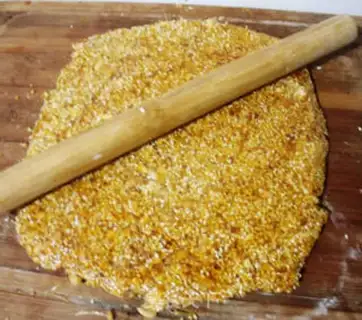
11
When the temperature comes down, it's on the plate at half-temperature, and it's pressed down with a cane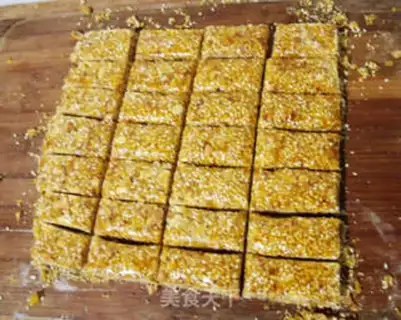
12
When you're done, cut the four sides with a knife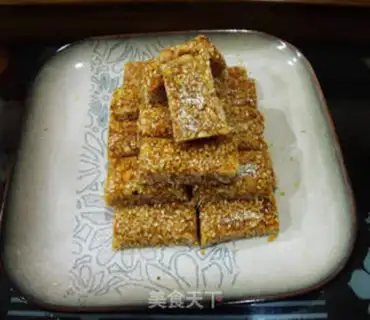
13
When it's cold, it's in the plateHomemade peanut sesame sugar Make Tips
1. If the peanuts are raw, stir-fry them until cooked before removing the skins. Since I used pre-fried plain peanuts, I simply removed the skins and crushed them. However, because the fried peanuts were oily and I didn't have a suitable sieve, the skinning process was actually quite troublesome. Stir-frying raw peanuts is more convenient; just control the heat so they don't get scorched and bitter. Also, don't crush the peanuts too finely, or you'll lose the texture. But if you don't crush them at all, the pieces will be too large, leaving too many gaps and preventing the mixture from holding together firmly.
2. If the white sesame seeds aren't very clean, be sure to sift them before stir-frying to avoid biting down on grit. Pay attention to the heat as well; stir-fry continuously over low heat until the surface turns golden yellow. If you fry them until they are too dark, they might taste bitter, and you won't be able to taste the fragrance of the sesame seeds.
3. Personally, I recommend using loose rock sugar for boiling, as health is important for homemade food, and it is relatively less likely to cause internal heat. Boil the sugar slowly over low heat, stirring constantly. Remember not to use high heat or lose patience and stop stirring, as this will cause the sugar to burn in the pot.
4. The mixture is very hot and sticky when it comes out of the pot. Get a square container and be sure to grease the bottom so it can be easily turned out later. I didn't have a square container in my kitchen, so I made do with a square plate. When rolling it out, don't let the temperature get too cold or it will lose its malleability; you can roll it out when it is still warm. The thickness is up to your personal preference. The rolling process also compresses the mixture firmly; once rolled, you can cut it. At this point, do not plate it immediately; let it cool and harden naturally before plating to avoid stringy bits between the pieces, which would look unsightly. Alright, that covers the main points. Let's get started!