pie skin egg tarts
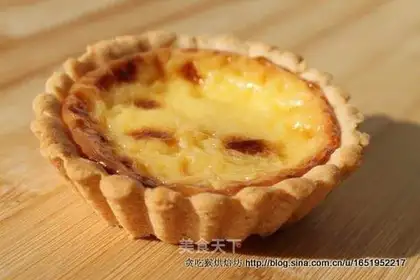
For egg tarts beginners, the biggest headache is definitely folding quilts with layers of meringue. Especially in summer, as long as the butter is taken out of the refrigerator, it will keep melting, keep melting... In the end, I wanted to touch it gently with my hand, but it would soften. A quilt might take a day to fold. This is simply scary for the "egg tarts" who want to eat it every now and then ~~ So the top priority is to find something that can replace the thousand-layer meringue while retaining the crisp taste. Hold the tender and smooth tarts. The pie crust recipes I searched online always felt that they didn't taste as crisp and loose as the thousand-layer meringue, but were as hard as biscuits. What I pursue is the ultimate taste that can not only remain the same and easily remove the mold, but also take a bite of the dregs! Therefore, after repeated trials and tests, the following perfect recipe was finally born that did not require folding quilts-pie skin egg tarts. It doesn't matter if you've never made egg tarts. Follow my instructions and take your time step by step. I promise you in the name of egg tarts, it is really super simple!
Recipe Recommendations
- low-gluten flour 100 grams
- butter 50 grams
- cream cheese 20 grams
- milk 70 grams
- light cream 90 grams
- powdered sugar 40 grams
- eggs of 2
- milk fragrance
- baking
- half an hour
- simple
Steps for pie skin egg tarts
1
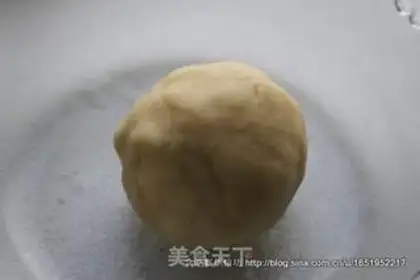
Leave butter and cream cheese to soften at room temperature until gently pressed with your fingers until they are soft but have not turned into a liquid. Sift the flour into the container, add the butter and cheese pieces, grasp the three with your hands until fully blended, and knead into a light yellow dough.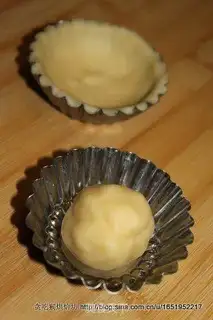
2
Divide the dough into eight equal parts, place it into eight egg tarts molds, and use your thumb to shape the tarts skin so that the flour adheres tightly to the molds.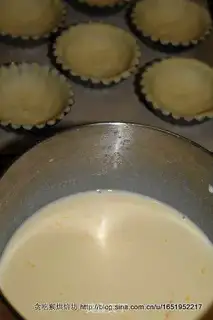
3
The tart skin needs to be placed in the mold for a few minutes. At this time, you can preheat the oven and heat it to 220°C, and start making tart water.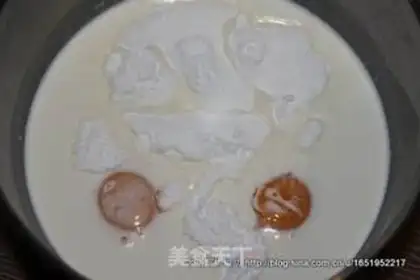
4
Mix the milk with the light cream, separate the egg yolk with an egg separator and add it to the milk liquid, then sieve in the powdered sugar and stir well to melt it completely in the milk.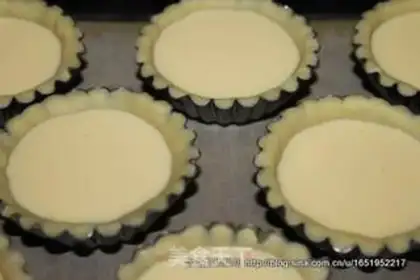
5
Take a clean sieve and place it above the tarts skin. Sift the tarts water into the tarts skin until it is 90 percent full.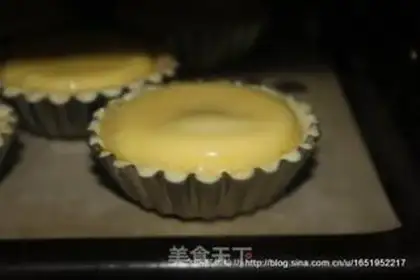
6
Put the egg tarts into the oven and start baking, at 200°C, medium layer, and heat up and down, about 25 minutes.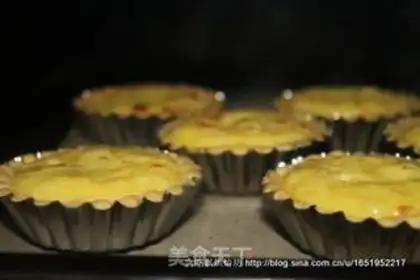
7
Depending on the performance of each oven, the baking time may vary. Remove and eat the egg tarts when they have caramel spots on the surface.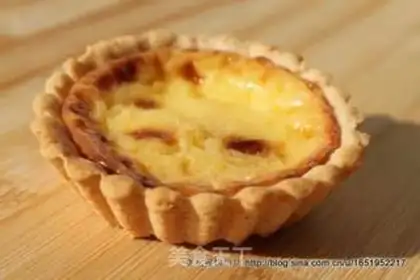
8
As long as the egg tart cools down a little, it can be removed. Hold the bottom of the mold with your left hand and gently knock it on the heart of your right hand a few times, and the egg tart will fall out by itself. How about it? It's easy!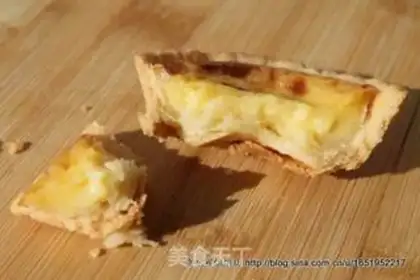
9
Take a bite, hey! Crispy on the outside and tender on the inside, with strong milk aroma, success ~!pie skin egg tarts Make Tips
1) To help the egg tarts brown easily, this time I used ordinary superfine sugar bought from the supermarket and ground it into powdered sugar at home; it's affordable and works great! Not only does superfine sugar dissolve quickly, but it also produces uniform and beautiful caramelized spots, which is exactly the result I was looking for. I highly recommend it to everyone~!
2) When pouring the custard filling, remember to strain it; otherwise, large impurities (such as bits of egg yolk) will seriously affect the texture, making the filling less delicate. Everyone loves that smooth and silky texture, don't they?
3) Set the oven preheating temperature slightly higher than the actual baking temperature to compensate for the heat lost when opening the door to put the egg tarts in. The actual baking process doesn't require such a high temperature, so be sure to remember to turn the temperature back down~.
4) To prevent the bottoms of the egg tarts from puffing up, remember to prick a few holes in the bottom of the tart crusts with a toothpick before pouring in the filling.