Whole wheat pine toast
By VicentaLakin
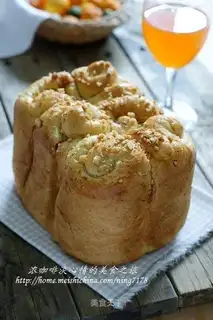
IT'S BEEN A WHILE SINCE I'VE BEEN HAVING A BAD TIME WITH THE BAKER, AND I'VE FOUND OUT THAT IF IT'S WORKING WELL, THE TOAST IS REALLY NOT MUCH DIFFERENT FROM THE OVEN TOAST, LET'S SAY TODAY'S TOAST, WHETHER IT'S IN SHAPE OR TASTE, IT DOESN'T LOSE THE OVEN TOAST, IT'S SOFT AND SOFT, AND IT'S VERY PRETTY ON THE SIDE, AND IT DOESN'T LOOK SO LIGHT AND UGLY. BUT THEN AGAIN, THERE'S A DIFFERENCE BETWEEN A TOASTER AND A TOASTER. IT'S NOT THE SAME AS A TOASTER. IT'S EASIER TO HEAT A TOASTER. IT CERTAINLY HAS AN IMPACT ON THE TOASTER. SO THERE'S A DIFFERENCE IN THE BREAD THAT COMES OUT OF THE TWO MACHINES, AND THERE'S NO NEED FOR TOO HARSH A TORTOISE TOAST. OH, MY BAKERY IS EASTING DL-100, AND IT'S VERY POWERFUL, IT'S GOOD, IT'S GOOD, IT'S VERY QUICK, AND THE WHOLE LASAGNA IS ALWAYS WRAPPED IN A STICK, WHICH IS MY FAVORITE POINT. THE DIFFERENT BRANDS OF THE BAKERY AND THE DIFFERENCES IN PERFORMANCE AND POWER VARY, AND PLEASE MAKE APPROPRIATE ADJUSTMENTS TO THEIR OWN MACHINES. LOOKS LIKE IT'S NEW YEAR'S EVE, AND IT'S A GOOD COLOR。
Recipe Recommendations
- high-gluten flour
- water 125 grams
- yeast 6 grams
- salt 3 grams
- skim milk powder 7 grams
- whole wheat flour 32 grams
- sugar 32 grams
- unsalted butter 30 grams
- salad dressing appropriate amount
- meat floss appropriate amount
- peanuts appropriate amount
- egg liquid appropriate amount
- milk fragrance
- baking
- several hours
- ordinary
Steps for Whole wheat pine toast
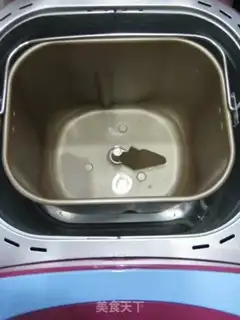
1
Put 125 grams of water and 3 grams of salt in the bread truck barrel。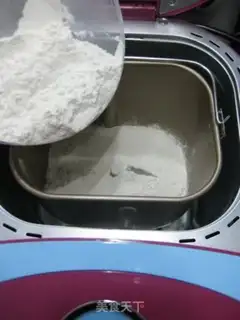
2
Then put 7 grams of milk powder and 219 grams of flour。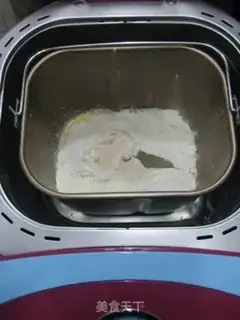
3
Dig a shallow little pit in the middle of flour, and then put 6 grams of yeast in the pit, beware that the yeast do not meet sugar, salt, so as not to affect the fermentation effect。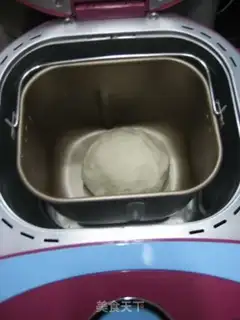
4
Commencing the "Choose-Choose Program" with five to eight minutes of mixing, and a noodle group, with a lid on the machine and room temperature for fermentation (I have a temperature of 22-23 degrees and a fermenting time of approximately 2 hours)。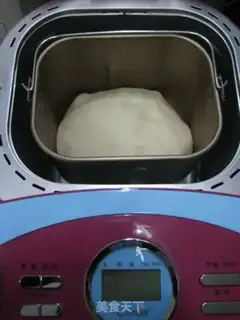
5
The fermentation is twice as big as it used to be。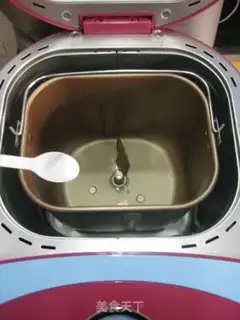
6
Sixty-three grams of water from the main noodles were poured into the bread-crumbs, and a further two grams of salt were placed in any corner。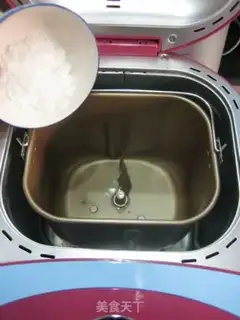
7
Put 32 grams of sugar in the other corner。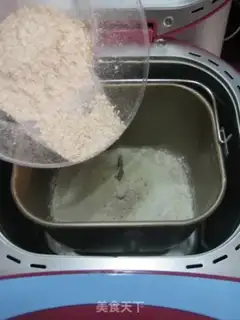
8
Powdered to 63 grams of high-strength powder, 10 grams of milk powder, 32 grams of whole wheat powder, and the powder better cover up the liquid。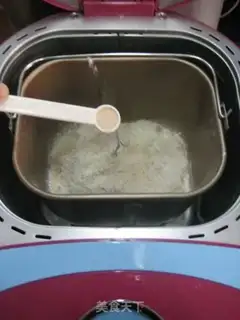
9
Dig a shallow little pit in the middle of flour, and then put 1 gram of yeast into the pit, beware that the yeast do not meet sugar salt in order not to affect the fermentation effect。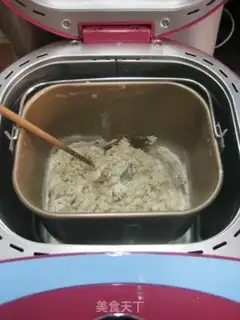
10
Smash it slightly with chopsticks, mixing the material to the point where there is no dry powder, and preventing the spilling of dry flour when the bread machine is activated。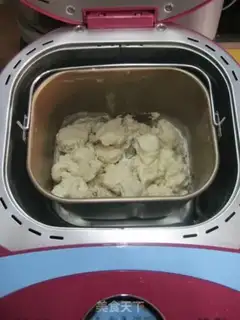
11
It's a small piece of Chinese pasta in a bread can。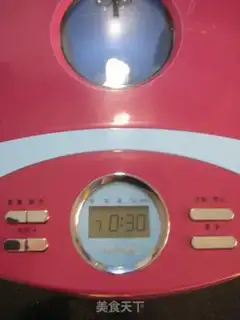
12
Commencing the "and face" of the bread machine, conducting the first step and the first phase, with the machine defaulting for 30 minutes。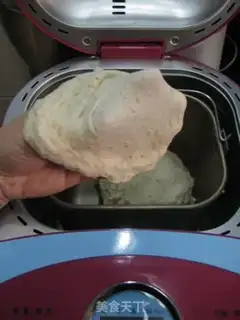
13
After 30 minutes of lasagna, the noodles have been able to pull out thinner film and get butter。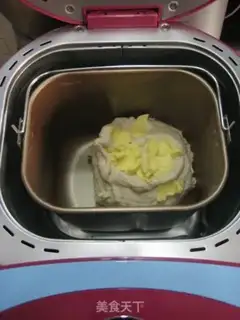
14
Softened butter is torn into small pieces, placed in a bakery, re-started the "mixed" program, continued to rub its face for 10-15 minutes and stopped the machine。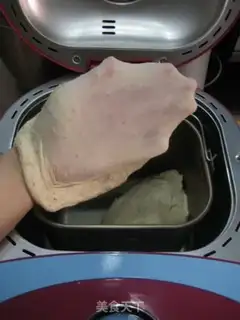
15
The mask was inspected, and at that time it had reached a full stage and it was easy to pull out the mural。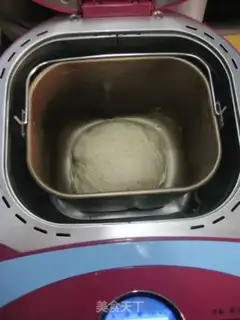
16
Noodle rolls, machine lids, two fermentations. I'm room fermentation, at 22-23 degrees。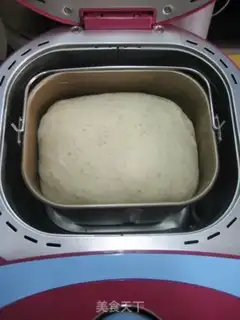
17
The pasta fermented twice as big。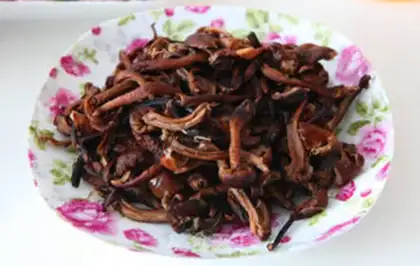
18
Noodles are removed, ventilated, divided into six equals and covered with flavour flavour for 15 minutes。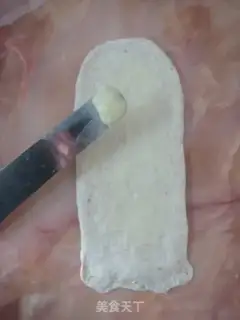
19
It grows the squares, wipes the salad sauce, leaves about a centimetre in the four sides, and can fold。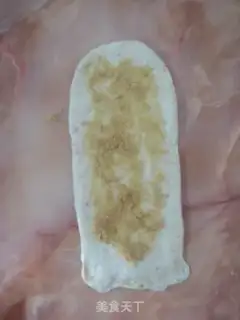
20
Put pine on the salad sauce, rub it。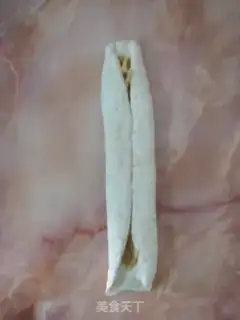
21
And each side folds, and presses。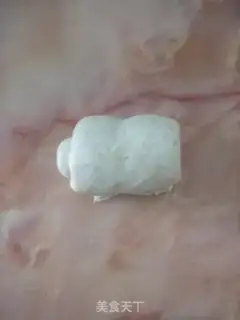
22
Then roll it up, squeeze it around, and then make another five。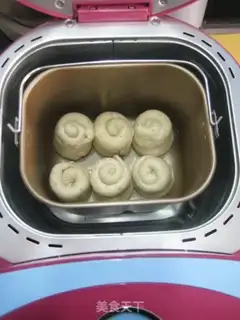
23
The finished rolls are placed vertically in the breadbox drums, covered with a protective film or wet towel, covered with a machine lid, and fermented in plastic form, i.e., last fermentation, i.e., room warm fermentation, my home at 22-23 degrees. If the temperature is too low in the home, the "baking" procedure for the baker can be started for about 1-2 minutes, with a proper heating of the bread drum, which can accelerate the rate of fermentation。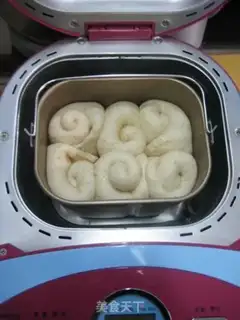
24
When the fermentation is twice as large, the bread can is removed。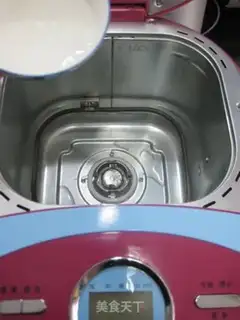
25
A bit of water is sprayed in the bread machine, which can increase the humidity of the bread so that the baked bread skin is not dry。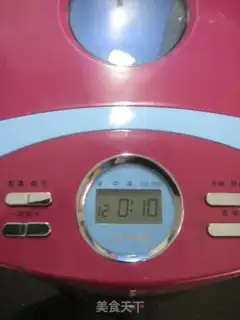
26
Activate the "baking" function of the baker, set for 10 minutes, preheating the toaster, note: the toaster is empty。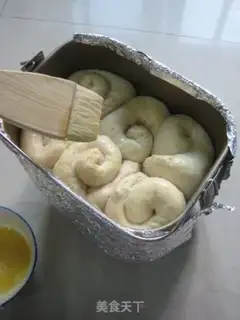
27
The inclusion of tin paper on the outside of the bread drums, the light side of tin paper, could solve the problem of tin paper on the outside of the baker, the light side of tin paper on the outside of the bread drum, and the hard skin of the baker and the darkness of the skin on the top, which is a pure problem for all branded bakers. Then they brushed egg fluid on the face of the bread。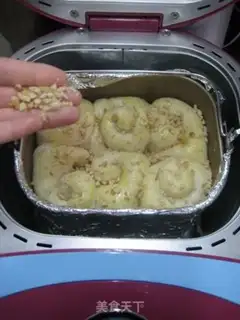
28
Put the bread bucket in the pre-heated van and then throw peanuts。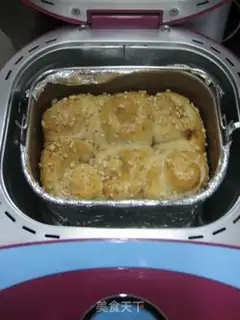
29
COVER UP THE MACHINE, START THE "BAKING" PROGRAM, SET FOR 45 MINUTES, AND BURN IT TO THE MACHINE'S DEFAULT "MIDDLE", AND AFTER 45 MINUTES, THE MACHINE WILL MAKE A "SNIFF" SOUND, BAKE THE BREAD, REMOVE IT, AND COOL IT UP ON THE GRILL。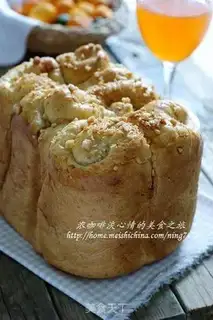
30
You look good。Whole wheat pine toast Make Tips
When making bread in a bread machine, aside from the flour weight and recipe—which affect the height and shape of the loaf—manual intervention is also a very important step. Although the "one-touch" mode is simple, convenient, fast, and produces a finished product with excellent texture, it is still slightly inferior to bread made with manual intervention. Therefore, if time permits, I recommend choosing manual shaping, fermentation, and baking. Bread made this way in a bread machine is almost indistinguishable from oven-baked bread, and some are even better.
However, please note that my Donlim DL-100 bread machine has a 1-minute kneading and degassing process between 1:41 and 1:40. If you are manually shaping the dough but using the "one-touch" mode, you must avoid this 1-minute stirring process; otherwise, your shaped dough will be churned into a mess. You can use this minute to take the dough out for manual shaping.
Regarding the amount of flour, for my bread machine, I personally feel that 320g–350g is suitable for the "one-touch" direct method. If you are making it in steps with manual shaping, or using the sponge method, 300g of flour is more appropriate. The resulting bread will be of a moderate size and good appearance. If the amount of flour is too high, the baked bread will press against the machine's lid, making both its shape and color far from ideal.
If using the "one-touch" standard mode, it is best to knead the dough for 10–15 minutes in advance. Added to the machine's default kneading time of 25–30 minutes, the total kneading time is 45 minutes. With this duration, the dough can easily stretch into a "gluten film" (windowpane), which is the optimal state for making bread. You can leave other operations unchanged and use the machine's default program.
I will say it again: bread machine brands, performance, and wattage vary, so please make adjustments based on your own machine's characteristics. You don't necessarily have to follow my method exactly, unless your machine is the same as mine. I also welcome friends who enjoy making bread machine loaves to communicate with me more; let's learn from each other's strengths to create bread that is perfect both inside and out.