walnut banana cake
By VicentaLakin

The square came from the Book of Baking, but I turned butter into olive oil, healthier, softer and sweeter products and more delicious walnuts。
Recipe Recommendations
- whole wheat flour 35 grams
- whole egg 40 grams
- low powder 130 grams
- ripe banana art. 3
- walnut kernel appropriate amount
- fine sugar 75 grams
- salt 1 gram
- olive oil 110 grams
- baking soda powder 1 gram
- baking powder 2.5 grams
- sweetening
- roast
- three-quarters of an hour
- ordinary
Steps for walnut banana cake
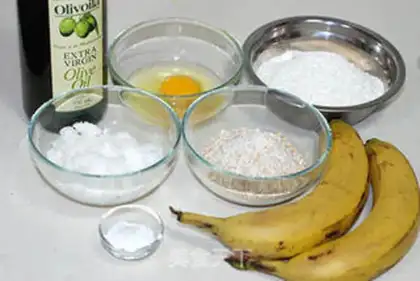
1
Material preparation
2
We're going to get olive oil, full eggs, sugar, salt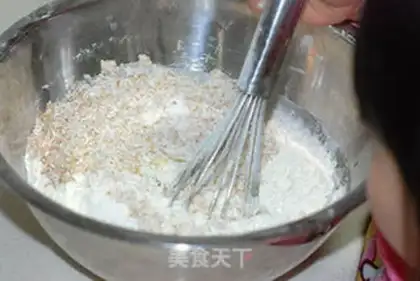
3
(b) To add low powder, powdered powder, and small soda powder to the sift and then to the whole wheat flour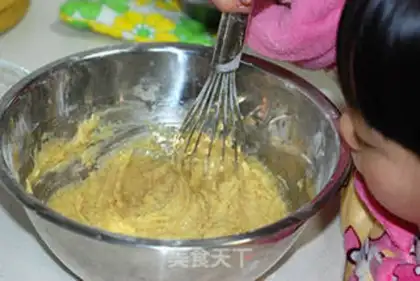
4
Slow mixing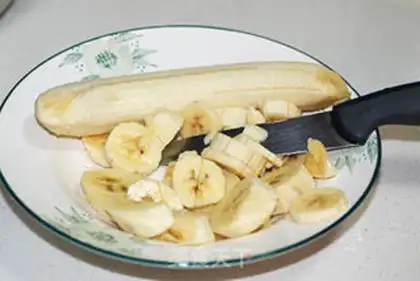
5
Bananas are removed from the skin and sliced with a spoon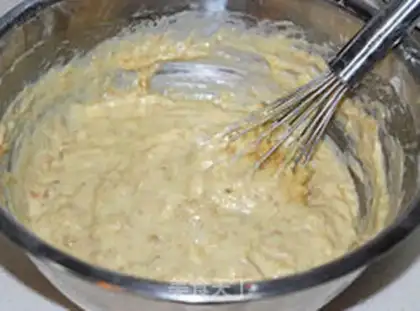
6
将香蕉泥加入面糊内,用Slow mixing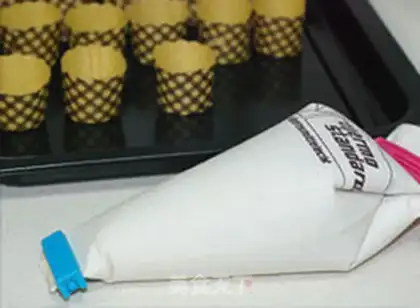
7
The pasta is loaded into a larger-calibre bouquet and squeezed into a cake cup full of seven cents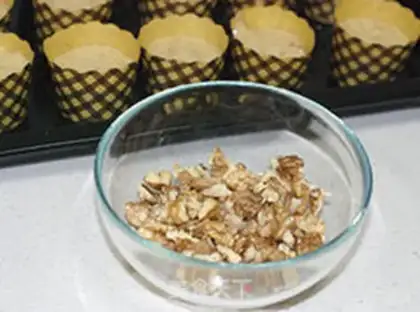
8
I'm not sure what I'm talking about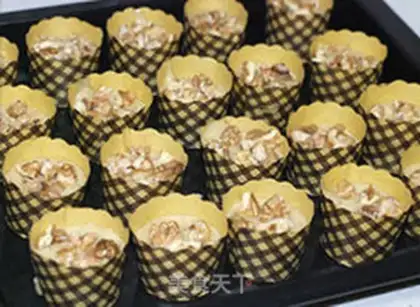
9
And evenly spread in the middle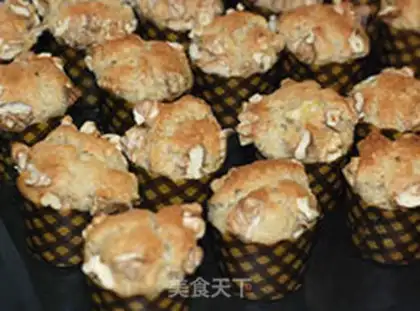
10
The oven is 170 degrees preheated and 25 minutes in the middle。walnut banana cake Make Tips
1. If you don't have whole wheat flour, you can add an equal amount of cake flour; my finished product photo also doesn't contain whole wheat flour, and the step photos were taken when I made it again later. The texture didn't feel much different between the two times; 2. I suggest cutting the walnuts with a knife; my hands actually hurt from breaking them by hand. Splitting a half walnut into four pieces is enough. Actually, putting in a whole one is fine too; it just turns out looking different; 3. Do not put too much baking powder and baking soda; otherwise, the texture will be too loose and not taste good; 4. Also, I used small paper cups with a diameter of 3.5 cm, so the baking time was relatively short. If your paper cups are larger, the baking time needs to be extended and adjusted accordingly. Basically, when they are basically colored and pressing the center of the top feels firm enough not to collapse, you can take them out of the oven.