Homemade skin
By VicentaLakin
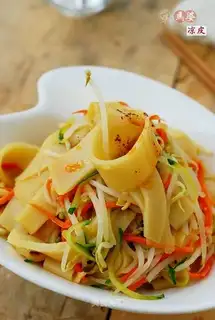
Last time it was cold skin, it was popular, but the wash was annoying, and it was difficult to recommend it to colleagues. To be honest, my hands and neck are sore every time I wash them. My friends from the west told me that many of them were not to wash their faces, and told me of the concrete steps that had been taken and that they had finally had a chance to try today. The difference between the two skins is not specific, it's both strong, it's more transparent to wash the face, and it's even stronger to eat the skin without washing the face。
Recipe Recommendations
- ordinary flour 150 grams
- salt 2 grams
- carrots appropriate amount
- cucumber appropriate amount
- mung bean sprouts appropriate amount
- soy sauce appropriate amount
- balsamic vinegar appropriate amount
- garlic cloves appropriate amount
- chili oil appropriate amount
- sesame oil appropriate amount
- peanut oil appropriate amount
- slightly spicy
- steamed
- ten minutes
- ordinary
Steps for Homemade skin
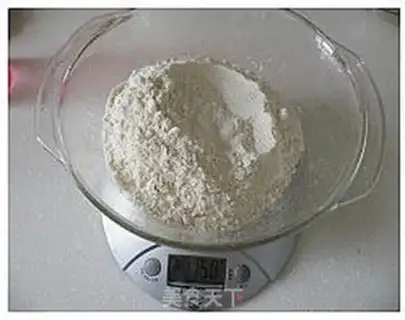
1
Flour 150 grams, but it's as big as nine inches of pizza, six。
2
Two grams of salt。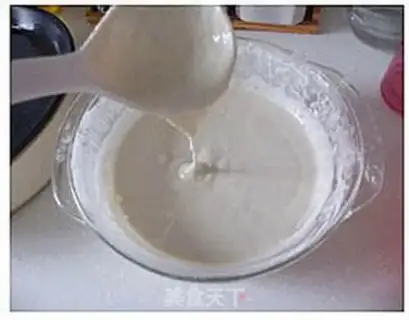
3
I'll add about 200 grams of water, turn it into a moist, and I'll mix it with an egg-beater, and I'll mix it with water, so it can flow in straight lines, but not too thin。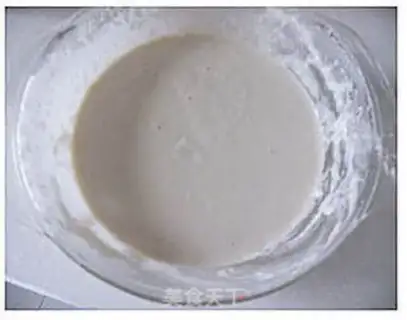
4
Hold still for more than an hour. ♪ Ignoring the end of the wall, I'm lazy to scrape with silicone ♪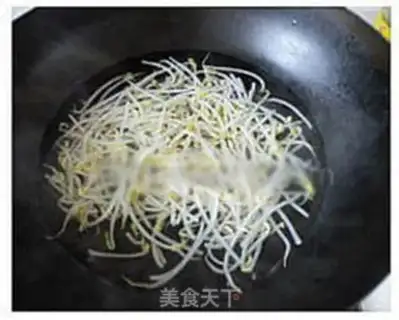
5
The green bean sprouts up and out。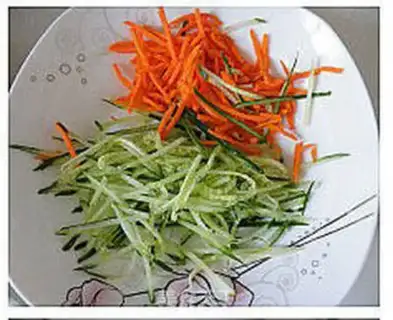
6
Carrots and cucumbers wash the silk。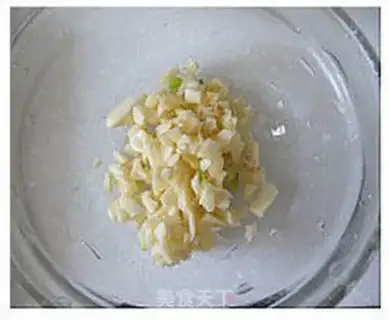
7
Garlic cleavage。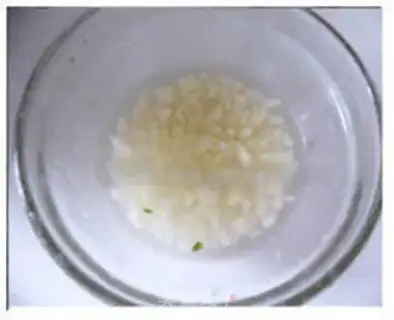
8
Garlic with a little cold water soak, it's enough without garlic。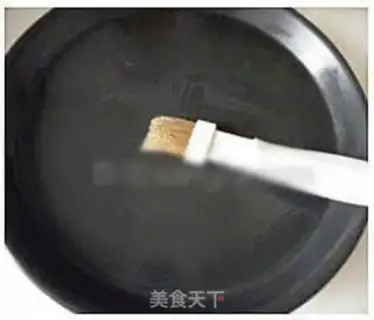
9
The steam pans are boiled and flatbed with thin oil. Those without a flat plate can put oil on their tatters。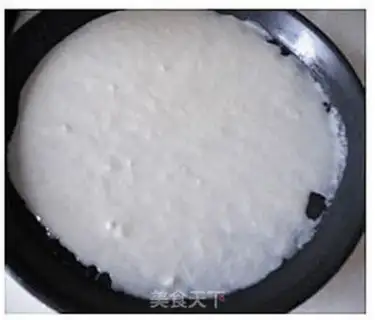
10
It's just a spoon, and it's all covered up, and if you want to make a thick spot, you're just a little bit too thin。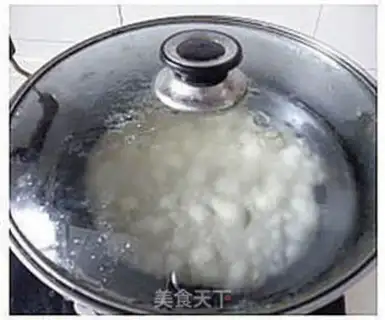
11
The steam pot fires for two minutes and the bubbles can be seen。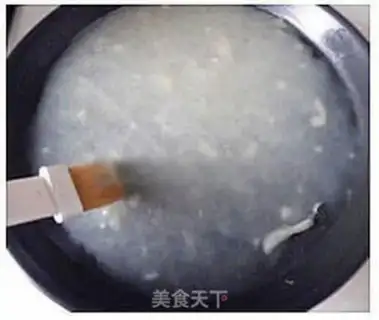
12
Take out a plate, sit in a cold water bowl, and my plate is shallow, and I'm afraid to get in, and I'll squeeze it with a towel to the pipe, and it's hard to film and ignore. A layer of oil on the cold skin surface to prevent adhesiveness。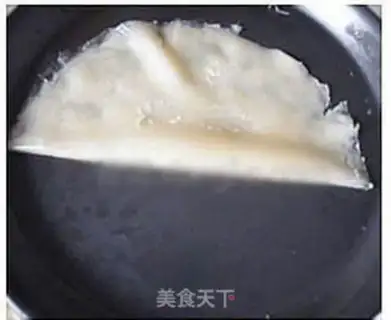
13
Uncover the skin。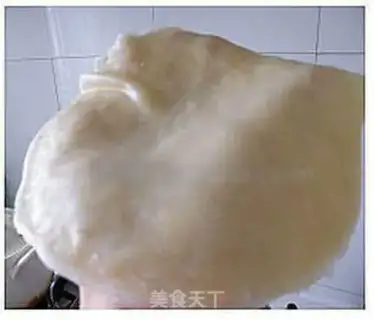
14
Multiple layers, this is four。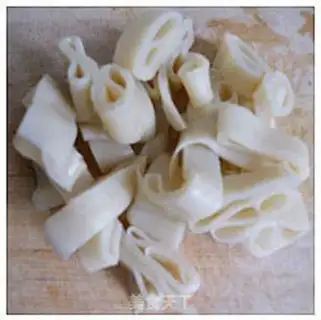
15
Cool-skinned, coarse self-decided。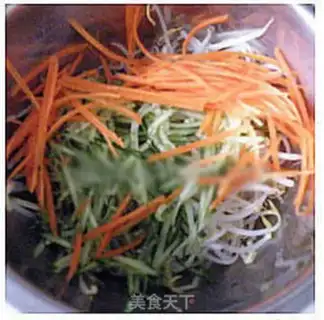
16
Green bean sprouts, cucumbers and carrots in the basin。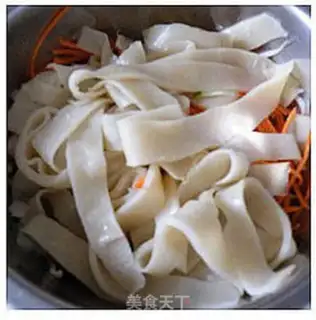
17
Put it in the skin。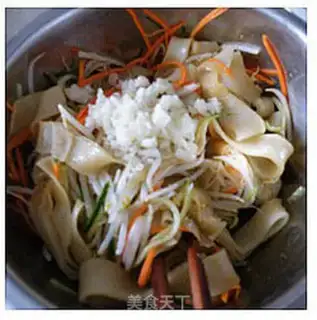
18
Breathing, vinegar, oil, salt and garlic (with garlic). And when you put it in the plate, it's hot。Homemade skin Make Tips
A few tips:
1. Do not use any special flour; the more ordinary, the better.
2. Add salt when mixing the batter to increase its elasticity and prevent it from crumbling during steaming.
3. The batter should not be too thick or too thin; when scooped up, it should flow smoothly rather than rapidly.
4. The mixed batter must rest for a while; otherwise, the steamed result will turn out like a tough wrapper.
5. Brush oil on every plate before steaming, and again after steaming. Do not use too much oil, otherwise the batter will slide and spread unevenly.
6. After steaming, soak in cold water or run cold water over the bottom of the plate to make it easier to peel off.