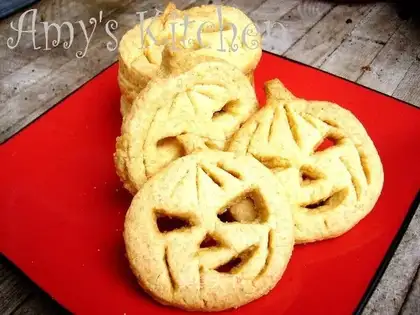
Halloween is coming, and children are going to make trouble from house to house again asking for candy and cookies. It's quite interesting to make trouble this once a year. This year I was thinking about making some cute cartoon cookies for these little ghosts. After visiting all our kitchen stores, large and small, I couldn't find any interesting cookie molds-I was just thinking about finding some little ghosts or little pumpkin-shaped ones that are close to Halloween! In the end, there was no one! What's even more annoying is that a store owner gave me a rabbit-shaped cookie mold. Although I am a foreigner, I can tell that rabbits are used for Easter...
So I decided to design it myself. You don't need any molds to make this Halloween grimacing pumpkin cookie. You can do it with a cup and a knife. These two things are definitely available in every family! Convenient and affordable, and the effect is not bad. I guess these cookies will be snatched away before Halloween...
Halloween Ghost Face Pumpkin Cookies
Recipe Recommendations
- low-gluten flour 300 grams
- eggs in 1
- sugar 50 grams
- sweetening
- baking
- an hour
- ordinary
Steps for Halloween Ghost Face Pumpkin Cookies
1
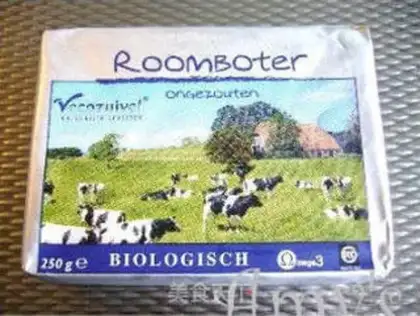
200 grams of natural vegetable butter.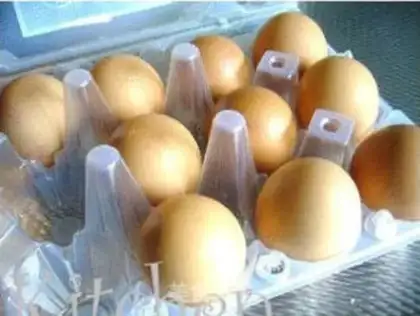
2
Eggs.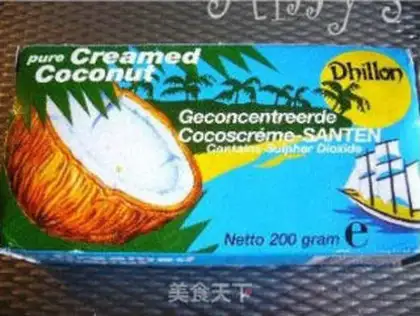
3
Solid coconut milk.
4
Low-gluten flour.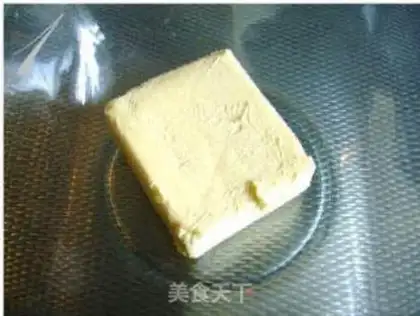
5
Melt butter at room temperature or heat over water.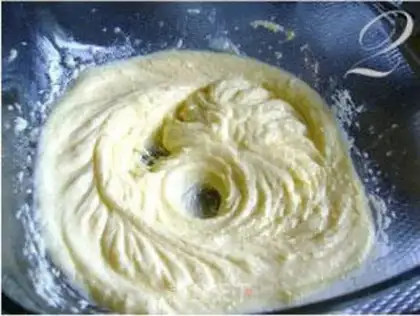
6
Add sugar and stir.
7
Beat the eggs into egg liquid.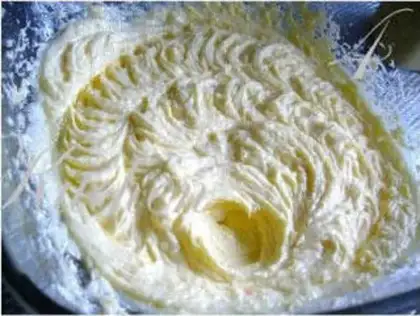
8
Add the butter and continue beating.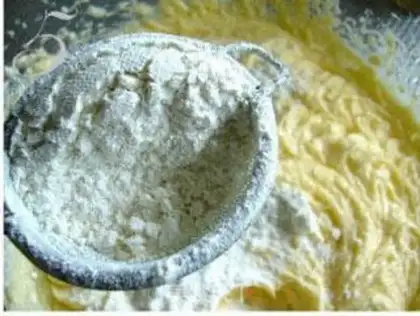
9
Sieve in the flour, chop the milk cubes, add them, and knead them into a ball.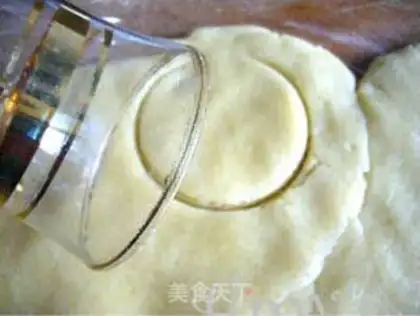
10
Roll out the butter dough into slices on plastic wrap, cover it with plastic wrap, and chill in the refrigerator for half an hour.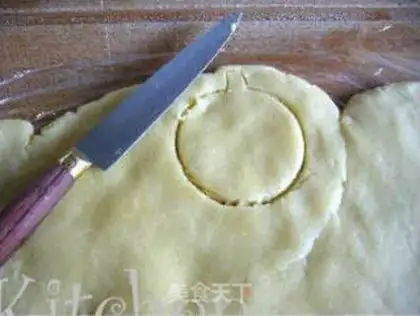
11
Use a cup of the right size (you can make it big) and press down on the butter dough sheet, but not all of it, leaving a small gap for the pumpkin handle.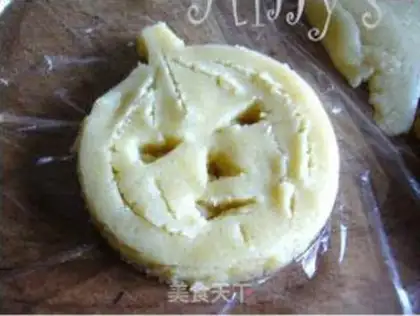
12
The small knife cuts the pumpkin handle and removes the entire "pumpkin"; cuts the eyes, nose and mouth on the "pumpkin", and then draws the lines on the pumpkin.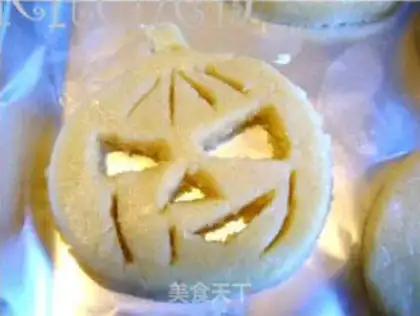
13
Put it on a baking sheet, and pay attention to stretching the carved part as large as possible with a knife, because the biscuits will expand during the baking process, and if you have "small eyes", you will not be able to see it when you are baked; the biscuits are very soft at this time, so when placed on the baking sheet, it will be slightly stretched to both sides, more like a pumpkin shape; finally baked, preheated the oven at 165 degrees, and baked for 30 minutes.