Hokkaido toast
By VicentaLakin
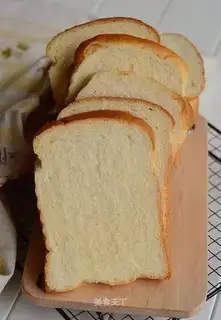
The classic Hokkaido toast, which is rich in milk, has the same love of all the friends who make bread, so that the classic toast, which is the most common toast I've ever made on my journey of bread, has always been loved by my little treasure, the baby is milk-controlled, and the sweet toast, which is so full of milk, has always been preferred. This is a classic toast, which is compared to a later milk-refining toast, both of which are toast that the milk control can't give up. This time, I try to put together two toasts, so that the classic toast has a new taste, and the effect is rather good, with a part of the cream replaced with milk concentrate. The milk tastes more fragrance. The conversion of the Chinese Hokkaido approach into a direct one, the organization that comes out is quite good, very small, very soft, and more time-consuming, but the product that comes out is definitely not the Chinese approach。
Recipe Recommendations
- high-gluten flour 250 grams
- milk 80 grams
- condensed milk 35 grams
- light cream 30 grams
- protein 35 grams
- salt 3 grams
- sugar 40 grams
- butter 20 grams
- yeast 4 grams
- sweetening
- baking
- several hours
- ordinary
Steps for Hokkaido toast
1
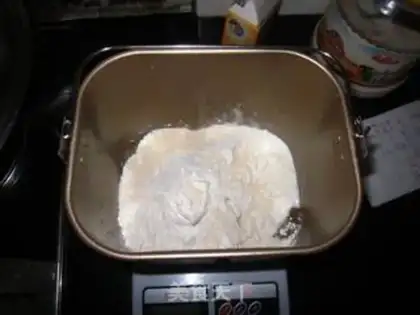
Bread materials, other than butter, are placed in a first liquid and then powdered drum。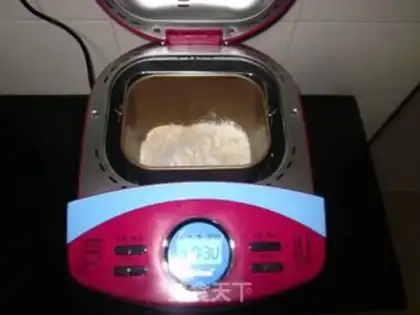
2
Put the stuffed bread bucket in the toaster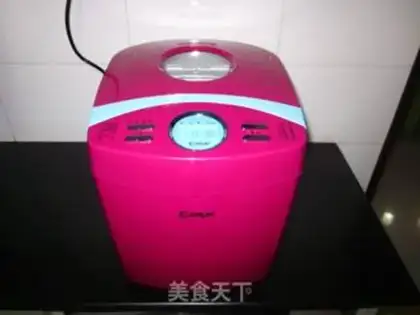
3
Select the procedure for standard 1 bread, select 750 grams, then activate the bread machine, automatically rub its face for 20 minutes, and then press the starter and stop it.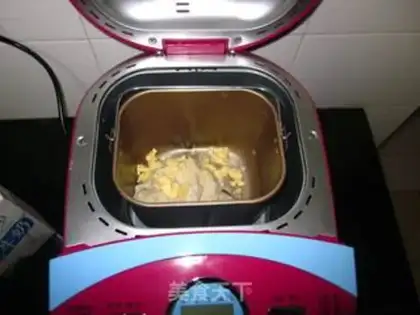
4
Add butter and then choose again the procedure for the 8-square group, activate the bread machine and allow it to rub its face again for 30 minutes。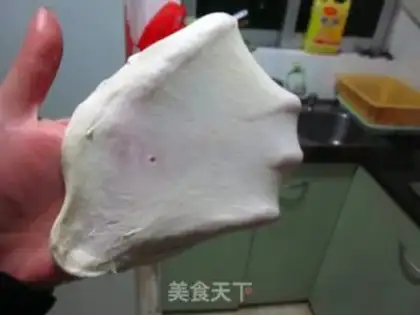
5
After 50 minutes of lasagna, it's pretty solid.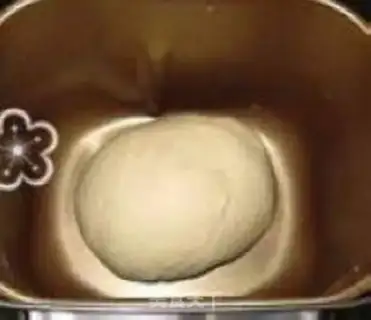
6
And then take off the toaster's mixer, and you don't have to worry about it at all. You're busy, and the toaster's running an hour and 10 minutes of fermentation。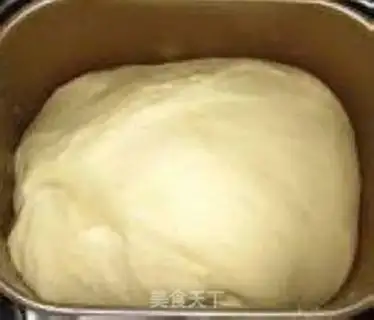
7
One hour and 10 minutes later, the fermentation process is complete, and the bread opportunities are ticking, reminding you that it is done. When the fermentation was completed, the noodles rose to 7 full of bread drums。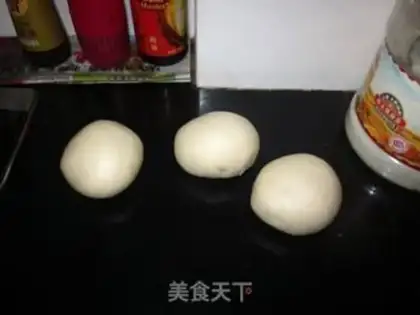
8
Scratched noodles split into three equals, rolled round and left loose for 15 minutes。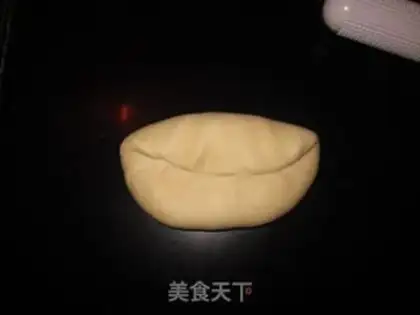
9
When it's loose, it's light-pressed, it's elliptical, it folds one third down.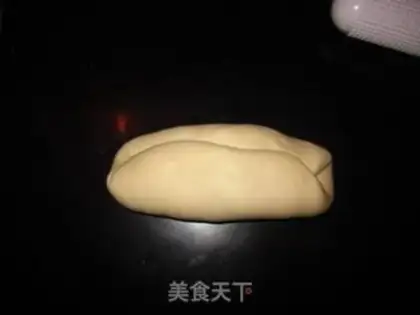
10
And a third of the bottom one up.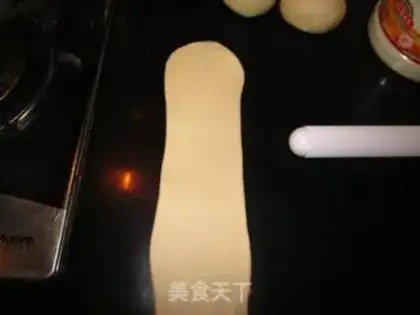
11
And then the folded noodles rotated 90 degrees, and the tongue grew.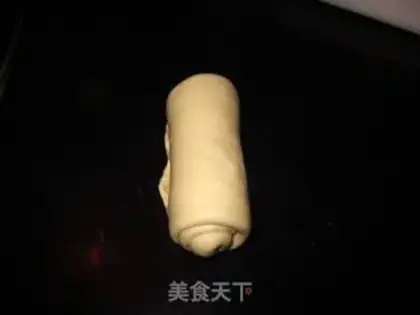
12
On the bottom of the thin, and roll down from above。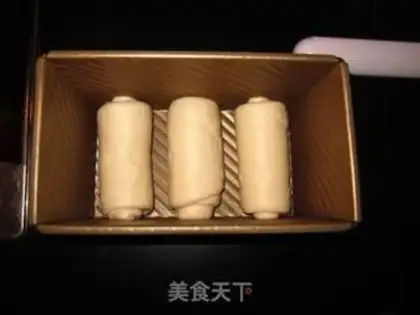
13
Put all three of them together and put them in the toast module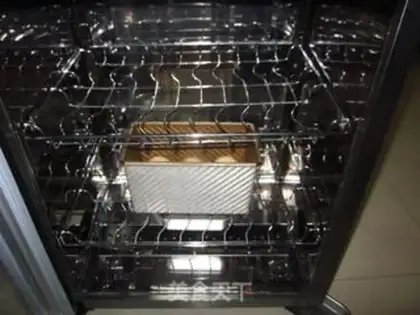
14
fermentation box 36 degrees preheat.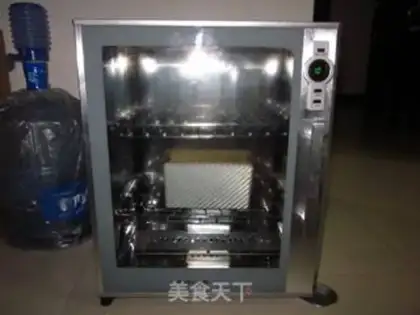
15
Put in a glass of warm water.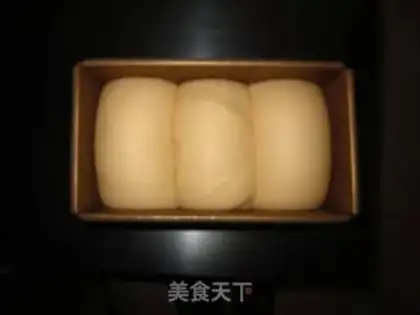
16
The fermentation looks like an hour to an eighth.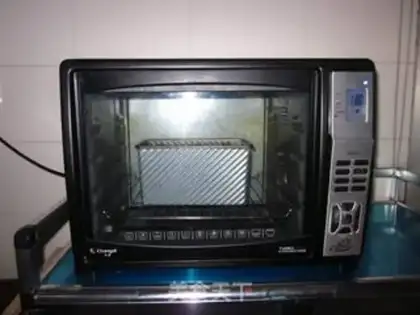
17
Fire on the oven, 180°C preheat. Put the toast on the bottom.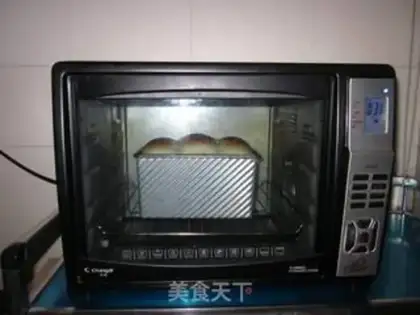
18
It'll be 38 minutes on the grill. I'm glad to see toast growing up healthy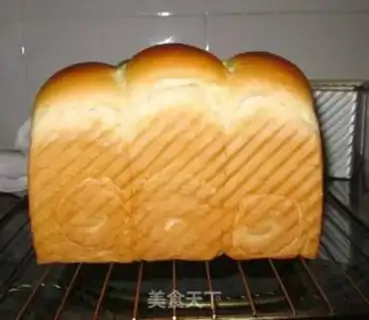
19
Once out of the oven, the mold is removed and stored in a fresh bag when it is on the grill to a mild temperature。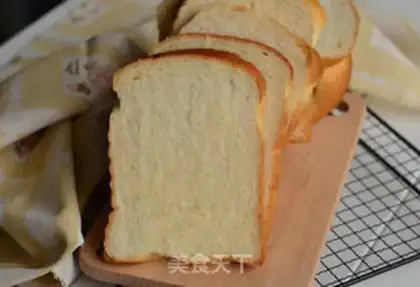
20
Slice when you eat.Hokkaido toast Make Tips
1. Bread machine kneading: as long as the recipe is correct, 50 minutes is absolutely enough to knead a perfectly suitable dough.
2. The bread machine's fermentation temperature is very suitable for weather around 25 degrees; it will be ready in over an hour. However, if the temperature is lower than your local climate, you need to let it ferment longer. If the time is up but the dough feels less than 70% full, don't worry and don't turn the machine back on. Just use the residual heat to let it ferment for another half hour, and it will reach about 2.5 to 3 times its original size.
3. Be careful when shaping; the dough will come out neat and beautiful, and the height after baking will be consistent.
4. A standard fermented dough looks smooth and feels elastic. For the first fermentation, press a small hole with your finger; if the hole doesn't shrink or collapse, it is ready. For the second fermentation after shaping, press lightly with your finger; if it bounces back elastically, it is ready.
5. Don't put the bread loaf in a preservation bag until it is completely cooled. Put it in the bag while it is still slightly moist, about the same temperature as your hand. We want to use the residual heat to keep the surface of the bread soft.