Milk and rice toast
By VicentaLakin
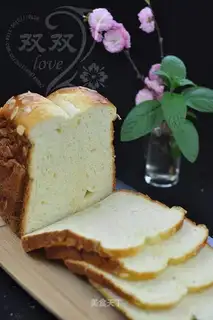
The first known rice bread was in the Korean play King Bread King Kim Drea, where he saved the factory by adding to the bread rice that Koreans normally love and producing it. Watching television stimulates human potential, when it is aired, someone learns from the plasticization of rose blossoms, and that is why it's so overwhelming. Rice bread, which I have long wanted, imagines how the bread, which is so divine, can be so popular that it captures Koreans and saves family businesses. With such curiosity, the doubles first made the leftovers from their home. The rice bread was found to be unique to him, especially the rice bread made out of white rice, which, at first glance, was no different from ordinary bread, but which was clearly felt by the grain. The role of rice is somewhat similar to that of mid-twilight noodles, which keeps bread wet and soft and slows ageing. When it's cold, wrap it in a bag, wake up the next day and find the bread wetter than the normal version. See those holes? There's a fat little grain of rice in it. The greater the hardness of the rice, the higher the integrity of the grain after it has been rubbed, the greater the hole. In the middle of the night, hard doppelganger rice is hard, so the taste is more visible and it looks a little rougher. If it was not for the consumption of leftover rice, it would be much better to replace it with fresh steamed rice。
Recipe Recommendations
- high-gluten flour 300g
- rice 120g
- milk 160g
- milk powder 15g
- white sugar 40g
- salt 3
- yeast powder 4g
- eggs 38g
- butter 30g
- sweetening
- roast
- several hours
- simple
Steps for Milk and rice toast
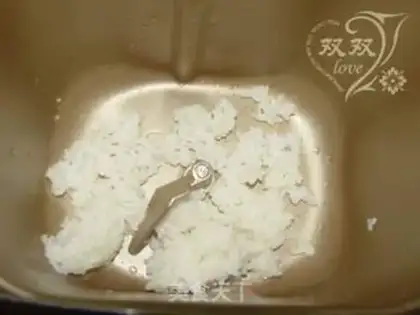
1
The rice is cold, scattered。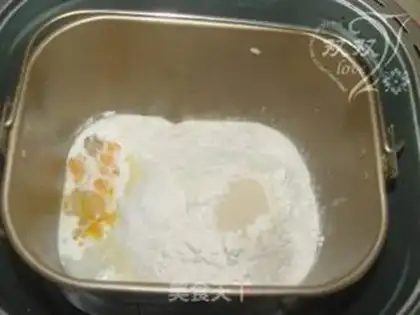
2
Add materials other than butter. (The water intake of flour varies depending on the humidity of the air; the water content of rice also varies, depending on the circumstances! I'm not sure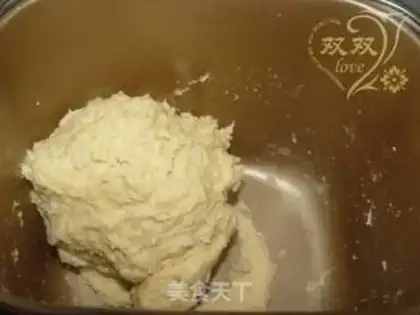
3
And face 15-18 minutes. See the rice particles? It's obvious now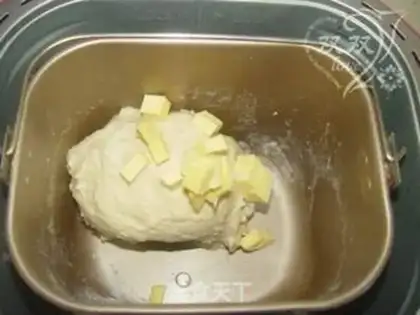
4
Add butter. Butter is taken early from the freezer, Chetin, soften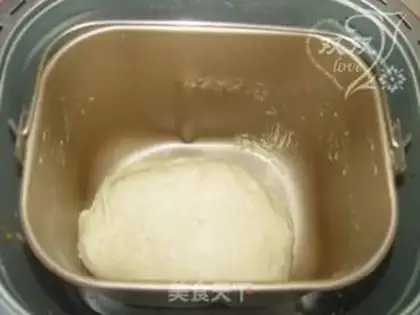
5
Turn on the standard bread mode and wipe the face over。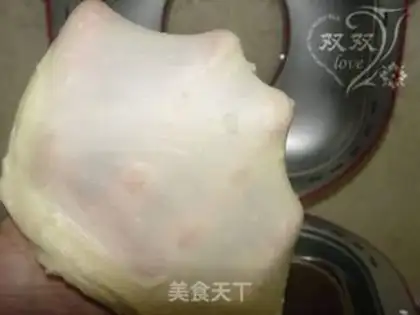
6
Cut a small section of the face with a knife, pull it up gently, and see thin film, resilient, softly pierced, edged and smooth. The instructions are in place, in full condition。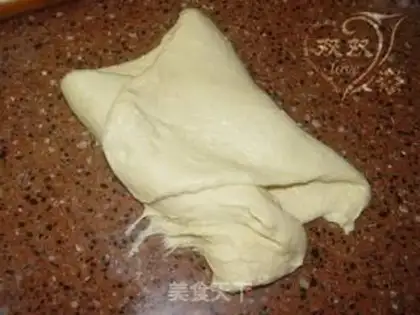
7
The machine's work was completed and the machine was suspended. (The machine is paused for 15 minutes, and if it fails, just press once more) removes the dough, puts it on the table, presses it with a cane, and discharges the gas。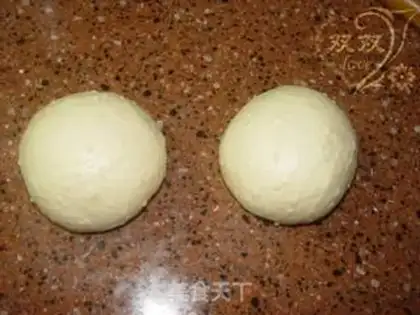
8
Split the noodles into two, roll round。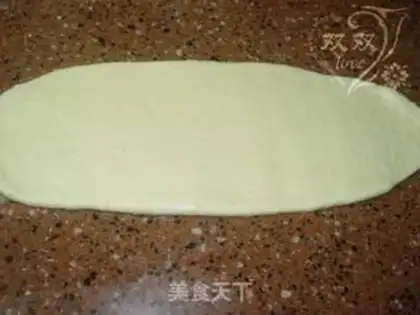
9
Take a noodle, and grow an elliptical noodle。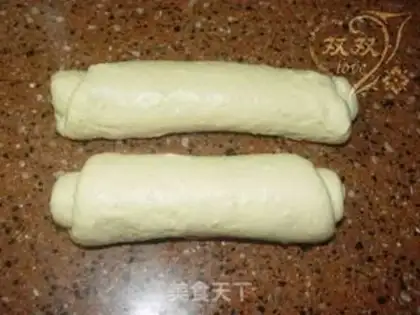
10
Roll up. It's hard to roll, or it's easy to create a hole, like in my picture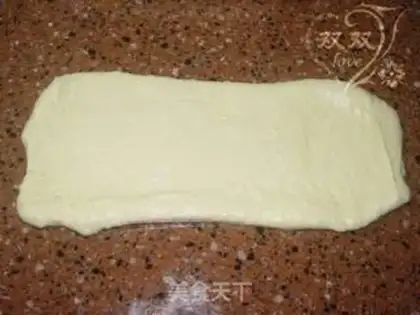
11
Take it easy. Again。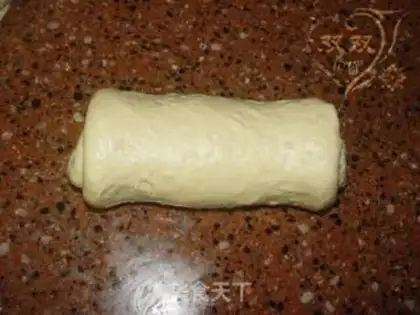
12
Roll up。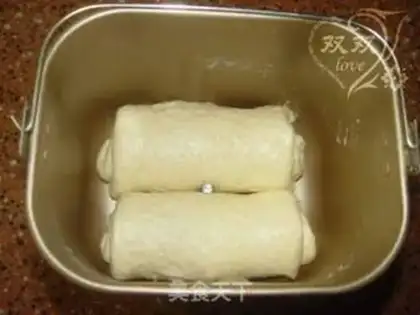
13
Put the rolls in the bucket, lift the suspension and continue the work。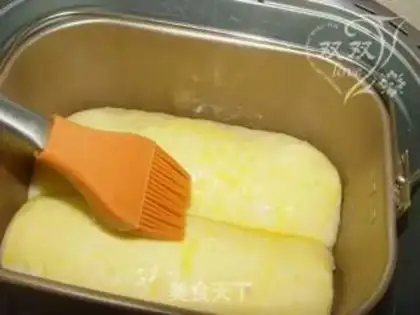
14
Two rounds of fermentation until bread is eight minutes full. (I'm cold and extended by another 15 minutes (a pause) and recommendation 8 is perfect. ) Surface omelette。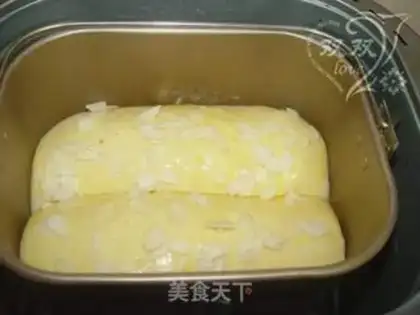
15
The almond chip decoration。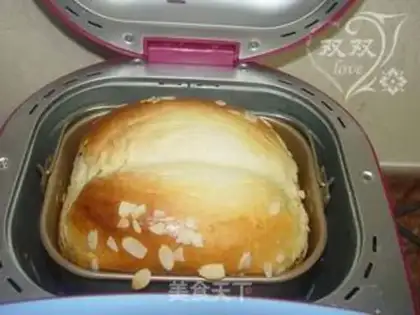
16
Finish the baking. (It may be determined by the color of the machine, but not too early to prevent familiarization) Bread is immediately released from the barrel and tanned online. When it's cool, pack in the fresh bag room and stay warm。Milk and rice toast Make Tips
1. The rice should be moderately soft and firm; fresh rice works better than leftover rice.
2. Since the consistency of the rice varies, the liquid added will differ slightly. This is just for reference; I used freshly steamed rice that was moderately soft and firm with distinct grains!
3. The machine's built-in program is 25 minutes, but my machine takes 40 minutes to knead to completion, so I chose to start kneading 15 minutes early. The specific kneading time depends on your individual machine!
4. Standard bread program: pause in the middle for shaping. If there is no pause function, it is said that you can unplug the power as the machine has a memory function, but check the manual first!
5. It is best to start baking after the second proofing reaches 80% full. The temperature was low, so I paused for 15 minutes to wait. If the temperature is low where you are, you can use this method.